
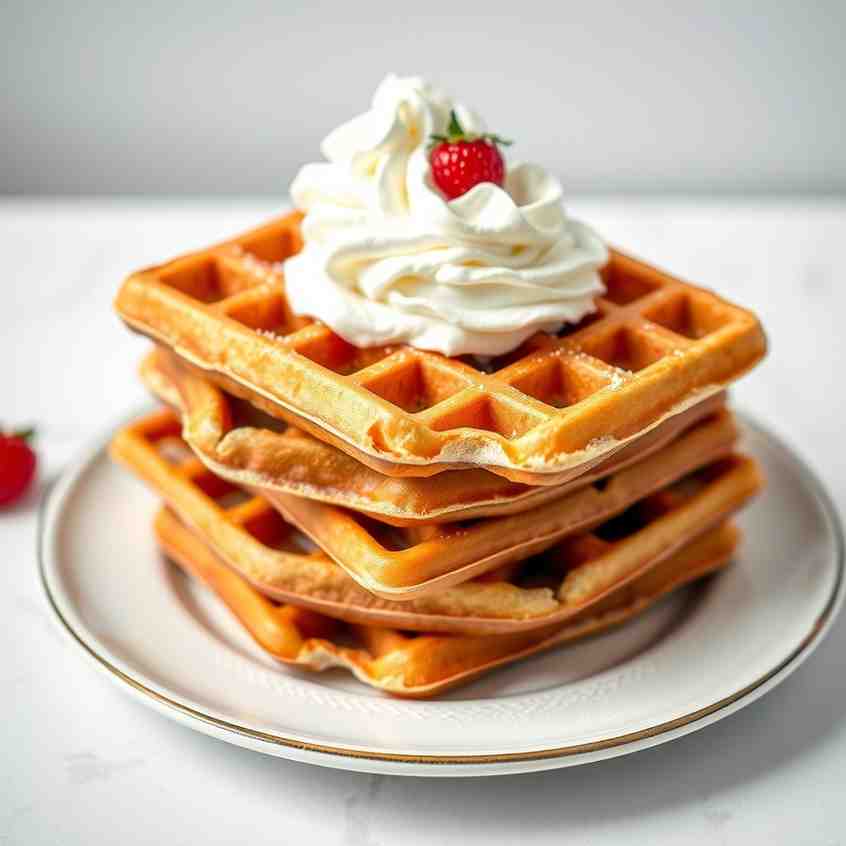
Homemade Belgian Waffles - Crispy, Fluffy Recipe
Homemade Belgian Waffles - Crispy, Fluffy Recipe

- Serves: 8 People
- Prepare Time: 20 minutes
- Cooking Time: 25 minutes
- Calories: -
- Difficulty: Medium
Ever dream of biting into a perfect waffle – one that’s ``crispy on the outside`` and wonderfully ``fluffy on the inside``? You’ve landed in the right spot! This guide is your ticket to mastering ``authentic Belgian waffles`` right in your own kitchen. Forget those sad, soggy imitations; we're talking about ``real Belgian waffles`` that will make your weekend breakfast feel like a gourmet experience.
We'll cover everything you need to know, from the simple pantry staples and smart ingredient choices that make all the difference, to step-by-step instructions that guarantee success. You'll learn the secrets to achieving that restaurant-style crispness, discover fun ``waffle toppings`` and even explore how to make ``waffles from pancake mix`` for those busy mornings. Whether you're a beginner baker or a seasoned pro, get ready to whip up the ``best homemade waffles`` that truly deserve a spot in your breakfast rotation!
But first, what exactly makes a waffle "Belgian"? In real life, it often refers to waffles with deeper pockets and a taller grid than your standard American waffle, allowing for more delicious syrup pools and a lighter texture. While there are classic European versions like the light, yeast-based Brussels-style and the chewy, pearl-sugar-laden Liege waffles, our recipe focuses on an easy, non-yeasted ``Belgian-style waffle`` perfectly tuned for home kitchens. It delivers all the crispness and fluffiness you crave without the extra fuss!
Ingredients
Directions
- Preheat the Waffle Iron & Prep Your Station
- Turn on your Belgian waffle iron and set it to your desired browning level (medium-dark is usually great). Make sure it’s fully preheated – this is key for crispness! If you're serving a crowd, preheat your oven to a low setting (around 200°F / 95°C) with a wire rack inside.
- Whisk the Dry Ingredients
- In a large bowl, whisk together the all-purpose flour, baking powder, granulated sugar, and salt until well combined. If using, whisk in any optional dry flavor boosters like cinnamon or malted milk powder here.
- In a separate medium bowl, whisk together the milk, neutral oil, melted butter, egg yolks, and vanilla extract until the mixture is smooth and resembles a thin custard.
- Whip the Egg Whites
- In a clean, grease-free bowl (using a stand mixer with a whisk attachment or a hand mixer), whip the separated egg whites until they form stiff, glossy peaks. This means when you lift the whisk, the peaks hold their shape firmly.
- Lazy option note: If you're really short on time, you can beat the whole eggs directly into the yolk mixture, but your waffles will be a bit denser.
- Combine Without Deflating
- Pour the wet yolk mixture into the bowl with the dry ingredients. Stir gently with a whisk or spatula until just combined, leaving a few streaks of flour. Don't overmix!
- Next, gently fold in the whipped egg whites in 2-3 additions. Use a spatula to carefully incorporate them, lifting from the bottom of the bowl and folding over the top. The batter should be light, airy, and fluffy, not runny. If adding chocolate chips or berries, fold them in now.
- Cook the Waffles
- Once your waffle iron is fully preheated (look for indicator lights or steam), lightly grease it if necessary (some nonstick irons don't need it). Pour the batter onto the hot iron – typically about ½ to ¾ cup per waffle, depending on your iron's size. Don’t overfill!
- Close the lid and do not open it too early. Let the waffle cook until the steam subsides and the indicator light (if your iron has one) signals it's done, or until it's a deep golden brown. This usually takes 3-5 minutes.
- Keep Waffles Warm & Crisp
- Carefully remove the cooked waffle from the iron and transfer it immediately to the wire rack in your preheated low oven. This keeps them warm and prevents them from getting soggy while you cook the rest of the batch. Avoid stacking them directly on top of each other. Waffles can hold in the oven for about 15-20 minutes without drying out.
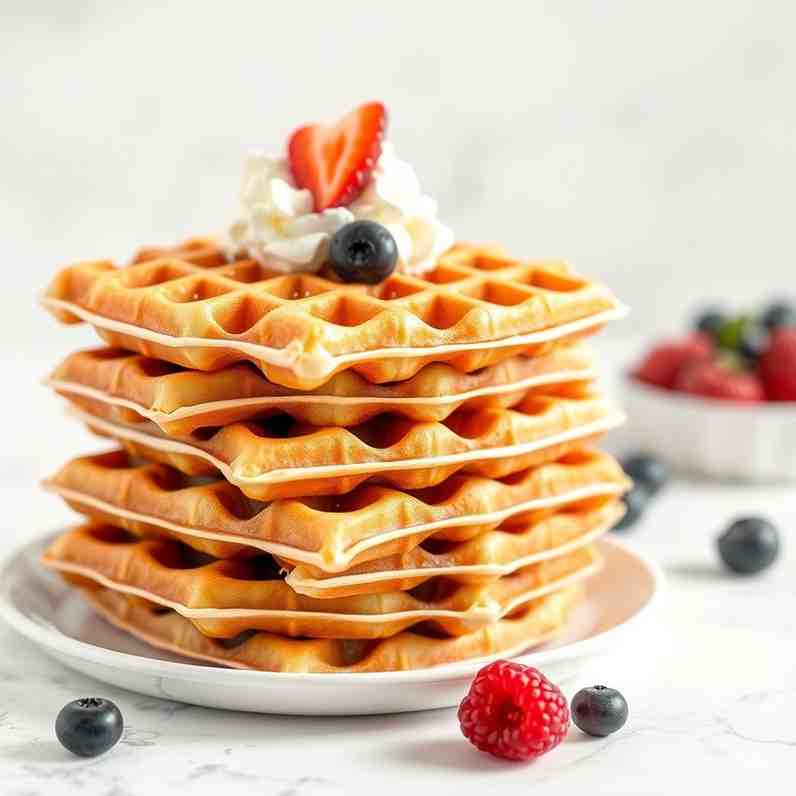
Homemade Belgian Waffles - Crispy, Fluffy Recipe
- Serves: 8 People
- Prepare Time: 20 minutes
- Cooking Time: 25 minutes
- Calories: -
- Difficulty: Medium
Ever dream of biting into a perfect waffle – one that’s ``crispy on the outside`` and wonderfully ``fluffy on the inside``? You’ve landed in the right spot! This guide is your ticket to mastering ``authentic Belgian waffles`` right in your own kitchen. Forget those sad, soggy imitations; we're talking about ``real Belgian waffles`` that will make your weekend breakfast feel like a gourmet experience.
We'll cover everything you need to know, from the simple pantry staples and smart ingredient choices that make all the difference, to step-by-step instructions that guarantee success. You'll learn the secrets to achieving that restaurant-style crispness, discover fun ``waffle toppings`` and even explore how to make ``waffles from pancake mix`` for those busy mornings. Whether you're a beginner baker or a seasoned pro, get ready to whip up the ``best homemade waffles`` that truly deserve a spot in your breakfast rotation!
But first, what exactly makes a waffle "Belgian"? In real life, it often refers to waffles with deeper pockets and a taller grid than your standard American waffle, allowing for more delicious syrup pools and a lighter texture. While there are classic European versions like the light, yeast-based Brussels-style and the chewy, pearl-sugar-laden Liege waffles, our recipe focuses on an easy, non-yeasted ``Belgian-style waffle`` perfectly tuned for home kitchens. It delivers all the crispness and fluffiness you crave without the extra fuss!
Ingredients
Directions
- Preheat the Waffle Iron & Prep Your Station
- Turn on your Belgian waffle iron and set it to your desired browning level (medium-dark is usually great). Make sure it’s fully preheated – this is key for crispness! If you're serving a crowd, preheat your oven to a low setting (around 200°F / 95°C) with a wire rack inside.
- Whisk the Dry Ingredients
- In a large bowl, whisk together the all-purpose flour, baking powder, granulated sugar, and salt until well combined. If using, whisk in any optional dry flavor boosters like cinnamon or malted milk powder here.
- In a separate medium bowl, whisk together the milk, neutral oil, melted butter, egg yolks, and vanilla extract until the mixture is smooth and resembles a thin custard.
- Whip the Egg Whites
- In a clean, grease-free bowl (using a stand mixer with a whisk attachment or a hand mixer), whip the separated egg whites until they form stiff, glossy peaks. This means when you lift the whisk, the peaks hold their shape firmly.
- Lazy option note: If you're really short on time, you can beat the whole eggs directly into the yolk mixture, but your waffles will be a bit denser.
- Combine Without Deflating
- Pour the wet yolk mixture into the bowl with the dry ingredients. Stir gently with a whisk or spatula until just combined, leaving a few streaks of flour. Don't overmix!
- Next, gently fold in the whipped egg whites in 2-3 additions. Use a spatula to carefully incorporate them, lifting from the bottom of the bowl and folding over the top. The batter should be light, airy, and fluffy, not runny. If adding chocolate chips or berries, fold them in now.
- Cook the Waffles
- Once your waffle iron is fully preheated (look for indicator lights or steam), lightly grease it if necessary (some nonstick irons don't need it). Pour the batter onto the hot iron – typically about ½ to ¾ cup per waffle, depending on your iron's size. Don’t overfill!
- Close the lid and do not open it too early. Let the waffle cook until the steam subsides and the indicator light (if your iron has one) signals it's done, or until it's a deep golden brown. This usually takes 3-5 minutes.
- Keep Waffles Warm & Crisp
- Carefully remove the cooked waffle from the iron and transfer it immediately to the wire rack in your preheated low oven. This keeps them warm and prevents them from getting soggy while you cook the rest of the batch. Avoid stacking them directly on top of each other. Waffles can hold in the oven for about 15-20 minutes without drying out.
You may also like


Hey there! I’m just someone who seriously loves good food and believes that cooking doesn’t have to be complicated to be amazing. Whether it’s a quick weeknight dinner or a cozy weekend meal, I’m all about sharing easy, tasty recipes that actually work.

