
Fluffy Cornmeal Pancakes Recipe
Fluffy Cornmeal Pancakes Recipe

- Serves: 4 People
- Prepare Time: 15 minutes
- Cooking Time: 20 minutes
- Calories: -
- Difficulty: Easy
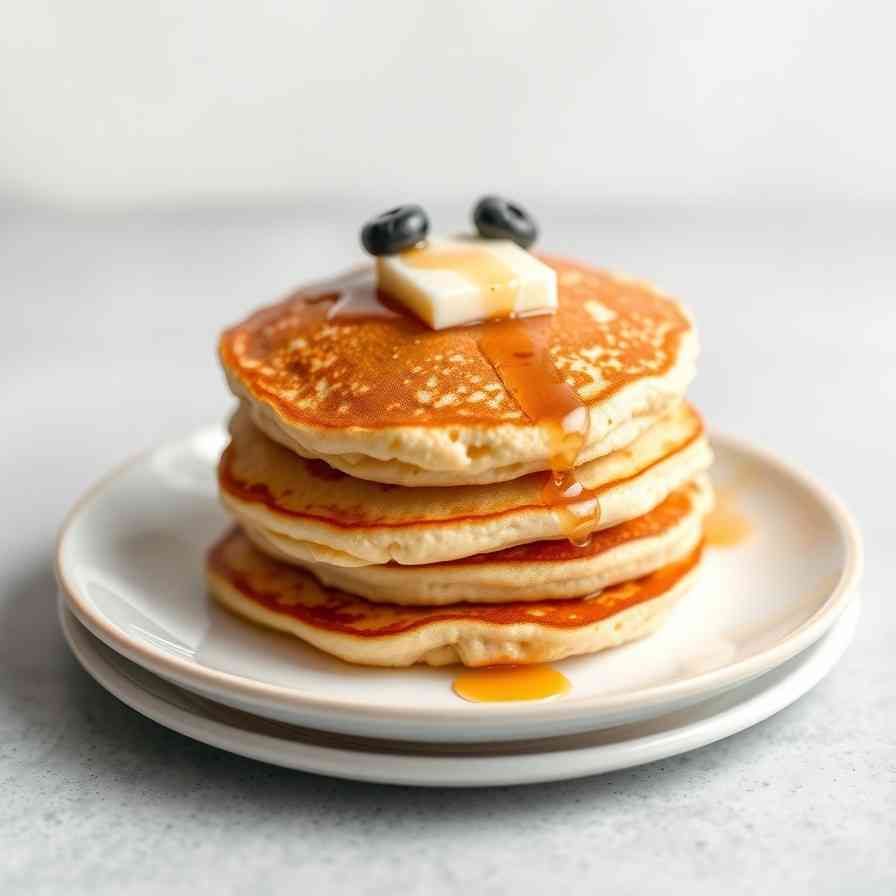
Welcome to your new favorite breakfast obsession: cornmeal pancakes! Forget everything you thought you knew about bland, dense corn cakes. This isn't just a cornmeal pancake recipe; it's the best cornmeal pancake recipe you'll ever find, designed to deliver a stack of fluffy, light, and subtly crispy delights every single time.
What makes these so special? Unlike regular buttermilk pancakes, which are pillowy soft, or traditional johnnycakes and cornbread, which tend to be denser, our cornmeal pancakes strike the perfect balance. You get that gentle, earthy corn flavor without the heaviness, a wonderfully light and airy texture on the inside, and those irresistible, lightly crisp edges thanks to the cornmeal. And don't worry, you won't need any fancy ingredients or equipment – just standard yellow cornmeal and everyday pantry staples.
You'll seriously love this recipe because it’s a breeze to make, all in one bowl, with no mixer or blender required. We’ve used common ingredients like flour, cornmeal, and milk (or an easy buttermilk hack!) that are probably in your kitchen right now. This recipe scales beautifully, whether you're whipping up a quick breakfast for one or a big brunch for the family. Plus, we've included all our tested notes and tips to ensure your pancakes are never rubbery, dry, or gritty. Get ready to master the art of the perfect cornmeal pancake!
Ingredients
Directions
- Mix the Dry IngredientsIn a large bowl, combine your all-purpose flour, cornmeal, sugar, baking powder, baking soda, and a pinch of salt. Whisk everything together really well. You want the mixture to look like an evenly pale yellow, with no hidden streaks of plain cornmeal. This ensures your leaveners are distributed for consistent fluffiness.
- Add the Wet IngredientsIn a separate smaller bowl or a large measuring cup, whisk together the eggs, buttermilk (or your DIY buttermilk), and the oil or melted butter. Once combined, pour this wet mixture into the bowl with your dry ingredients. Mix gently with a whisk or spatula, just until no big dry patches of flour remain. A few small lumps are perfectly fine – in fact, they’re preferred! Overmixing can lead to tough pancakes.
- Texture Checkpoint: Your batter should be thick but definitely pourable, similar to the consistency of heavy cream, not a stiff bread dough. If it seems too thick or stiff, add 1–2 tablespoons of milk, a little at a little time, until you reach the right consistency.
- Let the Batter Rest (Short Rest, Big Difference)Cover the bowl and let your pancake batter rest for 5–10 minutes at room temperature. This short rest is crucial! It gives the cornmeal time to fully hydrate, softening its texture, and allows the leaveners to start working their magic.
- Visual Note: The batter will thicken slightly during this rest. If it becomes scoopable instead of pourable, don't hesitate to loosen it up with another splash or two of milk before cooking.
- Heat the Pan CorrectlyPlace a nonstick skillet or cast-iron griddle over medium to medium-low heat. It's important to get the pan to the right temperature.
- Simple Tests:
- A tiny drop of batter should sizzle gently when it hits the pan, not explode violently (too hot) or sit there silently (too cool).
- If you add a tiny bit of butter or oil and it smokes immediately, your pan is definitely too hot.
- Cook the PancakesLightly grease your preheated pan with a little butter or oil. Scoop about ¼ cup of batter per pancake onto the pan for consistent, evenly sized pancakes. If needed, gently spread the batter a little to form neat ~4-inch circles.Cook for 2–3 minutes per side, or until:
- The edges of the pancakes look set and dry.
- Bubbles form across the top surface and begin to pop.
- When you gently peek underneath with a spatula, the underside is beautifully golden brown.
- Flip the pancakes only once and cook for another 1–2 minutes on the second side, until it's also golden brown and the center springs back lightly when pressed. Cooking at a slightly lower heat for a bit longer helps ensure even browning and fully cooked centers without burning the outside.
- Keep Them Warm & ServeAs you finish cooking each batch, transfer the warm pancakes to a wire rack set over a baking sheet in a 200°F (95°C) oven. This keeps them toasty while you finish the rest of the batter. Remember not to stack them tightly in a steamy pile if you want to preserve those lovely crisp edges!
Fluffy Cornmeal Pancakes Recipe
- Serves: 4 People
- Prepare Time: 15 minutes
- Cooking Time: 20 minutes
- Calories: -
- Difficulty: Easy
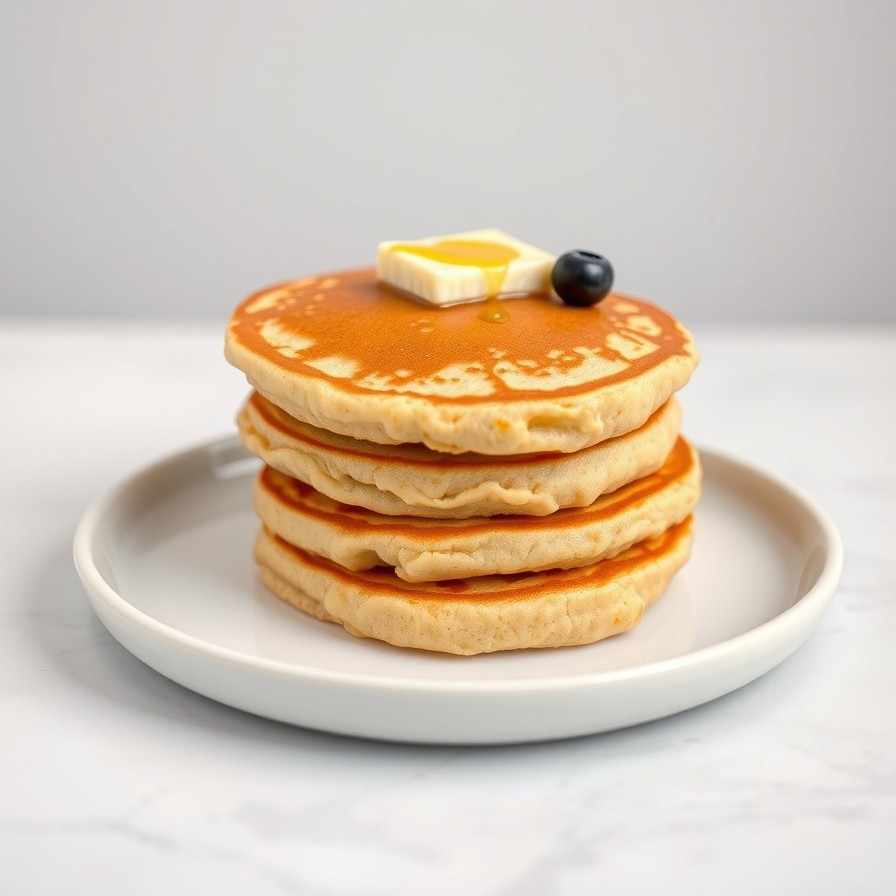
Welcome to your new favorite breakfast obsession: cornmeal pancakes! Forget everything you thought you knew about bland, dense corn cakes. This isn't just a cornmeal pancake recipe; it's the best cornmeal pancake recipe you'll ever find, designed to deliver a stack of fluffy, light, and subtly crispy delights every single time.
What makes these so special? Unlike regular buttermilk pancakes, which are pillowy soft, or traditional johnnycakes and cornbread, which tend to be denser, our cornmeal pancakes strike the perfect balance. You get that gentle, earthy corn flavor without the heaviness, a wonderfully light and airy texture on the inside, and those irresistible, lightly crisp edges thanks to the cornmeal. And don't worry, you won't need any fancy ingredients or equipment – just standard yellow cornmeal and everyday pantry staples.
You'll seriously love this recipe because it’s a breeze to make, all in one bowl, with no mixer or blender required. We’ve used common ingredients like flour, cornmeal, and milk (or an easy buttermilk hack!) that are probably in your kitchen right now. This recipe scales beautifully, whether you're whipping up a quick breakfast for one or a big brunch for the family. Plus, we've included all our tested notes and tips to ensure your pancakes are never rubbery, dry, or gritty. Get ready to master the art of the perfect cornmeal pancake!
Ingredients
Directions
- Mix the Dry IngredientsIn a large bowl, combine your all-purpose flour, cornmeal, sugar, baking powder, baking soda, and a pinch of salt. Whisk everything together really well. You want the mixture to look like an evenly pale yellow, with no hidden streaks of plain cornmeal. This ensures your leaveners are distributed for consistent fluffiness.
- Add the Wet IngredientsIn a separate smaller bowl or a large measuring cup, whisk together the eggs, buttermilk (or your DIY buttermilk), and the oil or melted butter. Once combined, pour this wet mixture into the bowl with your dry ingredients. Mix gently with a whisk or spatula, just until no big dry patches of flour remain. A few small lumps are perfectly fine – in fact, they’re preferred! Overmixing can lead to tough pancakes.
- Texture Checkpoint: Your batter should be thick but definitely pourable, similar to the consistency of heavy cream, not a stiff bread dough. If it seems too thick or stiff, add 1–2 tablespoons of milk, a little at a little time, until you reach the right consistency.
- Let the Batter Rest (Short Rest, Big Difference)Cover the bowl and let your pancake batter rest for 5–10 minutes at room temperature. This short rest is crucial! It gives the cornmeal time to fully hydrate, softening its texture, and allows the leaveners to start working their magic.
- Visual Note: The batter will thicken slightly during this rest. If it becomes scoopable instead of pourable, don't hesitate to loosen it up with another splash or two of milk before cooking.
- Heat the Pan CorrectlyPlace a nonstick skillet or cast-iron griddle over medium to medium-low heat. It's important to get the pan to the right temperature.
- Simple Tests:
- A tiny drop of batter should sizzle gently when it hits the pan, not explode violently (too hot) or sit there silently (too cool).
- If you add a tiny bit of butter or oil and it smokes immediately, your pan is definitely too hot.
- Cook the PancakesLightly grease your preheated pan with a little butter or oil. Scoop about ¼ cup of batter per pancake onto the pan for consistent, evenly sized pancakes. If needed, gently spread the batter a little to form neat ~4-inch circles.Cook for 2–3 minutes per side, or until:
- The edges of the pancakes look set and dry.
- Bubbles form across the top surface and begin to pop.
- When you gently peek underneath with a spatula, the underside is beautifully golden brown.
- Flip the pancakes only once and cook for another 1–2 minutes on the second side, until it's also golden brown and the center springs back lightly when pressed. Cooking at a slightly lower heat for a bit longer helps ensure even browning and fully cooked centers without burning the outside.
- Keep Them Warm & ServeAs you finish cooking each batch, transfer the warm pancakes to a wire rack set over a baking sheet in a 200°F (95°C) oven. This keeps them toasty while you finish the rest of the batter. Remember not to stack them tightly in a steamy pile if you want to preserve those lovely crisp edges!
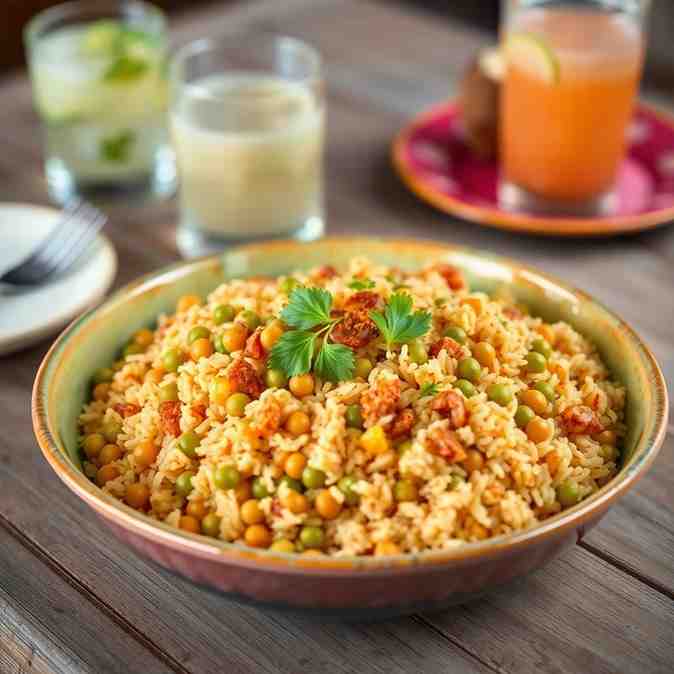
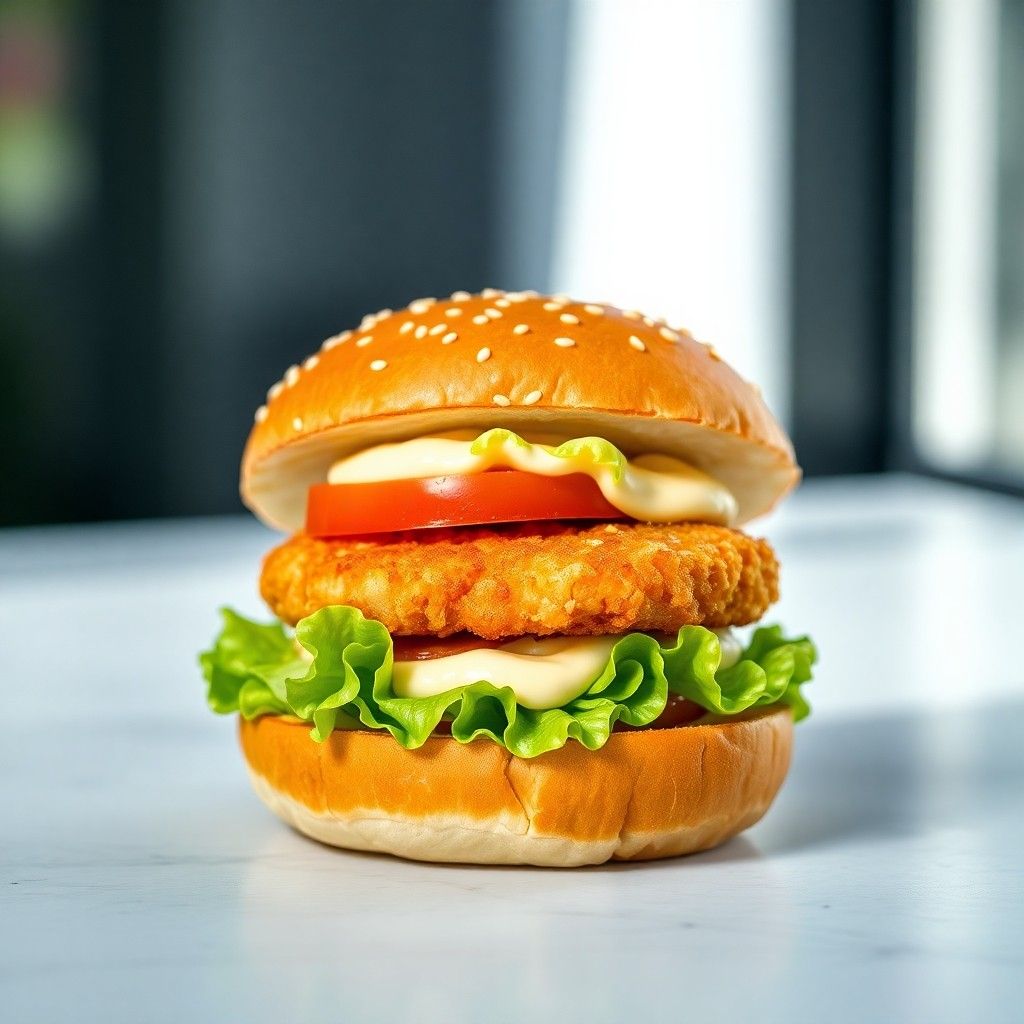
You may also like

Hey there! I’m just someone who seriously loves good food and believes that cooking doesn’t have to be complicated to be amazing. Whether it’s a quick weeknight dinner or a cozy weekend meal, I’m all about sharing easy, tasty recipes that actually work.


