
Salo - Easy Pork Belly Recipe for Beginners
Salo - Easy Pork Belly Recipe for Beginners
- Serves: 20 People
- Prepare Time: 20 minutes
- Cooking Time: 0 minutes (
- Calories: -
- Difficulty: Easy
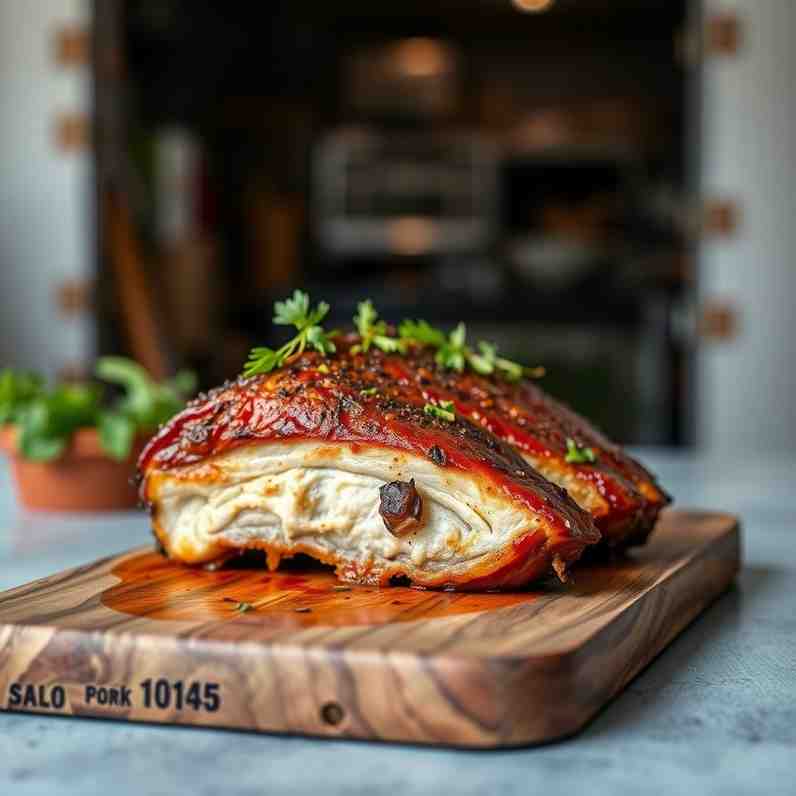
Hey there, food adventurers! Ready to dive into a truly unique and incredibly flavorful experience? We're talking about Salo, a traditional cured pork belly that's a beloved staple across Eastern Europe, especially in Belarus and Ukraine. If you're looking for an easy recipe for pork belly that’s full of history and deliciousness, you've come to the right place!
Salo isn't just food; it's a cultural icon. Imagine thinly sliced, savory pork fatback, often cured with garlic and spices, enjoyed with hearty rye bread and crunchy dill pickles. It’s surprisingly simple to make at home, requiring more patience than skill. This isn't just about curing meat; it’s about savoring a piece of culinary heritage. So, whether you're a beginner in the kitchen or just curious about Russian food recipes and traditional delicacies, get ready to discover the magic of homemade Salo. It's a fantastic cooking for beginners recipe that promises big flavor with minimal fuss!
Ingredients
Directions
- Prepare the Pork Belly
- Clean and Dry: First things first, give your pork belly a good rinse under cold water. Pat it thoroughly dry with paper towels. Any excess moisture isn't good for curing, so make sure it's as dry as possible.
- Cut to Size: If your piece of pork belly is very large, you can cut it into more manageable chunks, roughly 4-6 inches (10-15 cm) square. This makes handling and curing easier. If the skin is on, you can leave it; it adds to the traditional texture.
- Create the Curing Mix
- Combine Dry Ingredients: In a medium bowl, mix together your coarse sea salt, chopped garlic, whole black peppercorns, and crushed bay leaves. If you're using any of the optional spices like coriander, caraway, or paprika, add them in now. Give everything a good stir to ensure it’s well combined. This is your flavor powerhouse!
- Apply the Cure & Begin Curing
- Rub It In: Take each piece of pork belly and generously rub the curing mixture all over every surface, including the skin side if present. Don’t be shy with the salt; it's what preserves the meat and draws out moisture. You want a thick, even coating.
- Layer in Container: Find a non-reactive container (glass, ceramic, or food-grade plastic) that's just large enough to hold your pork belly pieces. Place a layer of the curing mix at the bottom, then arrange your pork belly pieces snugly on top. If you have multiple layers, sprinkle more curing mix between each layer.
- Top it Off: Cover the top layer of pork belly with any remaining curing mix.
- Weigh It Down (Optional but Recommended): To ensure good contact and help draw out moisture, place a piece of parchment paper directly on top of the pork belly, then a plate or a smaller container that fits inside, and weigh it down with something heavy (like a few cans or a brick wrapped in plastic).
- Refrigerate & Wait
- Chill Out: Cover your container tightly with a lid or plastic wrap and place it in the refrigerator. This is where the magic happens!
- Curing Time: Let the pork belly cure for 5 to 7 days. The exact time depends on the thickness of your pork belly and your preferred saltiness. For thicker pieces, lean towards 7 days.
- Flip and Redistribute: Every day or two, it’s a good idea to flip the pork belly pieces and redistribute the curing mixture to ensure even curing. You'll notice liquid collecting at the bottom; this is normal as the salt draws out moisture.
- Rinse, Dry & Store
- Rinse Off: Once cured, remove the pork belly from the container. Discard the liquid and any remaining curing mix. Rinse each piece thoroughly under cold running water to remove all excess salt and spices from the surface.
- Pat Dry: This step is crucial! Pat the Salo very dry with paper towels. You want no surface moisture. You can even let it air dry on a rack in the fridge for a few hours for an extra dry surface.
- Wrap for Storage: Once dry, wrap each piece of Salo tightly in parchment paper, then in plastic wrap, and finally in aluminum foil. This triple wrapping helps prevent freezer burn and keeps it fresh.
- Store: You can store your homemade Salo in the refrigerator for up to 2-3 weeks, or freeze it for several months.
- Slice & Serve
- Slice Thin: When ready to enjoy, use a very sharp knife to slice the Salo as thinly as possible. This is key to its delicate texture and intense flavor.
- Traditional Pairings: Serve your Salo with rye bread recipe slices (toasted or fresh), the best dill pickles (sliced or whole), a dollop of spicy mustard, and a sprinkle of fresh dill. It's also often enjoyed with a shot of chilled vodka in Eastern European tradition.
- Enjoy! Take a bite and savor the rich, savory flavors of your homemade Salo. It's truly one of the best way to eat cured pork belly!
Salo - Easy Pork Belly Recipe for Beginners

- Serves: 20 People
- Prepare Time: 20 minutes
- Cooking Time: 0 minutes (
- Calories: -
- Difficulty: Easy
Hey there, food adventurers! Ready to dive into a truly unique and incredibly flavorful experience? We're talking about Salo, a traditional cured pork belly that's a beloved staple across Eastern Europe, especially in Belarus and Ukraine. If you're looking for an easy recipe for pork belly that’s full of history and deliciousness, you've come to the right place!
Salo isn't just food; it's a cultural icon. Imagine thinly sliced, savory pork fatback, often cured with garlic and spices, enjoyed with hearty rye bread and crunchy dill pickles. It’s surprisingly simple to make at home, requiring more patience than skill. This isn't just about curing meat; it’s about savoring a piece of culinary heritage. So, whether you're a beginner in the kitchen or just curious about Russian food recipes and traditional delicacies, get ready to discover the magic of homemade Salo. It's a fantastic cooking for beginners recipe that promises big flavor with minimal fuss!
Ingredients
Directions
- Prepare the Pork Belly
- Clean and Dry: First things first, give your pork belly a good rinse under cold water. Pat it thoroughly dry with paper towels. Any excess moisture isn't good for curing, so make sure it's as dry as possible.
- Cut to Size: If your piece of pork belly is very large, you can cut it into more manageable chunks, roughly 4-6 inches (10-15 cm) square. This makes handling and curing easier. If the skin is on, you can leave it; it adds to the traditional texture.
- Create the Curing Mix
- Combine Dry Ingredients: In a medium bowl, mix together your coarse sea salt, chopped garlic, whole black peppercorns, and crushed bay leaves. If you're using any of the optional spices like coriander, caraway, or paprika, add them in now. Give everything a good stir to ensure it’s well combined. This is your flavor powerhouse!
- Apply the Cure & Begin Curing
- Rub It In: Take each piece of pork belly and generously rub the curing mixture all over every surface, including the skin side if present. Don’t be shy with the salt; it's what preserves the meat and draws out moisture. You want a thick, even coating.
- Layer in Container: Find a non-reactive container (glass, ceramic, or food-grade plastic) that's just large enough to hold your pork belly pieces. Place a layer of the curing mix at the bottom, then arrange your pork belly pieces snugly on top. If you have multiple layers, sprinkle more curing mix between each layer.
- Top it Off: Cover the top layer of pork belly with any remaining curing mix.
- Weigh It Down (Optional but Recommended): To ensure good contact and help draw out moisture, place a piece of parchment paper directly on top of the pork belly, then a plate or a smaller container that fits inside, and weigh it down with something heavy (like a few cans or a brick wrapped in plastic).
- Refrigerate & Wait
- Chill Out: Cover your container tightly with a lid or plastic wrap and place it in the refrigerator. This is where the magic happens!
- Curing Time: Let the pork belly cure for 5 to 7 days. The exact time depends on the thickness of your pork belly and your preferred saltiness. For thicker pieces, lean towards 7 days.
- Flip and Redistribute: Every day or two, it’s a good idea to flip the pork belly pieces and redistribute the curing mixture to ensure even curing. You'll notice liquid collecting at the bottom; this is normal as the salt draws out moisture.
- Rinse, Dry & Store
- Rinse Off: Once cured, remove the pork belly from the container. Discard the liquid and any remaining curing mix. Rinse each piece thoroughly under cold running water to remove all excess salt and spices from the surface.
- Pat Dry: This step is crucial! Pat the Salo very dry with paper towels. You want no surface moisture. You can even let it air dry on a rack in the fridge for a few hours for an extra dry surface.
- Wrap for Storage: Once dry, wrap each piece of Salo tightly in parchment paper, then in plastic wrap, and finally in aluminum foil. This triple wrapping helps prevent freezer burn and keeps it fresh.
- Store: You can store your homemade Salo in the refrigerator for up to 2-3 weeks, or freeze it for several months.
- Slice & Serve
- Slice Thin: When ready to enjoy, use a very sharp knife to slice the Salo as thinly as possible. This is key to its delicate texture and intense flavor.
- Traditional Pairings: Serve your Salo with rye bread recipe slices (toasted or fresh), the best dill pickles (sliced or whole), a dollop of spicy mustard, and a sprinkle of fresh dill. It's also often enjoyed with a shot of chilled vodka in Eastern European tradition.
- Enjoy! Take a bite and savor the rich, savory flavors of your homemade Salo. It's truly one of the best way to eat cured pork belly!
You may also like

Hey there! I’m just someone who seriously loves good food and believes that cooking doesn’t have to be complicated to be amazing. Whether it’s a quick weeknight dinner or a cozy weekend meal, I’m all about sharing easy, tasty recipes that actually work.


