
Aruban Pan Sòru Easy Cornmeal Flatbread
Aruban Pan Sòru Easy Cornmeal Flatbread
- Serves: 4 People
- Prepare Time: 15 minutes
- Cooking Time: 20 minutes
- Calories: -
- Difficulty: Easy
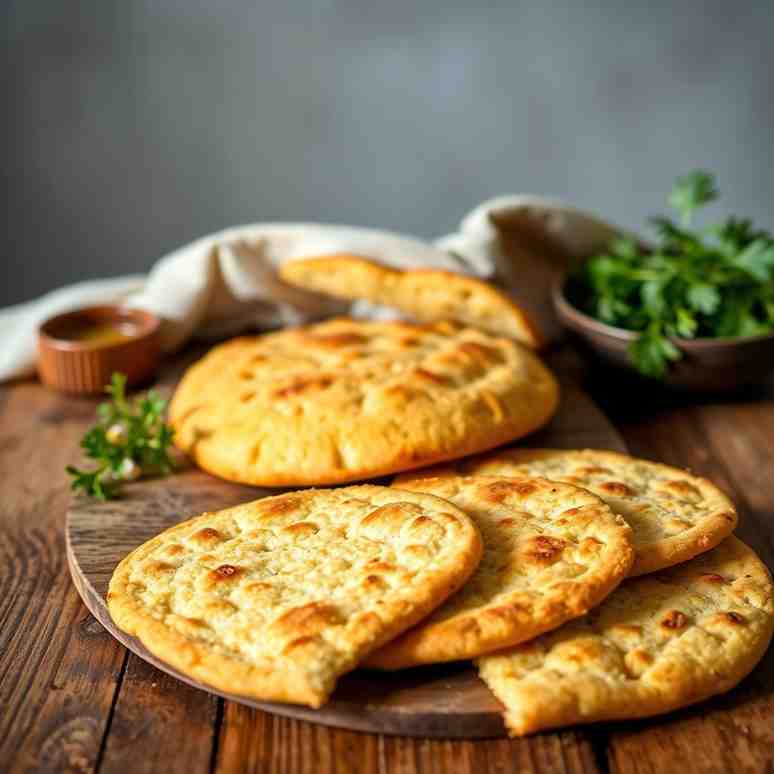
Welcome to the sun-kissed shores of Aruba, where every meal feels like a celebration! Today, we're diving into a beloved culinary staple: Aruban Pan Sòru, often known by its Papiamento name, Pan Bati. This isn't just any Caribbean flatbread; it’s a lightly sweet, wonderfully fluffy cornmeal pancake that's a cornerstone of traditional Aruban bread. Whether you're looking for an easy pan bati recipe Aruba or curious about how to make pan bati for the first time, you've come to the right place.
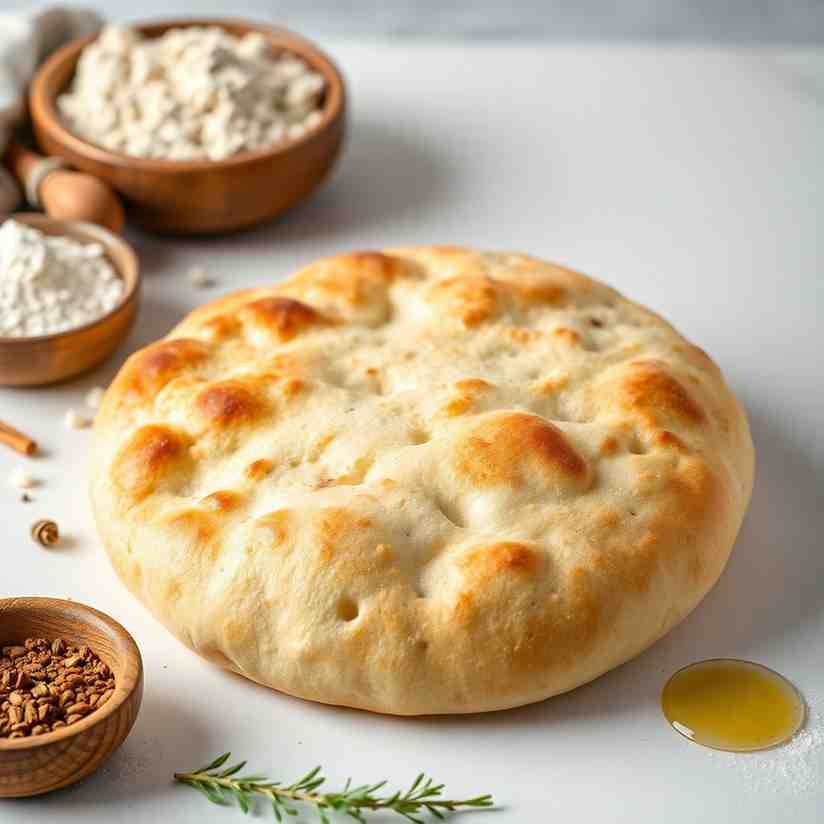
Imagine a warm, tender bread with slightly crisp edges, perfect for soaking up savory stews or enjoying with a dollop of jam for breakfast. That's Pan Bati! It's super simple to whip up, calling for just a few pantry ingredients, making it an ideal Aruban side dish for any home cook. Forget complicated yeast recipes; this pan bati without yeast comes together in one bowl and cooks up like thick, golden pancakes. It's a taste of Aruba you'll absolutely adore!
Here’s a quick snapshot:
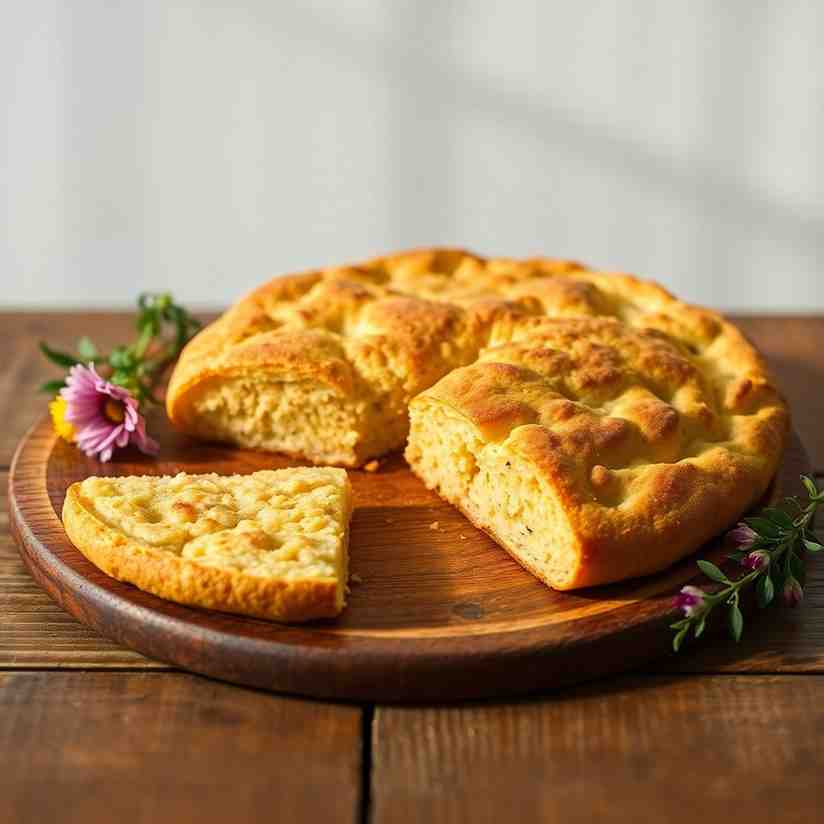
Flavor & Texture: Lightly sweet, fluffy interior with a delicate chew, and beautifully crisp, golden-brown edges.
Why You’ll Love It: This best pan bati recipe step by step is incredibly easy, uses everyday ingredients, and is incredibly versatile, pairing perfectly with hearty soups, stews, or even a simple breakfast spread. It’s truly a culinary symphony of flavors waiting to happen in your kitchen!
Ingredients
Directions
- Mix the Dry Ingredients
- In a large mixing bowl, whisk together the all-purpose flour, fine yellow cornmeal, baking powder, granulated sugar (start with 2 tablespoons if unsure, you can always add more next time!), and salt.
- Whisk well to ensure there are no lumps and the baking powder is evenly distributed. This helps guarantee an even rise in your cornmeal pancakes.
- Whisk the Wet Ingredients
- In a separate medium bowl, beat the large egg until slightly frothy.
- Add the whole milk and vanilla extract (if using) to the egg. Whisk until everything is smoothly combined.
- Pro Tip: Using room-temperature milk and egg can sometimes lead to a slightly better rise and a more uniform batter.
- Make the Batter
- Pour the wet ingredients into the bowl with the dry ingredients.
- Using a whisk or a rubber spatula, gently fold the ingredients together until just combined. A few small lumps are perfectly fine – don't overmix! Overmixing develops gluten in the flour, leading to tough pan bati.
- The ideal batter texture should be thicker than typical American pancake batter but still pourable or spoonable. If it looks too thick, add milk a tablespoon at a time. If it seems too thin, sprinkle in a teaspoon of flour.
- Heat the Pan & Test the First Pan Bati
- Heat a large nonstick skillet or griddle over medium heat. Add a thin layer of neutral oil, just enough to coat the bottom.
- To test if the pan is ready, drop a tiny bit of batter into the hot oil. If it sizzles gently and starts to brown, you're good to go! If it smokes immediately, the pan is too hot. If nothing happens, it's not hot enough.
- Important: Finding the right heat is crucial. Too hot, and your Aruban flatbread will burn on the outside and be raw in the middle. Too low, and they'll be greasy. Aim for a medium or medium-low heat.
- Using a ladle or a ¼-cup measuring scoop, drop spoonfuls of batter into the hot pan, forming rounds about 3-4 inches in diameter. Don't overcrowd the pan; leave some space between each piece.
- Cook the first side for about 2-3 minutes. You'll know it's ready to flip when the edges look set, small bubbles appear on the surface, and the bottom is a lovely golden brown.
- Flip each pan bati carefully with a spatula and cook for another 2-3 minutes on the second side, until golden brown and cooked through.
- Adjust the heat as needed throughout the cooking process. The pan might get hotter as you go, so don't be afraid to turn it down slightly.
- As you finish cooking each batch, transfer the warm pan bati to a plate or baking sheet.
- To keep them warm while you finish cooking the rest, you can place them in a low oven (around 200°F / 95°C) or simply wrap them loosely in a clean kitchen towel. This prevents them from drying out.
- Serve your freshly made Aruban Pan Sòru immediately and enjoy!
Aruban Pan Sòru Easy Cornmeal Flatbread

- Serves: 4 People
- Prepare Time: 15 minutes
- Cooking Time: 20 minutes
- Calories: -
- Difficulty: Easy
Welcome to the sun-kissed shores of Aruba, where every meal feels like a celebration! Today, we're diving into a beloved culinary staple: Aruban Pan Sòru, often known by its Papiamento name, Pan Bati. This isn't just any Caribbean flatbread; it’s a lightly sweet, wonderfully fluffy cornmeal pancake that's a cornerstone of traditional Aruban bread. Whether you're looking for an easy pan bati recipe Aruba or curious about how to make pan bati for the first time, you've come to the right place.
Imagine a warm, tender bread with slightly crisp edges, perfect for soaking up savory stews or enjoying with a dollop of jam for breakfast. That's Pan Bati! It's super simple to whip up, calling for just a few pantry ingredients, making it an ideal Aruban side dish for any home cook. Forget complicated yeast recipes; this pan bati without yeast comes together in one bowl and cooks up like thick, golden pancakes. It's a taste of Aruba you'll absolutely adore!
Here’s a quick snapshot:
Flavor & Texture: Lightly sweet, fluffy interior with a delicate chew, and beautifully crisp, golden-brown edges.
Why You’ll Love It: This best pan bati recipe step by step is incredibly easy, uses everyday ingredients, and is incredibly versatile, pairing perfectly with hearty soups, stews, or even a simple breakfast spread. It’s truly a culinary symphony of flavors waiting to happen in your kitchen!
Ingredients
Directions
- Mix the Dry Ingredients
- In a large mixing bowl, whisk together the all-purpose flour, fine yellow cornmeal, baking powder, granulated sugar (start with 2 tablespoons if unsure, you can always add more next time!), and salt.
- Whisk well to ensure there are no lumps and the baking powder is evenly distributed. This helps guarantee an even rise in your cornmeal pancakes.
- Whisk the Wet Ingredients
- In a separate medium bowl, beat the large egg until slightly frothy.
- Add the whole milk and vanilla extract (if using) to the egg. Whisk until everything is smoothly combined.
- Pro Tip: Using room-temperature milk and egg can sometimes lead to a slightly better rise and a more uniform batter.
- Make the Batter
- Pour the wet ingredients into the bowl with the dry ingredients.
- Using a whisk or a rubber spatula, gently fold the ingredients together until just combined. A few small lumps are perfectly fine – don't overmix! Overmixing develops gluten in the flour, leading to tough pan bati.
- The ideal batter texture should be thicker than typical American pancake batter but still pourable or spoonable. If it looks too thick, add milk a tablespoon at a time. If it seems too thin, sprinkle in a teaspoon of flour.
- Heat the Pan & Test the First Pan Bati
- Heat a large nonstick skillet or griddle over medium heat. Add a thin layer of neutral oil, just enough to coat the bottom.
- To test if the pan is ready, drop a tiny bit of batter into the hot oil. If it sizzles gently and starts to brown, you're good to go! If it smokes immediately, the pan is too hot. If nothing happens, it's not hot enough.
- Important: Finding the right heat is crucial. Too hot, and your Aruban flatbread will burn on the outside and be raw in the middle. Too low, and they'll be greasy. Aim for a medium or medium-low heat.
- Using a ladle or a ¼-cup measuring scoop, drop spoonfuls of batter into the hot pan, forming rounds about 3-4 inches in diameter. Don't overcrowd the pan; leave some space between each piece.
- Cook the first side for about 2-3 minutes. You'll know it's ready to flip when the edges look set, small bubbles appear on the surface, and the bottom is a lovely golden brown.
- Flip each pan bati carefully with a spatula and cook for another 2-3 minutes on the second side, until golden brown and cooked through.
- Adjust the heat as needed throughout the cooking process. The pan might get hotter as you go, so don't be afraid to turn it down slightly.
- As you finish cooking each batch, transfer the warm pan bati to a plate or baking sheet.
- To keep them warm while you finish cooking the rest, you can place them in a low oven (around 200°F / 95°C) or simply wrap them loosely in a clean kitchen towel. This prevents them from drying out.
- Serve your freshly made Aruban Pan Sòru immediately and enjoy!
The following nutritional values are per serving (one piece of cake) Calories ~200-250 kcal Carbohydrates ~30-35g Protein ~5-7g Fat ~7-10g Sometimes, having the right gear can make your cooking experience even smoother. While our Aruban Pan Sòru recipe uses common kitchen items, here are a few recommendations that can speed things up or ensure the best results. Problem: You're trying to mix your dry and wet ingredients separately, but you're juggling multiple containers, leading to clutter and potential spills. Problem: You're using a fork to stir, leaving you with lumps in your dry ingredients or an unevenly combined batter. Problem: Your pan sòru is sticking to the pan, tearing when you try to flip it, or browning unevenly. Click any ingredient for detailed nutritional information:Recipe Nutritional Values
Additional Information
Recipe Success Tips
Pro Tips & Troubleshooting
Ingredient Substitutions & Variations
Recipe Variations & Flavor Add-ins
Pan Bati is best enjoyed fresh, but you can certainly make it ahead or store leftovers:
Frequently Asked Questions
Recommended Kitchen Tools
Mixing Bowl
Agitate: This often means extra cleanup and a less organized kitchen, which can make cooking feel like a chore instead of a joy.
Solution: A good, sturdy, large mixing bowl (preferably with a non-slip base) makes combining ingredients a breeze. You can easily whisk everything in one place, minimizing mess and maximizing efficiency.Whisk
Agitate: Lumpy batter can lead to inconsistent textures in your pan sòru – some parts dense, others too airy – detracting from that perfect fluffy-crisp balance.
Solution: A proper balloon whisk quickly incorporates air and evenly distributes ingredients, ensuring a smooth, uniform batter every time. It's essential for lump-free dry ingredients and a perfectly emulsified wet mixture.Nonstick Skillet or Griddle
Agitate: Nothing is more frustrating than a beautiful batch of pan sòru ruined by sticking or burning, making you constantly worry about the cooking surface instead of enjoying the process.
Solution: A high-quality nonstick skillet or griddle provides an even cooking surface and releases the pan sòru effortlessly, guaranteeing beautiful golden-brown results without the hassle.Calories per Ingredient
You may also like


Hey there! I’m just someone who seriously loves good food and believes that cooking doesn’t have to be complicated to be amazing. Whether it’s a quick weeknight dinner or a cozy weekend meal, I’m all about sharing easy, tasty recipes that actually work.


