
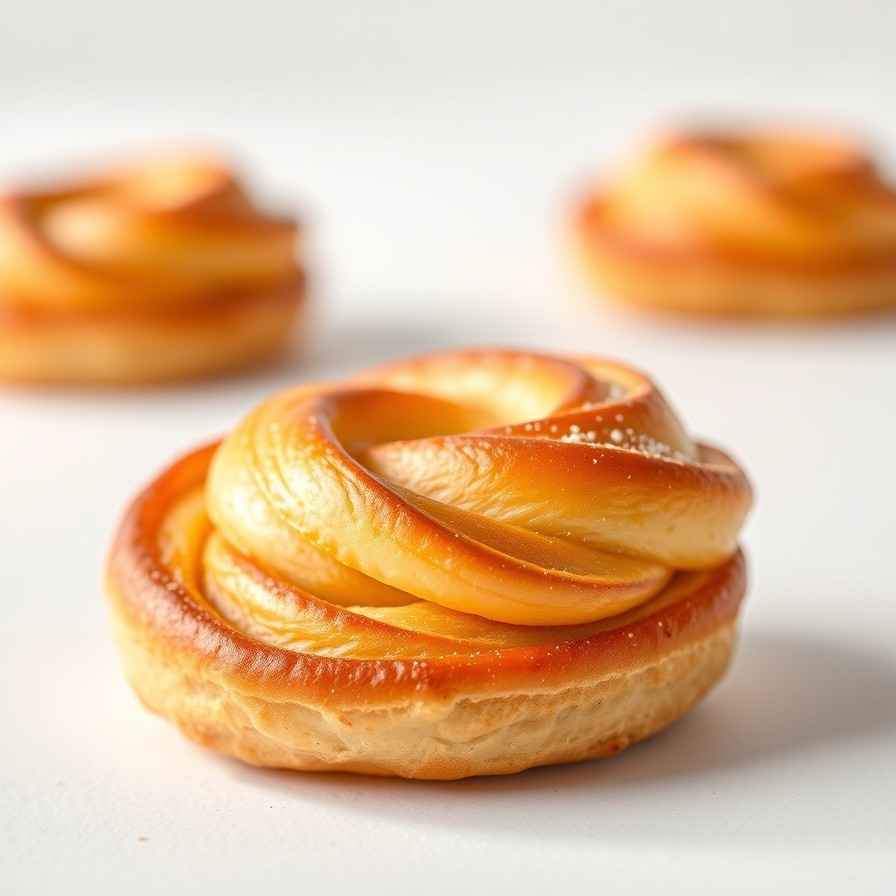
How to Make Medialunas - Breakfast Pastry
How to Make Medialunas - Breakfast Pastry

- Serves: 14 People
- Prepare Time: 75 minutes
- Cooking Time: 25 minutes
- Calories: -
- Difficulty: Easy
Dreaming of a lazy weekend morning, a warm cup of coffee, and a flaky, sweet pastry that tastes like it came straight from a European bakery? If you've ever craved those buttery, melt-in-your-mouth crescent rolls or a delightful breakfast pastry that feels truly special, you're in the right place. We're about to dive into a recipe for Bakery-Style Breakfast Danish Pastries that delivers all the elegance without requiring a pastry chef degree.
This recipe is truly something special, making those weekend pastry dreams a delicious reality:
Shortcut Dough, Big Flavor: Forget complicated lamination techniques! Our clever dough method gives you soft, flaky layers with far less fuss.
Creamy & Sweet: Each pastry boasts a luscious, creamy fruit-and-cheese center, perfectly complemented by a sweet vanilla icing drizzle. It’s the ultimate sweet pastry experience.
Make-Ahead Magic: While you can whip these up in one morning, they’re incredibly make-ahead friendly, meaning fresh pastries can be just a bake away.
If you’ve successfully tackled basic bread or a batch of cinnamon rolls, you absolutely have what it takes to master these. Get ready to bake your new favorite breakfast pastry!
Key Equipment: Large bowl or stand mixer, rolling pin, rimmed baking sheets, pastry brush.
Flavor Profile: Buttery, lightly sweet pastry; creamy filling; vanilla icing.
Ingredients
Directions
- Activate the Yeast & Mix the Wet Ingredients In a large bowl, or the bowl of a stand mixer, combine the warm water (it should feel like a warm bath, not hot, to the touch) and yeast. Let it sit for 5-10 minutes until foamy, which indicates the yeast is active and ready to go. Stir in the warm milk, egg, granulated sugar, and salt until well combined.
- Cut in the Butter & Bring the Dough Together In a separate bowl, whisk together the all-purpose flour. Now, add the very cold, cubed butter to the flour. Using a pastry cutter, your fingertips, or by pulsing in a food processor, cut the butter into the flour until the mixture resembles coarse crumbs with some pea-sized pieces of butter still visible. This is crucial for those flaky layers! Gradually add the wet ingredients to the dry mixture, mixing gently until just combined. The dough will be very shaggy and sticky – don't worry, that's normal. Avoid overmixing.
- First Chill (Flavor & Flake Builder) Lightly flour your work surface and turn the shaggy dough out onto it. Gently bring the dough together into a rough rectangle. Wrap it tightly in plastic wrap or place it in a lightly floured, airtight container. Chill the dough in the refrigerator for at least 1 ½ hours, or up to 4 hours. This chill time is essential to develop the gluten, keep the butter cold, and prepare the dough for building layers later.
- Roll, Fold & Build Layers (Simplified) After the first chill, lightly flour your work surface and the top of the dough. Roll the dough into a rectangle, about 16x8 inches. Fold the dough into thirds, like a letter (bring one short end to the middle, then fold the other short end over it). Rotate the dough 90 degrees. Repeat this rolling and folding process 2 more times (for a total of 3 rolls and 3 folds). If at any point the butter starts to smear or the dough tears, gently re-wrap it and chill for 15-20 minutes before continuing. This simplified lamination creates beautiful layers!
- Second Chill & Prep the Pan Once you’ve completed the rolling and folding, wrap the dough again and chill it for another 30 minutes. This short chill makes the dough easier to handle for shaping. While it chills, line two large rimmed baking sheets with parchment paper. This will help prevent sticking and catch any melted butter that might escape during baking.
- Shape the Pastries (One Shape Only) On a lightly floured surface, roll the dough into a large rectangle, about 18x12 inches and ¼-inch thick. Using a sharp knife or pizza cutter, cut the dough into 12-16 evenly sized squares (about 3x3 inches or 4x3 inches). Gently transfer each square to the prepared baking sheets, leaving about 2 inches of space between them. Using your thumb or the back of a spoon, press a shallow well into the center of each dough square, creating a "nest" for the filling.
- Make the Cream Cheese Filling In a small bowl, whisk together the softened cream cheese, granulated sugar, vanilla extract, and lemon juice (or zest) until smooth and creamy. Spoon about 1-2 tablespoons of the cream cheese filling into the well of each pastry. If using, dollop a small swirl of jam or fruit preserves directly on top of the cream cheese in each well. Be careful not to overfill, as too much filling can leak out during baking.
- Proof Briefly & Egg Wash Cover the baking sheets loosely with plastic wrap or a clean kitchen towel. Let the pastries proof in a warm spot for 30-45 minutes, or until they look slightly puffy and feel soft to the touch. In a small bowl, whisk the remaining large egg with 1 tablespoon of water to make an egg wash. Gently brush the edges of each pastry (avoiding the filling) with the egg wash.
- Bake Preheat your oven to 400°F (200°C). Bake the pastries for 18-25 minutes, rotating the sheets halfway through, until the edges are golden brown, the pastry is puffed, and the filling is set and lightly bubbling. It's normal for a little butter to leak out onto the parchment paper; this is just excess that didn't get absorbed by the dough. If it's excessive, your butter may have gotten too warm during handling.
- Cool & Drizzle Vanilla Icing Once baked, remove the pastries from the oven and let them cool on the baking sheets for 5-10 minutes before transferring them to a wire rack. This helps the filling set and prevents the icing from melting completely. While they cool, whisk together the powdered sugar, milk or cream, and vanilla extract until smooth. Adjust the thickness with more milk or sugar until it's a drizzly but not watery consistency. Drizzle the vanilla icing generously over the cooled pastries. Serve warm or at room temperature. These make wonderful pastry desserts or a delightful brunch item.
How to Make Medialunas - Breakfast Pastry
- Serves: 14 People
- Prepare Time: 75 minutes
- Cooking Time: 25 minutes
- Calories: -
- Difficulty: Easy
Dreaming of a lazy weekend morning, a warm cup of coffee, and a flaky, sweet pastry that tastes like it came straight from a European bakery? If you've ever craved those buttery, melt-in-your-mouth crescent rolls or a delightful breakfast pastry that feels truly special, you're in the right place. We're about to dive into a recipe for Bakery-Style Breakfast Danish Pastries that delivers all the elegance without requiring a pastry chef degree.
This recipe is truly something special, making those weekend pastry dreams a delicious reality:
Shortcut Dough, Big Flavor: Forget complicated lamination techniques! Our clever dough method gives you soft, flaky layers with far less fuss.
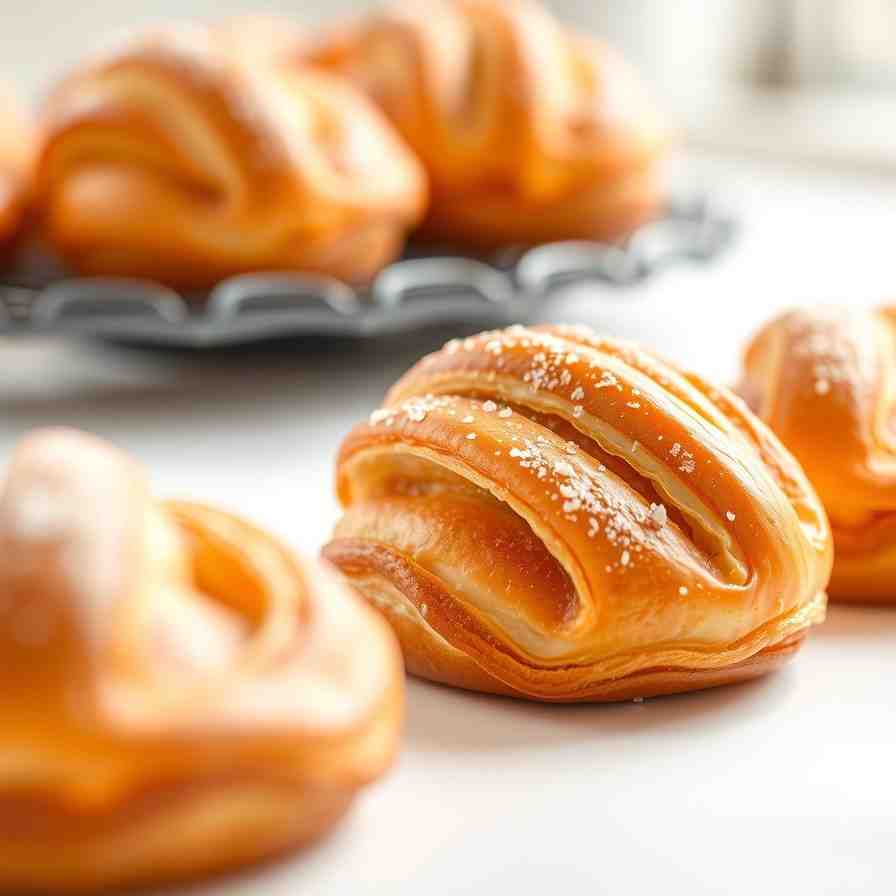
Creamy & Sweet: Each pastry boasts a luscious, creamy fruit-and-cheese center, perfectly complemented by a sweet vanilla icing drizzle. It’s the ultimate sweet pastry experience.
Make-Ahead Magic: While you can whip these up in one morning, they’re incredibly make-ahead friendly, meaning fresh pastries can be just a bake away.
If you’ve successfully tackled basic bread or a batch of cinnamon rolls, you absolutely have what it takes to master these. Get ready to bake your new favorite breakfast pastry!
Key Equipment: Large bowl or stand mixer, rolling pin, rimmed baking sheets, pastry brush.
Flavor Profile: Buttery, lightly sweet pastry; creamy filling; vanilla icing.
Ingredients
Directions
- Activate the Yeast & Mix the Wet Ingredients In a large bowl, or the bowl of a stand mixer, combine the warm water (it should feel like a warm bath, not hot, to the touch) and yeast. Let it sit for 5-10 minutes until foamy, which indicates the yeast is active and ready to go. Stir in the warm milk, egg, granulated sugar, and salt until well combined.
- Cut in the Butter & Bring the Dough Together In a separate bowl, whisk together the all-purpose flour. Now, add the very cold, cubed butter to the flour. Using a pastry cutter, your fingertips, or by pulsing in a food processor, cut the butter into the flour until the mixture resembles coarse crumbs with some pea-sized pieces of butter still visible. This is crucial for those flaky layers! Gradually add the wet ingredients to the dry mixture, mixing gently until just combined. The dough will be very shaggy and sticky – don't worry, that's normal. Avoid overmixing.
- First Chill (Flavor & Flake Builder) Lightly flour your work surface and turn the shaggy dough out onto it. Gently bring the dough together into a rough rectangle. Wrap it tightly in plastic wrap or place it in a lightly floured, airtight container. Chill the dough in the refrigerator for at least 1 ½ hours, or up to 4 hours. This chill time is essential to develop the gluten, keep the butter cold, and prepare the dough for building layers later.
- Roll, Fold & Build Layers (Simplified) After the first chill, lightly flour your work surface and the top of the dough. Roll the dough into a rectangle, about 16x8 inches. Fold the dough into thirds, like a letter (bring one short end to the middle, then fold the other short end over it). Rotate the dough 90 degrees. Repeat this rolling and folding process 2 more times (for a total of 3 rolls and 3 folds). If at any point the butter starts to smear or the dough tears, gently re-wrap it and chill for 15-20 minutes before continuing. This simplified lamination creates beautiful layers!
- Second Chill & Prep the Pan Once you’ve completed the rolling and folding, wrap the dough again and chill it for another 30 minutes. This short chill makes the dough easier to handle for shaping. While it chills, line two large rimmed baking sheets with parchment paper. This will help prevent sticking and catch any melted butter that might escape during baking.
- Shape the Pastries (One Shape Only) On a lightly floured surface, roll the dough into a large rectangle, about 18x12 inches and ¼-inch thick. Using a sharp knife or pizza cutter, cut the dough into 12-16 evenly sized squares (about 3x3 inches or 4x3 inches). Gently transfer each square to the prepared baking sheets, leaving about 2 inches of space between them. Using your thumb or the back of a spoon, press a shallow well into the center of each dough square, creating a "nest" for the filling.
- Make the Cream Cheese Filling In a small bowl, whisk together the softened cream cheese, granulated sugar, vanilla extract, and lemon juice (or zest) until smooth and creamy. Spoon about 1-2 tablespoons of the cream cheese filling into the well of each pastry. If using, dollop a small swirl of jam or fruit preserves directly on top of the cream cheese in each well. Be careful not to overfill, as too much filling can leak out during baking.
- Proof Briefly & Egg Wash Cover the baking sheets loosely with plastic wrap or a clean kitchen towel. Let the pastries proof in a warm spot for 30-45 minutes, or until they look slightly puffy and feel soft to the touch. In a small bowl, whisk the remaining large egg with 1 tablespoon of water to make an egg wash. Gently brush the edges of each pastry (avoiding the filling) with the egg wash.
- Bake Preheat your oven to 400°F (200°C). Bake the pastries for 18-25 minutes, rotating the sheets halfway through, until the edges are golden brown, the pastry is puffed, and the filling is set and lightly bubbling. It's normal for a little butter to leak out onto the parchment paper; this is just excess that didn't get absorbed by the dough. If it's excessive, your butter may have gotten too warm during handling.
- Cool & Drizzle Vanilla Icing Once baked, remove the pastries from the oven and let them cool on the baking sheets for 5-10 minutes before transferring them to a wire rack. This helps the filling set and prevents the icing from melting completely. While they cool, whisk together the powdered sugar, milk or cream, and vanilla extract until smooth. Adjust the thickness with more milk or sugar until it's a drizzly but not watery consistency. Drizzle the vanilla icing generously over the cooled pastries. Serve warm or at room temperature. These make wonderful pastry desserts or a delightful brunch item.
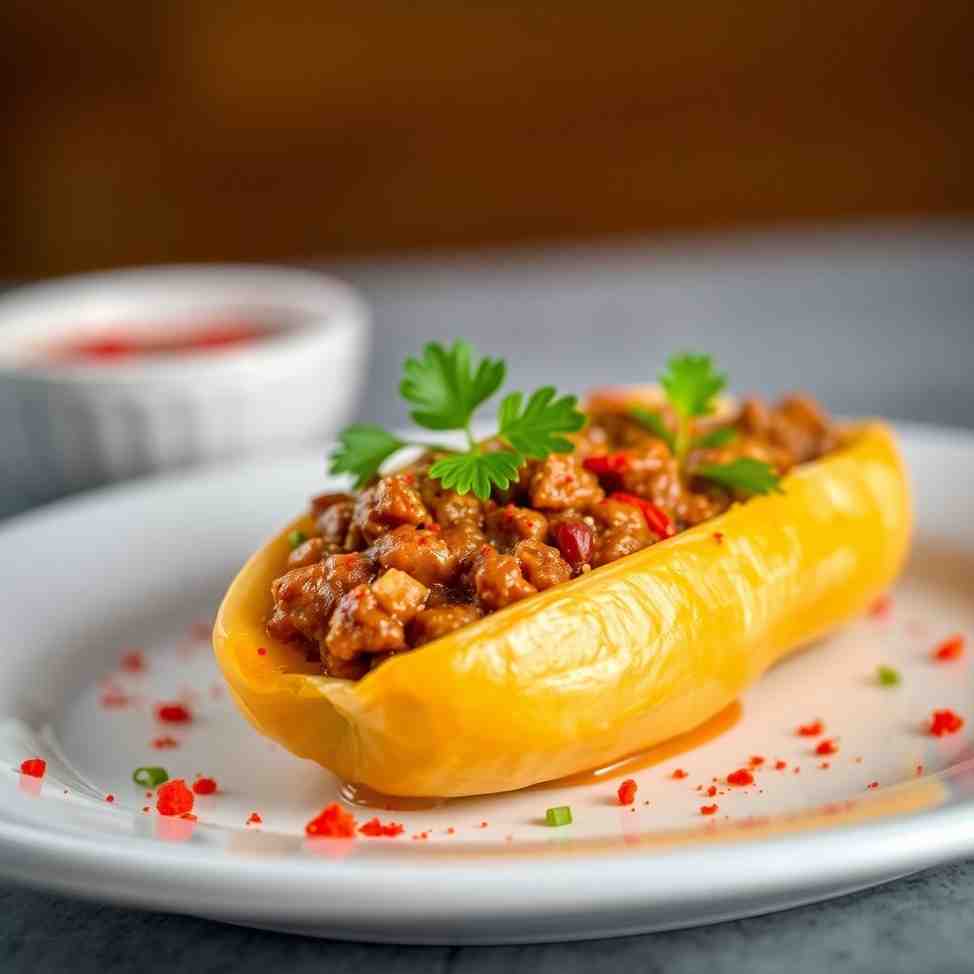
You may also like


Hey there! I’m just someone who seriously loves good food and believes that cooking doesn’t have to be complicated to be amazing. Whether it’s a quick weeknight dinner or a cozy weekend meal, I’m all about sharing easy, tasty recipes that actually work.


