
Azerbaijani Lavash Easy Skillet Flatbread Recipe
Azerbaijani Lavash Easy Skillet Flatbread Recipe
- Serves: 12 People
- Prepare Time: 25 minutes
- Cooking Time: 15 minutes
- Calories: -
- Difficulty: Easy
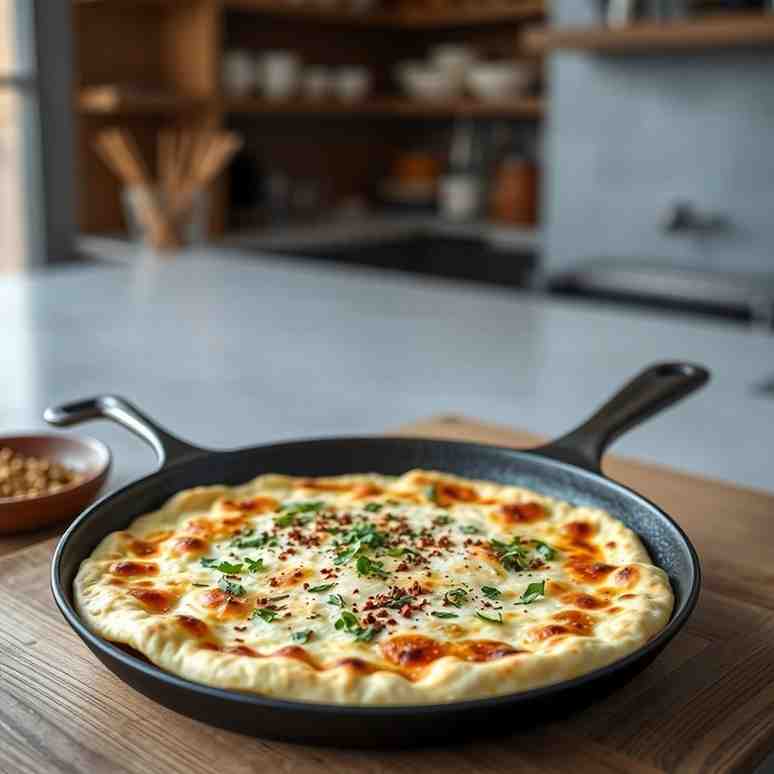
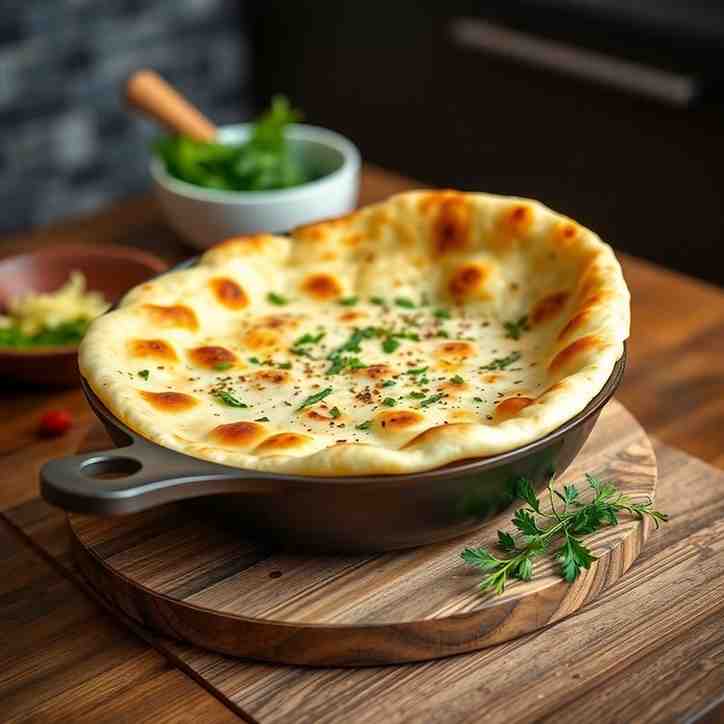
Ready to bring the taste of the Caucasus right into your kitchen? Get set to unveil the art of traditional Azerbaijani Lavash! This isn't just any flatbread; it's a soft, foldable, and incredibly versatile staple that's surprisingly easy to master at home. Forget dry, store-bought versions – our Azerbaijani Lavash recipe will guide you to create thin, pliable rounds perfect for everything from savory wraps to dipping into your favorite spreads.
Why bother making homemade flatbread? Because nothing beats the fresh aroma and tender texture of bread straight from your pan. It’s a rewarding experience that connects you to centuries of culinary tradition. Our easy flatbread recipe is designed for everyone, whether you’re a seasoned baker or just starting your journey into recipes with dough. You’ll be amazed at how simple it is to whip up this delicious pastry recipe on your skillet, making it a perfect addition to any meal, any day. Let’s dive into making the best flatbread recipe you’ll ever try!
Texture: Soft, foldable, thin, and pliable.
Best for: Wraps, dips, soups, snack chips, or simply enjoyed on its own.
Ingredients
Directions
- Equipment You’ll Need (Cooking Techniques)Gathering your tools before you start makes the process smooth and enjoyable.
- Large mixing bowl (or a stand mixer with a dough hook).
- Kitchen scale (highly recommended for accuracy) + measuring cups and spoons.
- Rolling pin.
- Large nonstick skillet, griddle, or cast-iron pan (10-12 inches).
- Optional: Pizza stone + a rimless baking sheet or parchment paper if you plan to bake in the oven.
- Clean kitchen towels for covering dough and finished lavash.
- Before You Start – Dough & Heat Cheat Sheet (Cooking Techniques) A little knowledge goes a long way to ensure your flat bread turns out perfectly.
- Dough Feel: After kneading, your dough should feel smooth, soft, and slightly tacky, but not overly sticky that it clings to your hands. If it's too sticky, add a tiny bit more flour; if it's too dry or stiff, sprinkle in a teaspoon or two of warm water.
- Thickness Target: The goal is to roll your lavash very thin – about 1-2 mm thick. It should be thin enough that you can almost see through it, but still robust enough to lift without tearing.
- Pan Test: To check if your skillet is hot enough, sprinkle a tiny pinch of flour onto the surface. If it immediately sizzles and turns light brown, your pan is ready. Alternatively, a drop of water should evaporate instantly.
- Soft vs. Crisp: For soft, pliable lavash (ideal for wraps), cook briefly and keep the cooked rounds immediately covered with a towel. For a crispier texture (great for chips), cook a bit longer or leave uncovered to cool.
- Mix & Knead the Dough
- If using active dry yeast (not instant), first proof it: In a small bowl, combine the warm water and sugar/honey. Sprinkle the active dry yeast over the top and let it sit for 5-10 minutes until foamy. If using instant yeast, you can skip this proofing step.
- In your large mixing bowl (or stand mixer bowl), combine the warm water (and proofed yeast mixture if applicable), oil, and salt.
- Gradually add the flour to the wet ingredients. Mix with a spoon or your hands until a shaggy dough forms.
- Turn the dough out onto a lightly floured surface (or use your stand mixer with a dough hook). Knead for 7-10 minutes by hand, or 5-7 minutes with a mixer, until the dough is smooth, elastic, and stretchy.
- Dough Feel Cues:
- Too sticky? Add 1-2 teaspoons of flour at a time, kneading after each addition, until it's manageable but still soft.
- Too stiff/crumbly? Sprinkle in a teaspoon or two of warm water, kneading until it softens and becomes pliable.
- First Rise
- Lightly grease a clean bowl with a little oil. Place the kneaded dough into the bowl, turning it once to coat.
- Cover the bowl tightly with plastic wrap or a clean kitchen towel.
- Let the dough rise in a warm, draft-free spot until it has roughly doubled in size. This typically takes about 40-60 minutes, depending on your kitchen's temperature.
- When ready, the dough should look soft and puffed, and when gently poked with a finger, it should spring back slowly.
- Divide & Rest
- Gently punch down the risen dough to release the air.
- Turn the dough out onto a lightly floured surface. Divide it into 12 equal pieces. For best results, use a kitchen scale to ensure each piece weighs approximately 50-55 grams.
- Shape each piece into a tight, smooth ball. This helps create an even surface for rolling.
- Arrange the dough balls on a lightly floured surface or baking sheet, cover them with a clean kitchen towel, and let them rest for 10-15 minutes. This crucial resting period allows the gluten to relax, making the dough much easier to roll thinly.
- Roll the Lavash Very Thin
- While you work with one dough ball, keep the remaining ones covered to prevent them from drying out.
- Lightly flour your work surface and your rolling pin.
- Place one dough ball on the floured surface and begin rolling from the center outwards. Aim to create an oval or circular shape, about 8-10 inches in diameter (depending on the size of your skillet) and 1-2 mm thick. Remember, the thinner, the better for traditional lavash!
- Troubleshooting Rolling:
- If the dough springs back or shrinks: This means the gluten is still too tight. Cover the dough ball and let it rest for another 5-10 minutes before trying again.
- If small tears appear: Don't worry! You can gently pinch them together to patch them up.
- Step 5 – Cook the Lavash
Skillet Method (Primary):- Heat your large nonstick skillet, griddle, or cast-iron pan over medium to medium-high heat. Allow it to preheat for several minutes until it's nice and hot. You can test the heat using the pan test described above.
- Carefully place a rolled lavash round into the hot, dry skillet. No oil is needed in the pan!
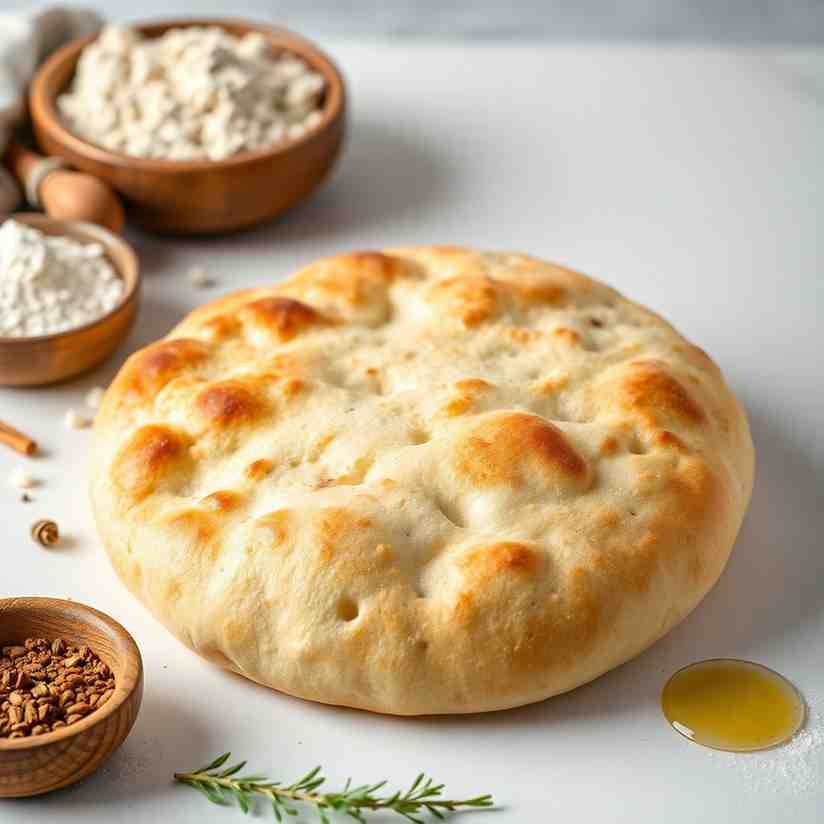
- Cook for 30-60 seconds on the first side, until bubbles begin to form on the surface and light brown spots appear on the bottom.
- Flip the lavash and cook briefly on the second side, another 20-40 seconds, until it's just set but still flexible and soft. You want it cooked through but not crispy, unless you're aiming for chips.
- Optional Note – Pizza Stone / Oven Method (using the same dough):
- If you prefer an oven method, preheat your pizza stone in a very hot oven (475-500°F / 245-260°C) for at least 30 minutes.
- Carefully transfer a rolled lavash round directly onto the hot pizza stone using a pizza peel or by gently sliding it off a rimless baking sheet or parchment paper.
- Bake for 1-3 minutes until the lavash puffs up and develops a few light brown spots. This is the same delicious dough and flatbread easy recipe – just a different heat source!
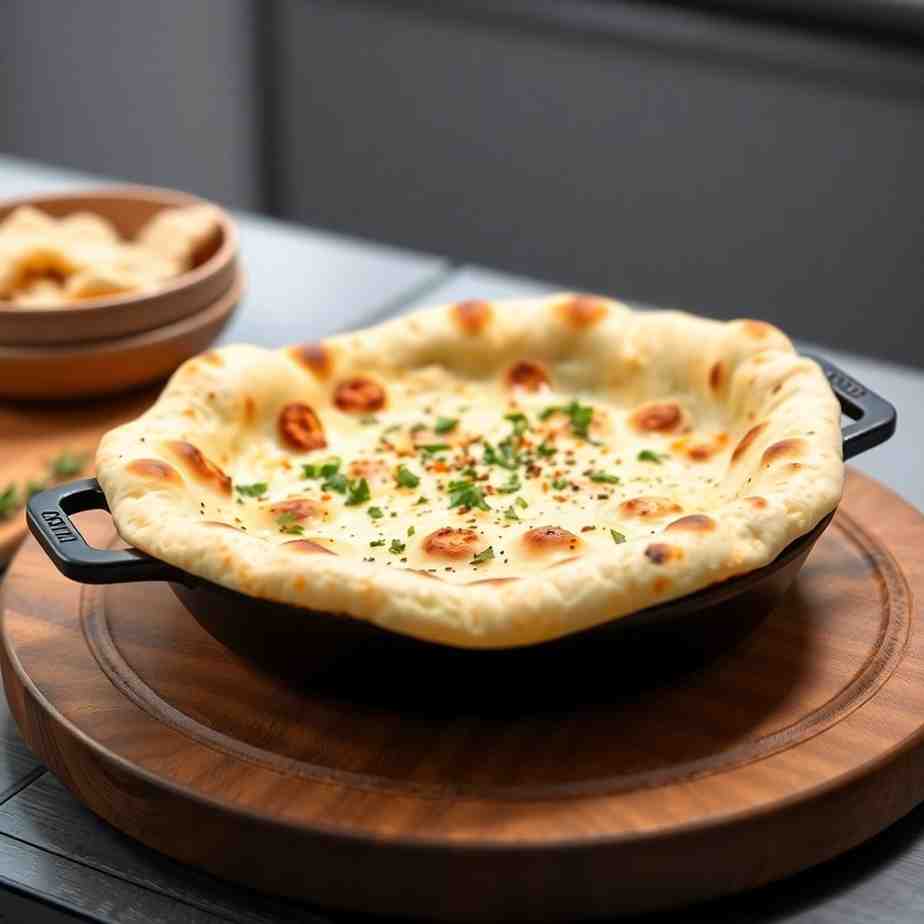
- Keep the Lavash Soft
- As each lavash round finishes cooking, immediately stack it on a plate.
- Cover the stack with a clean kitchen towel. This traps the steam, which is essential for keeping your Azerbaijani Lavash soft, pliable, and perfect for wrapping.
Azerbaijani Lavash Easy Skillet Flatbread Recipe
- Serves: 12 People
- Prepare Time: 25 minutes
- Cooking Time: 15 minutes
- Calories: -
- Difficulty: Easy
Ready to bring the taste of the Caucasus right into your kitchen? Get set to unveil the art of traditional Azerbaijani Lavash! This isn't just any flatbread; it's a soft, foldable, and incredibly versatile staple that's surprisingly easy to master at home. Forget dry, store-bought versions – our Azerbaijani Lavash recipe will guide you to create thin, pliable rounds perfect for everything from savory wraps to dipping into your favorite spreads.
Why bother making homemade flatbread? Because nothing beats the fresh aroma and tender texture of bread straight from your pan. It’s a rewarding experience that connects you to centuries of culinary tradition. Our easy flatbread recipe is designed for everyone, whether you’re a seasoned baker or just starting your journey into recipes with dough. You’ll be amazed at how simple it is to whip up this delicious pastry recipe on your skillet, making it a perfect addition to any meal, any day. Let’s dive into making the best flatbread recipe you’ll ever try!
Texture: Soft, foldable, thin, and pliable.
Best for: Wraps, dips, soups, snack chips, or simply enjoyed on its own.
Ingredients
Directions
- Equipment You’ll Need (Cooking Techniques)Gathering your tools before you start makes the process smooth and enjoyable.
- Large mixing bowl (or a stand mixer with a dough hook).
- Kitchen scale (highly recommended for accuracy) + measuring cups and spoons.
- Rolling pin.
- Large nonstick skillet, griddle, or cast-iron pan (10-12 inches).
- Optional: Pizza stone + a rimless baking sheet or parchment paper if you plan to bake in the oven.
- Clean kitchen towels for covering dough and finished lavash.
- Before You Start – Dough & Heat Cheat Sheet (Cooking Techniques) A little knowledge goes a long way to ensure your flat bread turns out perfectly.
- Dough Feel: After kneading, your dough should feel smooth, soft, and slightly tacky, but not overly sticky that it clings to your hands. If it's too sticky, add a tiny bit more flour; if it's too dry or stiff, sprinkle in a teaspoon or two of warm water.
- Thickness Target: The goal is to roll your lavash very thin – about 1-2 mm thick. It should be thin enough that you can almost see through it, but still robust enough to lift without tearing.
- Pan Test: To check if your skillet is hot enough, sprinkle a tiny pinch of flour onto the surface. If it immediately sizzles and turns light brown, your pan is ready. Alternatively, a drop of water should evaporate instantly.
- Soft vs. Crisp: For soft, pliable lavash (ideal for wraps), cook briefly and keep the cooked rounds immediately covered with a towel. For a crispier texture (great for chips), cook a bit longer or leave uncovered to cool.
- Mix & Knead the Dough
- If using active dry yeast (not instant), first proof it: In a small bowl, combine the warm water and sugar/honey. Sprinkle the active dry yeast over the top and let it sit for 5-10 minutes until foamy. If using instant yeast, you can skip this proofing step.
- In your large mixing bowl (or stand mixer bowl), combine the warm water (and proofed yeast mixture if applicable), oil, and salt.
- Gradually add the flour to the wet ingredients. Mix with a spoon or your hands until a shaggy dough forms.
- Turn the dough out onto a lightly floured surface (or use your stand mixer with a dough hook). Knead for 7-10 minutes by hand, or 5-7 minutes with a mixer, until the dough is smooth, elastic, and stretchy.
- Dough Feel Cues:
- Too sticky? Add 1-2 teaspoons of flour at a time, kneading after each addition, until it's manageable but still soft.
- Too stiff/crumbly? Sprinkle in a teaspoon or two of warm water, kneading until it softens and becomes pliable.
- First Rise
- Lightly grease a clean bowl with a little oil. Place the kneaded dough into the bowl, turning it once to coat.
- Cover the bowl tightly with plastic wrap or a clean kitchen towel.
- Let the dough rise in a warm, draft-free spot until it has roughly doubled in size. This typically takes about 40-60 minutes, depending on your kitchen's temperature.
- When ready, the dough should look soft and puffed, and when gently poked with a finger, it should spring back slowly.
- Divide & Rest
- Gently punch down the risen dough to release the air.
- Turn the dough out onto a lightly floured surface. Divide it into 12 equal pieces. For best results, use a kitchen scale to ensure each piece weighs approximately 50-55 grams.
- Shape each piece into a tight, smooth ball. This helps create an even surface for rolling.
- Arrange the dough balls on a lightly floured surface or baking sheet, cover them with a clean kitchen towel, and let them rest for 10-15 minutes. This crucial resting period allows the gluten to relax, making the dough much easier to roll thinly.
- Roll the Lavash Very Thin
- While you work with one dough ball, keep the remaining ones covered to prevent them from drying out.
- Lightly flour your work surface and your rolling pin.
- Place one dough ball on the floured surface and begin rolling from the center outwards. Aim to create an oval or circular shape, about 8-10 inches in diameter (depending on the size of your skillet) and 1-2 mm thick. Remember, the thinner, the better for traditional lavash!
- Troubleshooting Rolling:
- If the dough springs back or shrinks: This means the gluten is still too tight. Cover the dough ball and let it rest for another 5-10 minutes before trying again.
- If small tears appear: Don't worry! You can gently pinch them together to patch them up.
- Step 5 – Cook the Lavash
Skillet Method (Primary):- Heat your large nonstick skillet, griddle, or cast-iron pan over medium to medium-high heat. Allow it to preheat for several minutes until it's nice and hot. You can test the heat using the pan test described above.
- Carefully place a rolled lavash round into the hot, dry skillet. No oil is needed in the pan!
- Cook for 30-60 seconds on the first side, until bubbles begin to form on the surface and light brown spots appear on the bottom.
- Flip the lavash and cook briefly on the second side, another 20-40 seconds, until it's just set but still flexible and soft. You want it cooked through but not crispy, unless you're aiming for chips.
- Optional Note – Pizza Stone / Oven Method (using the same dough):
- If you prefer an oven method, preheat your pizza stone in a very hot oven (475-500°F / 245-260°C) for at least 30 minutes.
- Carefully transfer a rolled lavash round directly onto the hot pizza stone using a pizza peel or by gently sliding it off a rimless baking sheet or parchment paper.
- Bake for 1-3 minutes until the lavash puffs up and develops a few light brown spots. This is the same delicious dough and flatbread easy recipe – just a different heat source!
- Keep the Lavash Soft
- As each lavash round finishes cooking, immediately stack it on a plate.
- Cover the stack with a clean kitchen towel. This traps the steam, which is essential for keeping your Azerbaijani Lavash soft, pliable, and perfect for wrapping.
The following nutritional values are per serving (one piece of cake) Calories ~132 kcal Carbohydrates ~23g Protein ~3g Fat ~2.7g Tools and ingredients that can help you cook more easily and consistently. Here are a few items that can make your lavash-making journey even smoother and quicker: Problem: Kneading dough by hand can be a workout, taking 10-15 minutes of continuous effort, which can be tiring and time-consuming, especially for beginners. Problem: Measuring flour and other dry ingredients by volume (cups) can be notoriously inaccurate because flour can pack differently, leading to doughs that are either too sticky or too dry. Problem: Traditional active dry yeast often requires an extra step of "proofing" – dissolving it in warm water with a pinch of sugar and waiting for it to foam – before you can even start mixing your main dough. Click any ingredient for detailed nutritional information:Recipe Nutritional Values
Additional Information
Recipe Success Tips
Ingredient Substitutions & Variations
Cultural Variations
Make-Ahead & Storage Instructions
Frequently Asked Questions
Recommended Kitchen Tools
Time-Saving Tools & Ingredients
Stand Mixer with Dough Hook
Agitate: Inconsistent hand-kneading might lead to under-developed gluten, resulting in lavash that isn't as soft, pliable, or easy to roll as it should be, potentially making your efforts feel wasted.
Solution: A stand mixer does all the hard work for you! Simply attach the dough hook, and let it knead your dough to perfection in about 7-10 minutes, ensuring a smooth, elastic consistency every time, while you focus on other tasks.Digital Kitchen Scale
Agitate: Constantly troubleshooting your dough by adding tiny bits of flour or water back and forth is frustrating, wastes time, and can compromise the final texture, making your lavash dense or crumbly.
Solution: A digital kitchen scale provides precise measurements in grams, ensuring your dough has the perfect hydration from the very start. This eliminates guesswork, reduces mess, and guarantees consistent, bakery-quality results with every batch.Instant Yeast
Agitate: If your water isn't the right temperature or your yeast is old, it might not activate, meaning your dough won't rise, and you'll have wasted precious time and ingredients, leading to flat, disappointing lavash.
Solution: Instant yeast is a baker's best friend for speed! It can be mixed directly into your dry ingredients without proofing. It activates quickly and reliably, getting your dough rising faster and streamlining the entire process, so you can enjoy fresh lavash sooner.Calories per Ingredient
You may also like

Hey there! I’m just someone who seriously loves good food and believes that cooking doesn’t have to be complicated to be amazing. Whether it’s a quick weeknight dinner or a cozy weekend meal, I’m all about sharing easy, tasty recipes that actually work.


