
Bermuda Gombey Pepper Jam Recipe Sweet, Spicy & Easy
Bermuda Gombey Pepper Jam Recipe Sweet, Spicy & Easy
- Serves: 6 People
- Prepare Time: 25 minutes
- Cooking Time: 40 minutes
- Calories: -
- Difficulty: Medium
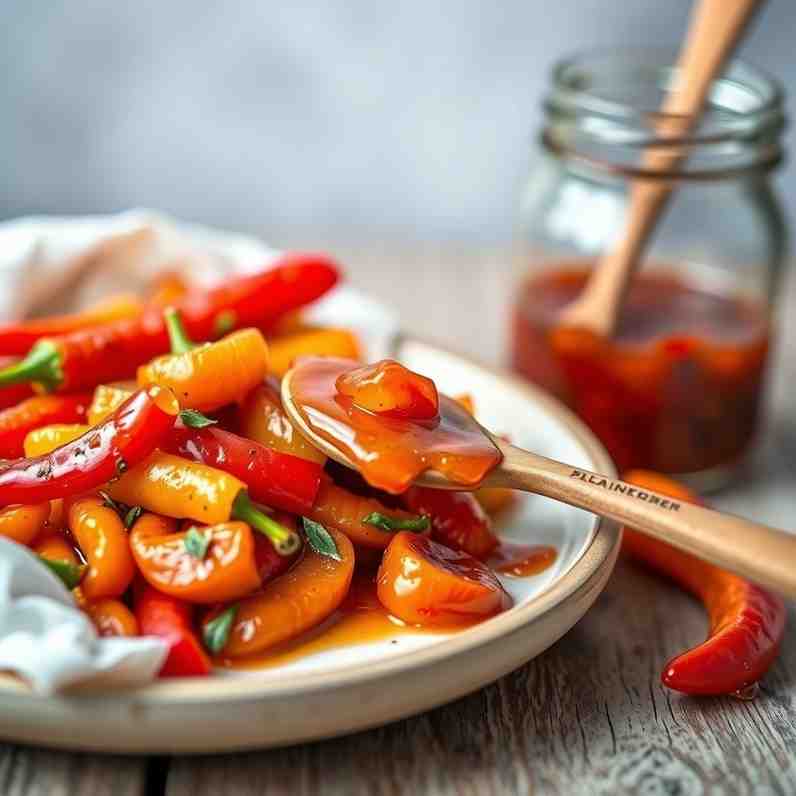
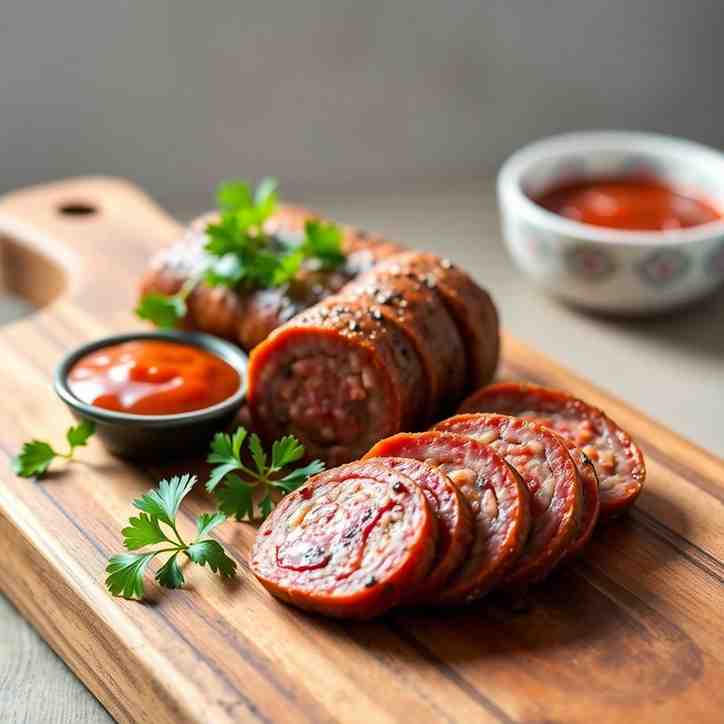
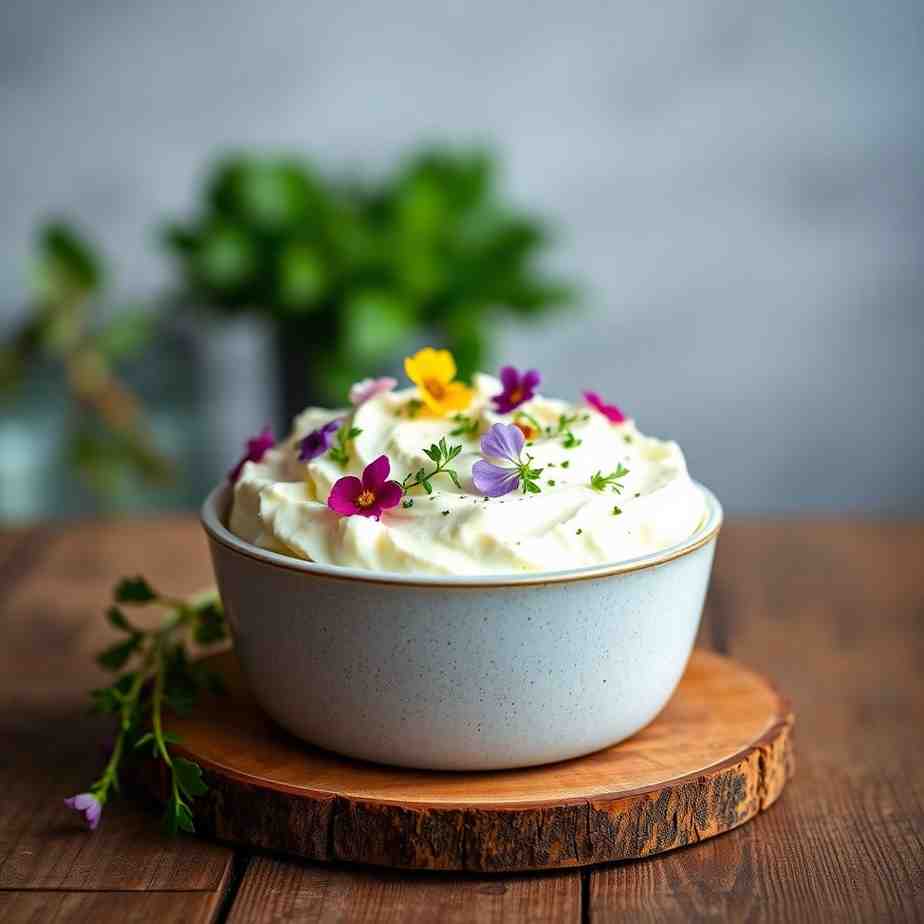
Get ready to awaken your taste buds with the vibrant and irresistible Bermuda Gombey Pepper Jam recipe! This isn't just any ordinary jam; it's a sweet, spicy, and tangy symphony that brings a burst of flavor to any dish. If you've been searching for the best pepper jam to elevate your culinary game, you've found it. Perfect for beginners and seasoned home cooks alike, this sweet red pepper jelly is incredibly versatile. Whether you're slathering it over cream cheese for a quick appetizer, using it as a glaze for meats, or simply enjoying it on toast, this red pepper jam is a true delight. It also makes a fantastic homemade gift, spreading joy with every jar. Let's dive into making this incredible pepper jelly jam!
Ingredients
Directions
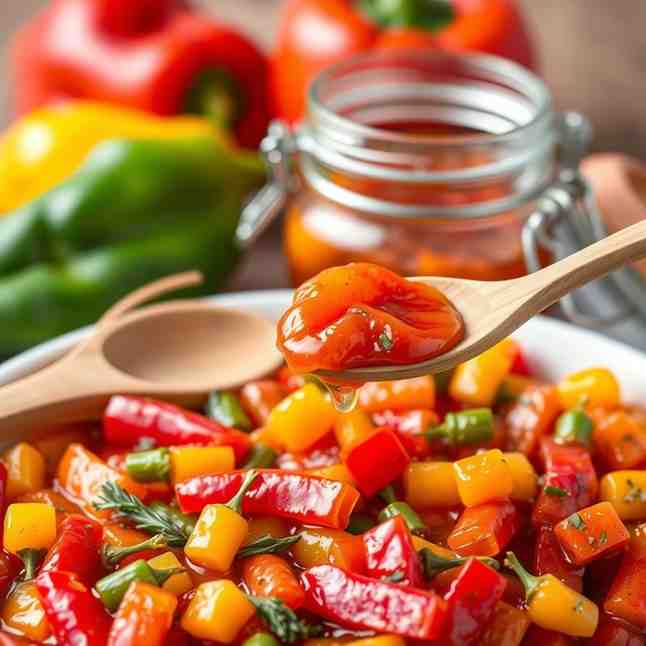
- Prep Your Peppers: Wash your red bell peppers and jalapeños thoroughly. Remove the stems, seeds, and membranes from all peppers. For the jalapeños, wear gloves to protect your hands from the capsaicin. Finely chop all the peppers. A food processor can make this step quick and easy, but be careful not to over-process them into a paste – you want small, uniform pieces.
- Combine & Simmer: In a large, heavy-bottomed pot or Dutch oven, combine the chopped red bell peppers, jalapeños, apple cider vinegar, and water. Bring the mixture to a boil over medium-high heat, then reduce the heat to a simmer. Cook for about 10-15 minutes, or until the peppers are tender.
- Add Sugar: Stir in the granulated sugar until it's completely dissolved. Increase the heat back to medium-high and bring the mixture to a rolling boil that cannot be stirred down. This is crucial for proper setting.
- Introduce Pectin: Once you have a rolling boil, immediately stir in the liquid fruit pectin. Continue to boil vigorously for exactly 1 minute, stirring constantly. This short, intense boil activates the pectin.
- Troubleshooting Tip (Setting Issues): If your jam isn't setting, it's often due to not reaching a true rolling boil or not boiling long enough after adding pectin. Ensure your heat is high enough.
- Test for Set (Optional but Recommended): To check if your jam will set, place a small plate in the freezer before you start cooking. After the pectin boil, spoon a small amount of hot jam onto the cold plate. Let it sit for 30 seconds, then push it with your finger. If it wrinkles, it's ready! If not, boil for another minute and re-test.
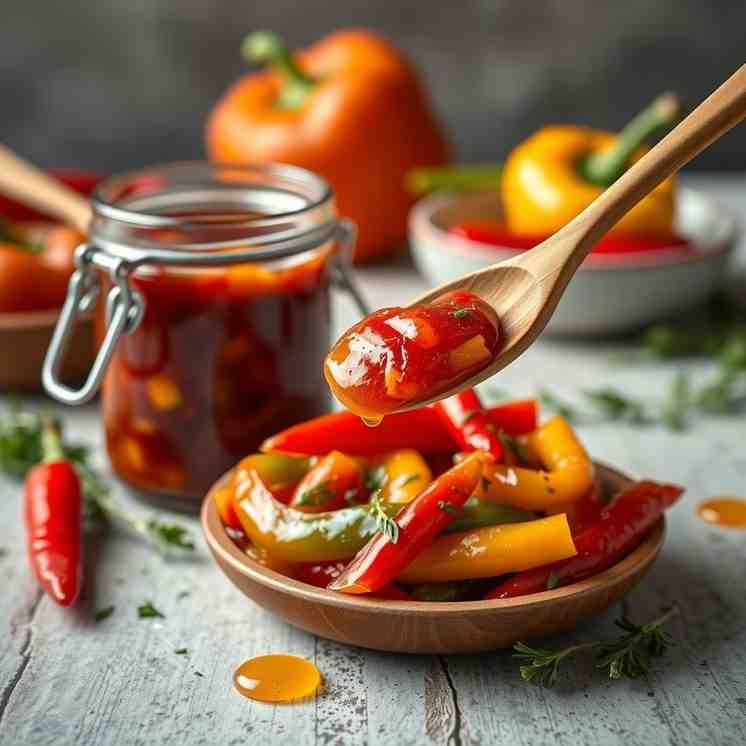
- Add Lime Juice (Optional): If using, stir in the fresh lime juice right after removing the jam from the heat. This adds a lovely bright note.Ladle into Jars: Carefully ladle the hot jam into sterilized half-pint or pint canning jars, leaving about 1/4 inch of headspace. Wipe the rims clean with a damp cloth.
- Process Jars (for Shelf Stability): Place the lids and screw bands on the jars, tightening to fingertip-tight. Process the jars in a boiling water canner for 10 minutes (adjust for altitude if necessary).
- Cool & Store: Remove the jars from the canner and place them on a towel-lined counter to cool completely, undisturbed, for 12-24 hours. You should hear the lids "pop" as they seal. Check seals by pressing the center of the lid; if it doesn't flex, it's sealed. Store sealed jars in a cool, dark place.
Bermuda Gombey Pepper Jam Recipe Sweet, Spicy & Easy
- Serves: 6 People
- Prepare Time: 25 minutes
- Cooking Time: 40 minutes
- Calories: -
- Difficulty: Medium
Get ready to awaken your taste buds with the vibrant and irresistible Bermuda Gombey Pepper Jam recipe! This isn't just any ordinary jam; it's a sweet, spicy, and tangy symphony that brings a burst of flavor to any dish. If you've been searching for the best pepper jam to elevate your culinary game, you've found it. Perfect for beginners and seasoned home cooks alike, this sweet red pepper jelly is incredibly versatile. Whether you're slathering it over cream cheese for a quick appetizer, using it as a glaze for meats, or simply enjoying it on toast, this red pepper jam is a true delight. It also makes a fantastic homemade gift, spreading joy with every jar. Let's dive into making this incredible pepper jelly jam!
Ingredients
Directions
- Prep Your Peppers: Wash your red bell peppers and jalapeños thoroughly. Remove the stems, seeds, and membranes from all peppers. For the jalapeños, wear gloves to protect your hands from the capsaicin. Finely chop all the peppers. A food processor can make this step quick and easy, but be careful not to over-process them into a paste – you want small, uniform pieces.
- Combine & Simmer: In a large, heavy-bottomed pot or Dutch oven, combine the chopped red bell peppers, jalapeños, apple cider vinegar, and water. Bring the mixture to a boil over medium-high heat, then reduce the heat to a simmer. Cook for about 10-15 minutes, or until the peppers are tender.
- Add Sugar: Stir in the granulated sugar until it's completely dissolved. Increase the heat back to medium-high and bring the mixture to a rolling boil that cannot be stirred down. This is crucial for proper setting.
- Introduce Pectin: Once you have a rolling boil, immediately stir in the liquid fruit pectin. Continue to boil vigorously for exactly 1 minute, stirring constantly. This short, intense boil activates the pectin.
- Troubleshooting Tip (Setting Issues): If your jam isn't setting, it's often due to not reaching a true rolling boil or not boiling long enough after adding pectin. Ensure your heat is high enough.
- Test for Set (Optional but Recommended): To check if your jam will set, place a small plate in the freezer before you start cooking. After the pectin boil, spoon a small amount of hot jam onto the cold plate. Let it sit for 30 seconds, then push it with your finger. If it wrinkles, it's ready! If not, boil for another minute and re-test.
- Add Lime Juice (Optional): If using, stir in the fresh lime juice right after removing the jam from the heat. This adds a lovely bright note.Ladle into Jars: Carefully ladle the hot jam into sterilized half-pint or pint canning jars, leaving about 1/4 inch of headspace. Wipe the rims clean with a damp cloth.
- Process Jars (for Shelf Stability): Place the lids and screw bands on the jars, tightening to fingertip-tight. Process the jars in a boiling water canner for 10 minutes (adjust for altitude if necessary).
- Cool & Store: Remove the jars from the canner and place them on a towel-lined counter to cool completely, undisturbed, for 12-24 hours. You should hear the lids "pop" as they seal. Check seals by pressing the center of the lid; if it doesn't flex, it's sealed. Store sealed jars in a cool, dark place.
The following nutritional values are per serving (one piece of cake) Calories ~50 calories per tablespoon Carbohydrates ~13g per tablespoon Protein <1g per tablespoon Fat <1g per tablespoon Making homemade pepper jam is a labor of love, but a few clever tools and ingredients can make the process much smoother and quicker! Problem: Chopping all those bell peppers and jalapeños by hand can be a real chore, taking up precious time and tiring out your hands. Problem: Pouring hot, sticky jam into small canning jars is notoriously tricky, often leading to spills, sticky rims, and wasted deliciousness. Problem: Ensuring your homemade jam is safely preserved for long-term storage requires proper sterilization and processing, which can seem daunting. Click any ingredient for detailed nutritional information:Recipe Nutritional Values
Additional Information
Recipe Success Tips
Ingredient Substitutions & Variations
Cultural Variations
Make-Ahead & Storage Instructions
Frequently Asked Questions
Recommended Kitchen Tools
Time-Saving Tools & Ingredients
Agitate: Nobody wants an uneven chop that affects the texture of your jam, or to spend half their prep time just dicing.
Solution: A food processor zips through bell peppers and jalapeños in seconds, giving you a perfectly uniform chop with minimal effort. Just a few pulses and you're ready to go! Canning Funnel:Time-Saving Tools & Ingredients
Agitate: Spills mean extra cleanup and can even compromise the seal of your jars if jam gets on the rim, making all your hard work less effective.
Solution: A wide-mouth canning funnel sits perfectly on your jars, guiding every last drop of jam cleanly inside. It makes filling jars mess-free and efficient, ensuring a proper seal every time. Water Bath Canner Kit:Time-Saving Tools & Ingredients
Agitate: Improper canning can lead to spoilage and health risks, making all your efforts go to waste if jars don't seal correctly or content spoils.
Solution: A complete water bath canner kit provides everything you need—a large pot, a sturdy rack to keep jars off the bottom, and a jar lifter—to safely process your jam, ensuring it's shelf-stable and delicious for months to come. It takes the guesswork out of safe home canning.Calories per Ingredient
You may also like

Hey there! I’m just someone who seriously loves good food and believes that cooking doesn’t have to be complicated to be amazing. Whether it’s a quick weeknight dinner or a cozy weekend meal, I’m all about sharing easy, tasty recipes that actually work.


