
Best Spring Roll Sauce Easy Vietnamese Peanut Dip Recipe
Best Spring Roll Sauce Easy Vietnamese Peanut Dip Recipe
- Serves: 4 People
- Prepare Time: 5 minutes
- Cooking Time: 0 minutes
- Calories: -
- Difficulty: Easy
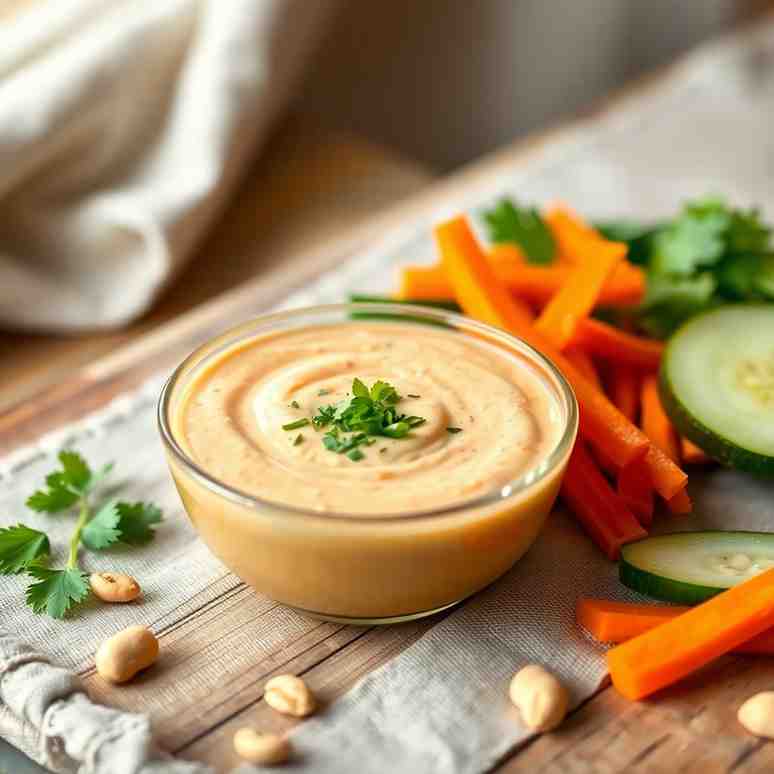
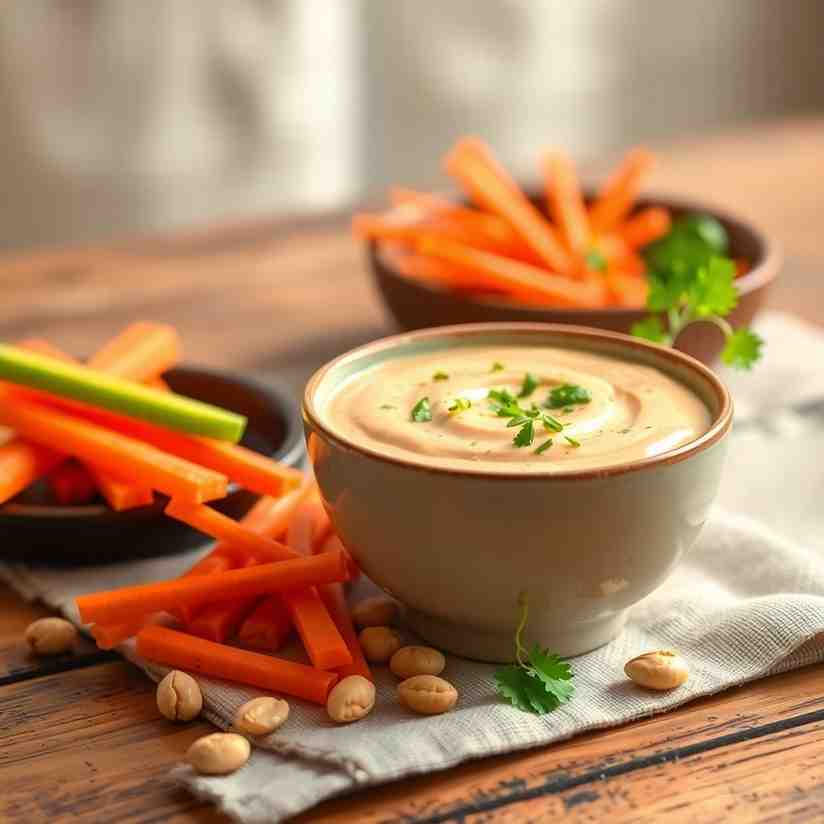
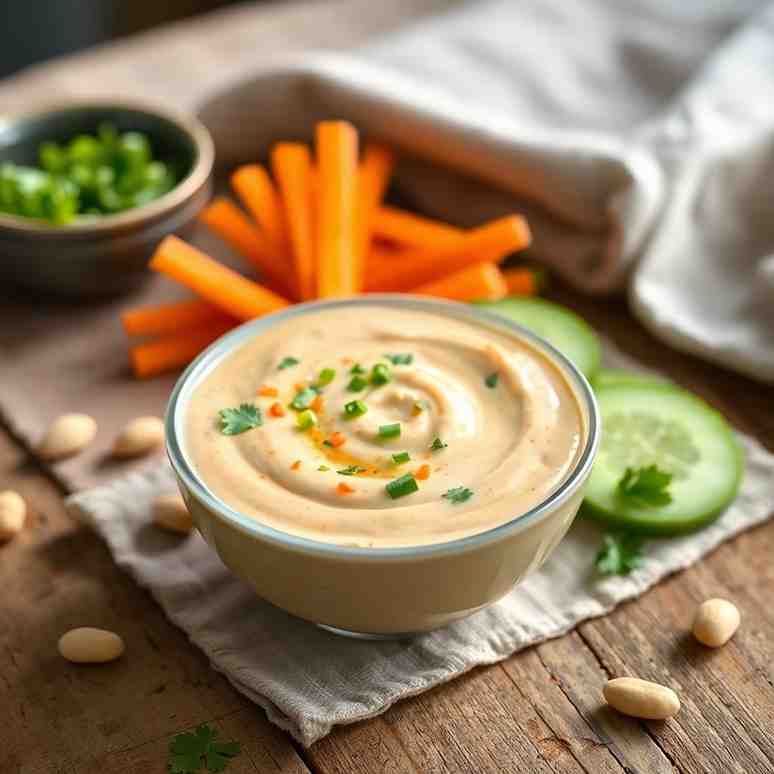
Get ready to transform your fresh spring rolls! While the rolls themselves are a delightful mix of fresh veggies, herbs, and protein, it's the spring roll sauce that truly brings everything together. Think of it as the soul of your meal, the flavor bomb that makes every bite sing. Our Vietnamese-inspired peanut and hoisin sauce is designed to be just that – a creamy, savory-sweet, and gently spicy dip with a bright kiss of lime that will cling perfectly to your delicate rice paper rolls.
Whether you're hosting a party or simply enjoying a quick, healthy meal at home, this homemade peanut sauce is a game-changer. It’s incredibly easy to make, uses simple pantry ingredients, and comes together in just 5 minutes. Forget bland, watery dips; this recipe delivers restaurant-quality flavor right to your kitchen. It’s the best spring roll sauce you’ll ever make, designed for dipping, drizzling, and delighting both beginners and seasoned foodies alike.
Ingredients
Directions
- Warm & Prep
- If your creamy peanut butter has separated, give it a good stir. For even easier mixing, you can microwave the peanut butter in a microwave-safe bowl for about 10 seconds.
- Measure out all your ingredients before you start. This mise en place (everything in its place) approach makes the process smooth and stress-free.
- uild the Base
- In a medium mixing bowl, combine the peanut butter, hoisin sauce, soy sauce (or tamari), brown sugar (or honey/maple), rice vinegar (or lime juice), minced garlic, and any optional fish sauce or toasted sesame oil you’re using.
- Whisk everything together thoroughly. Don't worry if it looks incredibly thick and sticky at this stage – that’s exactly how it should be!
- hin to Perfect Consistency
- Now for the magic! Start adding the warm water, 1 tablespoon at a time, whisking continuously after each addition.
- Keep whisking until the sauce transforms into a silky, pourable consistency. It should be thick enough to generously coat the back of a spoon and slowly drip off, but not runny like water.
- Dipping Test: To check the consistency, dip a piece of lettuce or a noodle into the sauce. It should cling beautifully without sliding right off.
- Taste and Adjust
- This is where you make it truly yours! Give the sauce a taste and use this simple checklist:
- Too salty? Whisk in a little more brown sugar or a splash of warm water.
- Too sweet? Add a bit more rice vinegar or a squeeze of fresh lime juice.
- Needs more punch? A tiny pinch of salt, an extra squeeze of lime, or a dash more sriracha can awaken the flavors.
- Once perfected, transfer the sauce to small serving bowls. Garnish with crushed roasted peanuts, thinly sliced chili, and fresh green onion or cilantro.
Best Spring Roll Sauce Easy Vietnamese Peanut Dip Recipe
- Serves: 4 People
- Prepare Time: 5 minutes
- Cooking Time: 0 minutes
- Calories: -
- Difficulty: Easy
Get ready to transform your fresh spring rolls! While the rolls themselves are a delightful mix of fresh veggies, herbs, and protein, it's the spring roll sauce that truly brings everything together. Think of it as the soul of your meal, the flavor bomb that makes every bite sing. Our Vietnamese-inspired peanut and hoisin sauce is designed to be just that – a creamy, savory-sweet, and gently spicy dip with a bright kiss of lime that will cling perfectly to your delicate rice paper rolls.
Whether you're hosting a party or simply enjoying a quick, healthy meal at home, this homemade peanut sauce is a game-changer. It’s incredibly easy to make, uses simple pantry ingredients, and comes together in just 5 minutes. Forget bland, watery dips; this recipe delivers restaurant-quality flavor right to your kitchen. It’s the best spring roll sauce you’ll ever make, designed for dipping, drizzling, and delighting both beginners and seasoned foodies alike.
Ingredients
Directions
- Warm & Prep
- If your creamy peanut butter has separated, give it a good stir. For even easier mixing, you can microwave the peanut butter in a microwave-safe bowl for about 10 seconds.
- Measure out all your ingredients before you start. This mise en place (everything in its place) approach makes the process smooth and stress-free.
- uild the Base
- In a medium mixing bowl, combine the peanut butter, hoisin sauce, soy sauce (or tamari), brown sugar (or honey/maple), rice vinegar (or lime juice), minced garlic, and any optional fish sauce or toasted sesame oil you’re using.
- Whisk everything together thoroughly. Don't worry if it looks incredibly thick and sticky at this stage – that’s exactly how it should be!
- hin to Perfect Consistency
- Now for the magic! Start adding the warm water, 1 tablespoon at a time, whisking continuously after each addition.
- Keep whisking until the sauce transforms into a silky, pourable consistency. It should be thick enough to generously coat the back of a spoon and slowly drip off, but not runny like water.
- Dipping Test: To check the consistency, dip a piece of lettuce or a noodle into the sauce. It should cling beautifully without sliding right off.
- Taste and Adjust
- This is where you make it truly yours! Give the sauce a taste and use this simple checklist:
- Too salty? Whisk in a little more brown sugar or a splash of warm water.
- Too sweet? Add a bit more rice vinegar or a squeeze of fresh lime juice.
- Needs more punch? A tiny pinch of salt, an extra squeeze of lime, or a dash more sriracha can awaken the flavors.
- Once perfected, transfer the sauce to small serving bowls. Garnish with crushed roasted peanuts, thinly sliced chili, and fresh green onion or cilantro.
The following nutritional values are per serving (one piece of cake) Calories ~180-220 kcal Carbohydrates ~12-15g Protein ~7-10g Fat ~10-14g Time-Saving Tools & Ingredients Problem: Achieving uniformly thin slices of cucumbers and radishes by hand can be tedious and inconsistent, leading to uneven texture in your salad. Problem: Thoroughly drying washed vegetables and herbs after rinsing can be cumbersome, and excess water can dilute your dressing, making your salad watery. Problem: Finely chopping a large bunch of fresh dill and parsley with a knife can be time-consuming and sometimes results in uneven or stringy pieces. Click any ingredient for detailed nutritional information:Recipe Nutritional Values
Additional Information
Recipe Success Tips
Ingredient Substitutions & Variations
Make-Ahead & Storage Instructions
Troubleshooting & Pro Tips
Frequently Asked Questions
Recommended Kitchen Tools
Mandoline Slicer
Agitate: Inconsistent slices mean some pieces are too thick and crunchy, while others are too thin and soft, disrupting the perfect bite. This also adds extra time to your prep.
Solution: A mandoline slicer allows you to effortlessly create perfectly uniform, paper-thin slices in a fraction of the time. This ensures every bite of your Belarusian Spring Salad has that ideal crisp texture.Salad Spinner
Agitate: A watery salad is a sad salad! The dressing won't cling properly, and the fresh flavors can be masked by residual moisture, ruining the intended crispness.
Solution: A simple salad spinner quickly and efficiently removes all excess water from your greens, cucumbers, radishes, and herbs, ensuring your dressing adheres beautifully and your salad stays perfectly crisp and flavorful.Herb Scissors
Agitate: Unevenly chopped herbs can lead to some bites being overwhelmed by a strong herb flavor, while others lack it. Plus, the process can feel like a chore when you're trying to get dinner on the table quickly.
Solution: Specialized herb scissors with multiple blades allow you to quickly and finely snip herbs directly into your bowl, saving time and ensuring a consistent, delicate texture that integrates perfectly into the salad.Calories per Ingredient
You may also like


Hey there! I’m just someone who seriously loves good food and believes that cooking doesn’t have to be complicated to be amazing. Whether it’s a quick weeknight dinner or a cozy weekend meal, I’m all about sharing easy, tasty recipes that actually work.


