
Bolivia Helado de Cancha - Make Creamy Corn Ice Cream
Bolivia Helado de Cancha - Make Creamy Corn Ice Cream

- Serves: 6 People
- Prepare Time: 20 minutes
- Cooking Time: 25 minutes
- Calories: -
- Difficulty: Medium
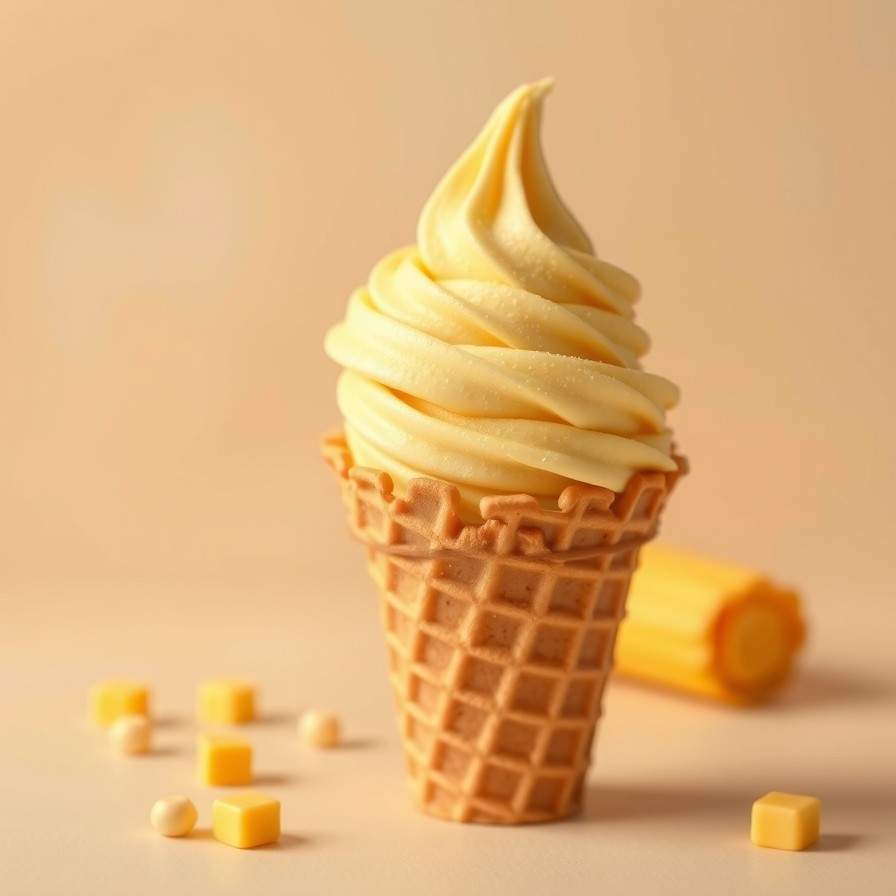
Get ready to embark on a truly unique culinary journey with Bolivia Helado de Cancha! This isn't just any helado ice cream; it's a vibrant, creamy, and surprisingly delightful corn-flavored treat that perfectly captures the spirit of Bolivian street food. Imagine the sweet, earthy notes of corn, often lightly toasted, transformed into a smooth, luscious sweet cream ice cream that will surprise and delight your taste buds.
While many might think corn belongs on the cob or in a savory dish, in Bolivia, cancha (toasted corn) is a beloved snack, and its essence finds its way into this incredible frozen dessert. Our recipe simplifies the process, showing you how to infuse rich heavy cream and whole milk with fresh corn flavor, creating an ice cream that's both exotic and comforting. Whether you're an experienced baker or a beginner looking for an exciting new challenge, this guide will walk you through every step to create the best ice cream ingredients experience with a Latin American twist. Prepare to churn up a batch of this unforgettable helado ice cream and bring a taste of Bolivia right into your kitchen!
Ingredients
Directions
- Prepare the Corn: If using fresh corn, cut the kernels off the cob. In a dry, heavy-bottomed skillet over medium heat, toast the corn kernels for 5-7 minutes, stirring occasionally, until lightly browned and fragrant. This step is key to developing that unique cancha flavor. Be careful not to burn them! Remove from heat and let cool slightly.
- Infuse the Dairy: In a medium saucepan, combine the toasted corn, whole milk, heavy cream, granulated sugar, and salt. Heat over medium-low heat, stirring occasionally, until the sugar is fully dissolved and the mixture is warm but not boiling. This usually takes about 5-7 minutes. The goal is to infuse the cream with the corn's flavor.
- Steep and Chill: Once warm, remove the saucepan from the heat. Cover it and let the mixture steep for at least 30 minutes, or up to an hour, allowing the corn flavor to fully develop. For an even stronger flavor, you can let it steep in the refrigerator for a few hours or overnight.
- Strain the Base: Pour the corn-infused cream mixture through a fine-mesh sieve into a clean bowl, pressing down on the corn kernels with the back of a spoon to extract as much liquid and flavor as possible. Discard the strained corn kernels (or save them for another use, like a garnish, if desired).
- Add Vanilla & Chill Thoroughly: Stir in the vanilla extract (if using) into the strained cream base. Cover the bowl and refrigerate the ice cream base for at least 4 hours, or preferably overnight, until it is thoroughly chilled. This is crucial for achieving a smooth, creamy texture during churning.
- Churn the Ice Cream: Once the base is completely chilled, pour it into your ice cream maker's frozen bowl and churn according to the manufacturer's instructions. This typically takes 20-30 minutes, until the ice cream has the consistency of soft-serve.
- Freeze to Firm: Transfer the churned ice cream to an airtight container. Press a piece of parchment paper or plastic wrap directly onto the surface of the ice cream to prevent ice crystals from forming. Freeze for another 2-4 hours, or until it reaches your desired firm consistency.
- Serve and Enjoy: Scoop and serve your homemade Bolivia Helado de Cancha! It's delicious on its own or paired with a sprinkle of cinnamon or extra toasted corn kernels.
Bolivia Helado de Cancha - Make Creamy Corn Ice Cream

- Serves: 6 People
- Prepare Time: 20 minutes
- Cooking Time: 25 minutes
- Calories: -
- Difficulty: Medium
Get ready to embark on a truly unique culinary journey with Bolivia Helado de Cancha! This isn't just any helado ice cream; it's a vibrant, creamy, and surprisingly delightful corn-flavored treat that perfectly captures the spirit of Bolivian street food. Imagine the sweet, earthy notes of corn, often lightly toasted, transformed into a smooth, luscious sweet cream ice cream that will surprise and delight your taste buds.
While many might think corn belongs on the cob or in a savory dish, in Bolivia, cancha (toasted corn) is a beloved snack, and its essence finds its way into this incredible frozen dessert. Our recipe simplifies the process, showing you how to infuse rich heavy cream and whole milk with fresh corn flavor, creating an ice cream that's both exotic and comforting. Whether you're an experienced baker or a beginner looking for an exciting new challenge, this guide will walk you through every step to create the best ice cream ingredients experience with a Latin American twist. Prepare to churn up a batch of this unforgettable helado ice cream and bring a taste of Bolivia right into your kitchen!
Ingredients
Directions
- Prepare the Corn: If using fresh corn, cut the kernels off the cob. In a dry, heavy-bottomed skillet over medium heat, toast the corn kernels for 5-7 minutes, stirring occasionally, until lightly browned and fragrant. This step is key to developing that unique cancha flavor. Be careful not to burn them! Remove from heat and let cool slightly.
- Infuse the Dairy: In a medium saucepan, combine the toasted corn, whole milk, heavy cream, granulated sugar, and salt. Heat over medium-low heat, stirring occasionally, until the sugar is fully dissolved and the mixture is warm but not boiling. This usually takes about 5-7 minutes. The goal is to infuse the cream with the corn's flavor.
- Steep and Chill: Once warm, remove the saucepan from the heat. Cover it and let the mixture steep for at least 30 minutes, or up to an hour, allowing the corn flavor to fully develop. For an even stronger flavor, you can let it steep in the refrigerator for a few hours or overnight.
- Strain the Base: Pour the corn-infused cream mixture through a fine-mesh sieve into a clean bowl, pressing down on the corn kernels with the back of a spoon to extract as much liquid and flavor as possible. Discard the strained corn kernels (or save them for another use, like a garnish, if desired).
- Add Vanilla & Chill Thoroughly: Stir in the vanilla extract (if using) into the strained cream base. Cover the bowl and refrigerate the ice cream base for at least 4 hours, or preferably overnight, until it is thoroughly chilled. This is crucial for achieving a smooth, creamy texture during churning.
- Churn the Ice Cream: Once the base is completely chilled, pour it into your ice cream maker's frozen bowl and churn according to the manufacturer's instructions. This typically takes 20-30 minutes, until the ice cream has the consistency of soft-serve.
- Freeze to Firm: Transfer the churned ice cream to an airtight container. Press a piece of parchment paper or plastic wrap directly onto the surface of the ice cream to prevent ice crystals from forming. Freeze for another 2-4 hours, or until it reaches your desired firm consistency.
- Serve and Enjoy: Scoop and serve your homemade Bolivia Helado de Cancha! It's delicious on its own or paired with a sprinkle of cinnamon or extra toasted corn kernels.
The following nutritional values are per serving (one piece of cake) Calories ~320 kcal Carbohydrates ~28g Protein ~4g Fat ~22g Here are a few tools and ingredients that can make your Helado de Cancha journey even smoother and more enjoyable. These aren't strictly necessary, but they can definitely elevate your experience! Problem: Making ice cream by hand can be a real arm workout, and sometimes you end up with more ice crystals than creamy goodness. Problem: Pureeing cooked corn by hand can be tedious, leaving you with uneven chunks or a gritty texture. Problem: Even after blending, tiny bits of corn skin or fiber can sometimes remain, which can be unpleasant in a smooth ice cream. Click any ingredient for detailed nutritional information:Recipe Nutritional Values
Additional Information
Recipe Success Tips
Pro Tips, Variations & Storage
Ingredient Substitutions & Variations
Cultural Variations
Make-Ahead & Storage Instructions
Frequently Asked Questions
Recommended Kitchen Tools
Ice Cream Maker
Agitate: Without proper churning, the fat and water in your mixture can separate, leading to a less-than-ideal texture that's icy and hard to scoop.
Solution: An electric ice cream maker does all the hard work for you! It continuously churns the mixture, preventing large ice crystals from forming and ensuring a consistently smooth, rich, and scoopable helado every time. Just pour in your chilled base, turn it on, and let it work its magic.Blender or Food Processor
Agitate: Lumpy ice cream isn't exactly the dream, and trying to mash corn finely with a fork takes ages and a lot of effort.
Solution: A good quality blender or food processor makes quick work of pureeing the corn kernels into a silky smooth base. This ensures that the corn flavor is perfectly integrated and your helado has that luxurious, uniform texture we're aiming for.Fine Mesh Sieve
Agitate: Imagine biting into a beautiful scoop of helado only to find a chewy piece of corn husk! It can really detract from the experience.
Solution: Running your pureed corn mixture through a fine mesh sieve (or chinois) ensures that any remaining solids are caught, leaving you with an ultra-smooth, velvety ice cream base. It's an extra step that pays off big time in texture.Calories per Ingredient
You may also like


Hey there! I’m just someone who seriously loves good food and believes that cooking doesn’t have to be complicated to be amazing. Whether it’s a quick weeknight dinner or a cozy weekend meal, I’m all about sharing easy, tasty recipes that actually work.


