
Bake Brazilian Cheese Puffs Easy Gluten-Free Recipe
Bake Brazilian Cheese Puffs Easy Gluten-Free Recipe
- Serves: 24 People
- Prepare Time: 15 minutes
- Cooking Time: 25 minutes
- Calories: -
- Difficulty: Easy
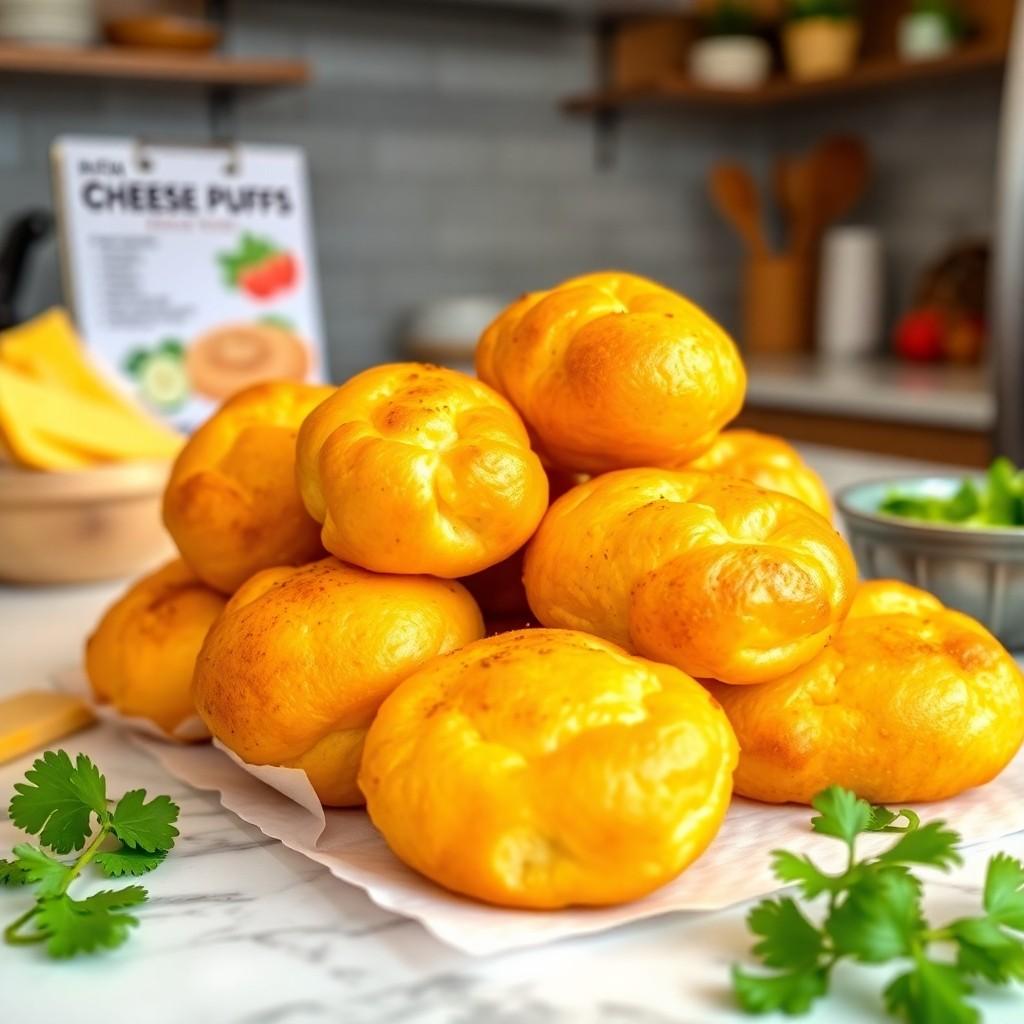
Welcome to the wonderful world of Pão de Queijo – those irresistible Brazilian cheese puffs that are crispy on the outside, incredibly chewy on the inside, and bursting with cheesy flavor! If you've been searching for the best gluten-free bread rolls or an easy gluten-free food that feels like a treat, you've hit the jackpot. This isn't just another recipe; it's your definitive guide to mastering these iconic cassava flour bread delights, whether you're a beginner baker or looking to perfect your technique. We'll dive deep into making homemade gluten-free bread that rivals any bakery, offering you all the secrets, troubleshooting tips, and ingredient wisdom to bake authentic Pão de Queijo right in your kitchen. Get ready to impress your taste buds and everyone around you with these cheesy pull apart bread rolls!
Ingredients
Directions
- Prep Your Oven & Pan: Preheat your oven to 375°F (190°C). Lightly grease a mini muffin tin or a regular muffin tin (for larger rolls). If you don't have a muffin tin, you can also form small balls and bake them on a parchment-lined baking sheet, but they might spread a little more.
- Heat the Liquids: In a medium saucepan, combine the milk, oil, and salt. Bring this mixture to a gentle boil over medium heat, stirring occasionally. As soon as it starts to bubble, remove it from the heat immediately. This hot liquid is key to activating the tapioca starch, which creates that signature chewy texture.
- Scald the Starch: Pour the hot milk mixture directly over the tapioca starch in a large mixing bowl. Using a sturdy spoon or a wooden spatula, stir vigorously until the starch is fully incorporated and you have a thick, lumpy paste. It will look a bit grainy and crumbly at this stage – that's perfectly normal! Let this mixture cool down for about 10-15 minutes. It needs to be cool enough to touch comfortably before you add the egg, otherwise, you'll scramble it!
- Add Egg & Cheese: Once the mixture has cooled, crack in the large egg. Mix thoroughly until the egg is completely combined and the dough starts to come together. Now, add the grated cheese. Continue mixing, first with a spoon and then with your hands, until the cheese is evenly distributed and the dough forms a cohesive, slightly sticky ball. Don't worry if it's a bit tacky; that's the nature of tapioca starch dough.
- Form the Puffs: Take small portions of the dough, about 1 tablespoon each, and roll them into smooth balls. Place each ball into the prepared muffin tin cavities. For a classic Pão de Queijo size, aim for balls roughly 1 to 1.5 inches in diameter.
- Bake to Perfection: Bake for 20-25 minutes, or until the gluten-free buns are puffed up, golden brown, and have a slightly crisp crust. The baking time can vary depending on your oven and the size of your rolls. Keep an eye on them!
- Serve Warm: Remove the Pão de Queijo from the oven and let them cool for a few minutes in the pan before transferring them to a wire rack. These are best served warm, straight from the oven, when they are at their chewiest and cheesiest peak. Enjoy your best cheesy bread creation!
Bake Brazilian Cheese Puffs Easy Gluten-Free Recipe

- Serves: 24 People
- Prepare Time: 15 minutes
- Cooking Time: 25 minutes
- Calories: -
- Difficulty: Easy
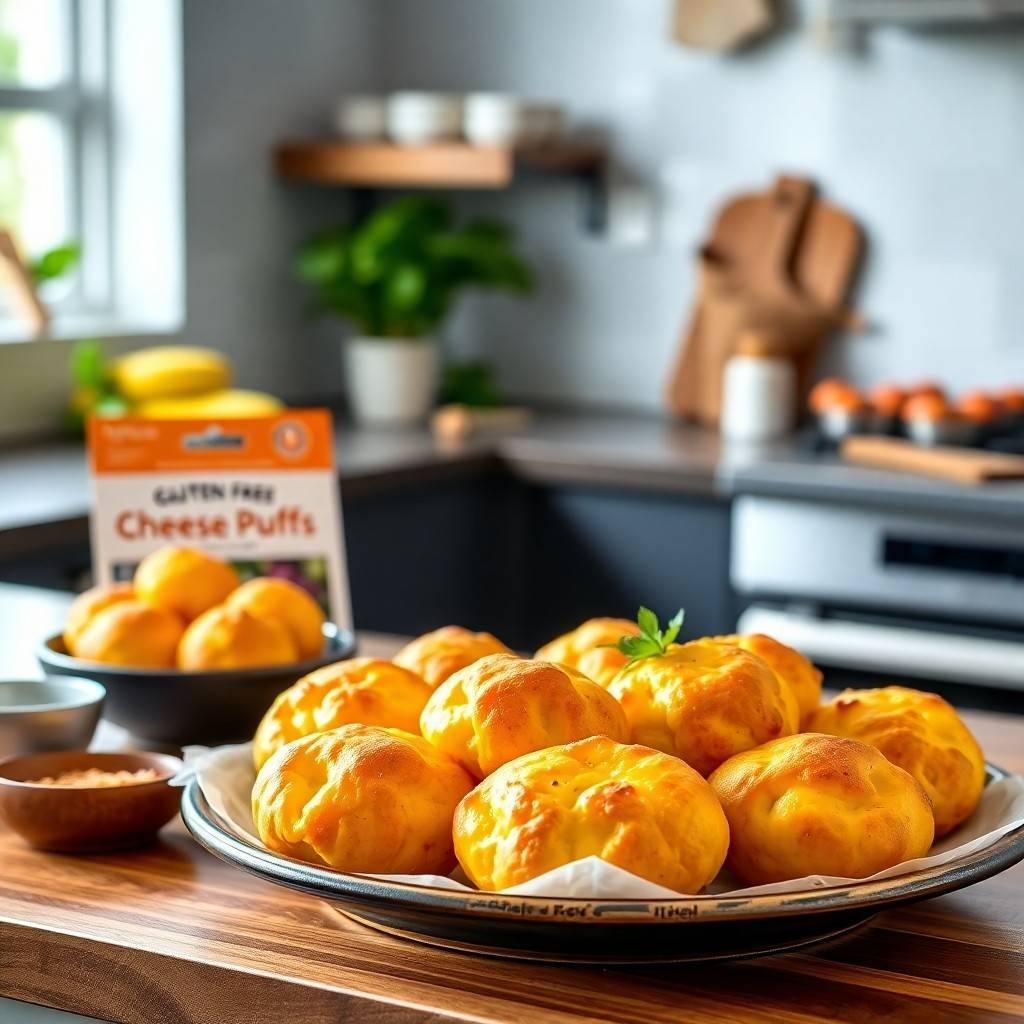
Welcome to the wonderful world of Pão de Queijo – those irresistible Brazilian cheese puffs that are crispy on the outside, incredibly chewy on the inside, and bursting with cheesy flavor! If you've been searching for the best gluten-free bread rolls or an easy gluten-free food that feels like a treat, you've hit the jackpot. This isn't just another recipe; it's your definitive guide to mastering these iconic cassava flour bread delights, whether you're a beginner baker or looking to perfect your technique. We'll dive deep into making homemade gluten-free bread that rivals any bakery, offering you all the secrets, troubleshooting tips, and ingredient wisdom to bake authentic Pão de Queijo right in your kitchen. Get ready to impress your taste buds and everyone around you with these cheesy pull apart bread rolls!
Ingredients
Directions
- Prep Your Oven & Pan: Preheat your oven to 375°F (190°C). Lightly grease a mini muffin tin or a regular muffin tin (for larger rolls). If you don't have a muffin tin, you can also form small balls and bake them on a parchment-lined baking sheet, but they might spread a little more.
- Heat the Liquids: In a medium saucepan, combine the milk, oil, and salt. Bring this mixture to a gentle boil over medium heat, stirring occasionally. As soon as it starts to bubble, remove it from the heat immediately. This hot liquid is key to activating the tapioca starch, which creates that signature chewy texture.
- Scald the Starch: Pour the hot milk mixture directly over the tapioca starch in a large mixing bowl. Using a sturdy spoon or a wooden spatula, stir vigorously until the starch is fully incorporated and you have a thick, lumpy paste. It will look a bit grainy and crumbly at this stage – that's perfectly normal! Let this mixture cool down for about 10-15 minutes. It needs to be cool enough to touch comfortably before you add the egg, otherwise, you'll scramble it!
- Add Egg & Cheese: Once the mixture has cooled, crack in the large egg. Mix thoroughly until the egg is completely combined and the dough starts to come together. Now, add the grated cheese. Continue mixing, first with a spoon and then with your hands, until the cheese is evenly distributed and the dough forms a cohesive, slightly sticky ball. Don't worry if it's a bit tacky; that's the nature of tapioca starch dough.
- Form the Puffs: Take small portions of the dough, about 1 tablespoon each, and roll them into smooth balls. Place each ball into the prepared muffin tin cavities. For a classic Pão de Queijo size, aim for balls roughly 1 to 1.5 inches in diameter.
- Bake to Perfection: Bake for 20-25 minutes, or until the gluten-free buns are puffed up, golden brown, and have a slightly crisp crust. The baking time can vary depending on your oven and the size of your rolls. Keep an eye on them!
- Serve Warm: Remove the Pão de Queijo from the oven and let them cool for a few minutes in the pan before transferring them to a wire rack. These are best served warm, straight from the oven, when they are at their chewiest and cheesiest peak. Enjoy your best cheesy bread creation!
The following nutritional values are per serving (one piece of cake) Calories ~120-150 calories per roll (based on 24 servings) Carbohydrates ~12-15g per roll Protein ~4-6g per roll Fat ~7-9g per roll Making delicious Pão de Queijo doesn't have to be a marathon. Here are a couple of tools and ingredients that can shave precious minutes off your prep time, making your baking experience even smoother! Problem: Mixing dough by hand can be messy and time-consuming, especially when trying to get a perfectly smooth, lump-free batter for your cheese puffs. Problem: Perfectly portioning dozens of sticky dough balls by hand can be tedious and often results in unevenly sized cheese puffs. Click any ingredient for detailed nutritional information:Recipe Nutritional Values
Additional Information
Recipe Success Tips
Ingredient Substitutions & Variations
Cultural Variations
Make-Ahead & Storage Instructions
Frequently Asked Questions
Recommended Kitchen Tools
Blender or Food Processor
Agitate: Those precious minutes spent whisking could be better used for other things, and nobody wants a lumpy cheese puff! Plus, inconsistent mixing can lead to uneven texture in your final bake, which is just plain disappointing.
Solution: A good quality blender or food processor can whip up your Pão de Queijo batter in mere seconds, ensuring a perfectly smooth consistency with minimal effort. Just toss in your wet ingredients, blend until combined, and you're good to go!Small Cookie Scoop or Mini Muffin Tin
Agitate: Who wants some tiny puffs and some giant ones? Inconsistent sizing means uneven baking, with some potentially burning while others are still raw. It also adds extra time to your prep, which is a bummer when you're craving cheesy goodness.
Solution: A small cookie scoop (about 1.5 tablespoons) makes quick work of portioning your dough, ensuring uniform size and even baking every time. Alternatively, using a mini muffin tin can help contain the dough and give you perfectly shaped puffs without any rolling required. Just spoon the batter right into the cups!Calories per Ingredient
You may also like


Hey there! I’m just someone who seriously loves good food and believes that cooking doesn’t have to be complicated to be amazing. Whether it’s a quick weeknight dinner or a cozy weekend meal, I’m all about sharing easy, tasty recipes that actually work.


