
Bake Easy Coconut Milk Cassava Pone Recipe
Bake Easy Coconut Milk Cassava Pone Recipe
- Serves: 12 People
- Prepare Time: 30 minutes
- Cooking Time: 60-75 minut
- Calories: -
- Difficulty: Medium
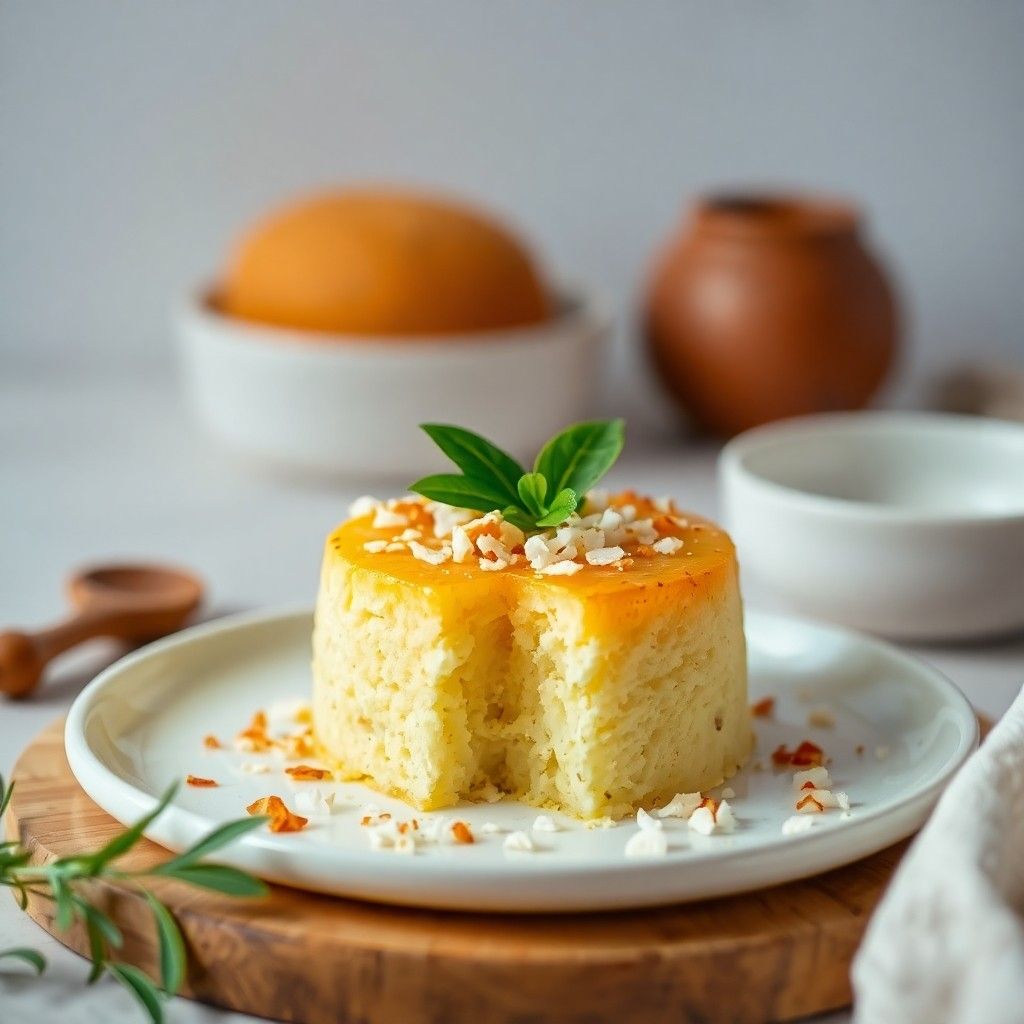
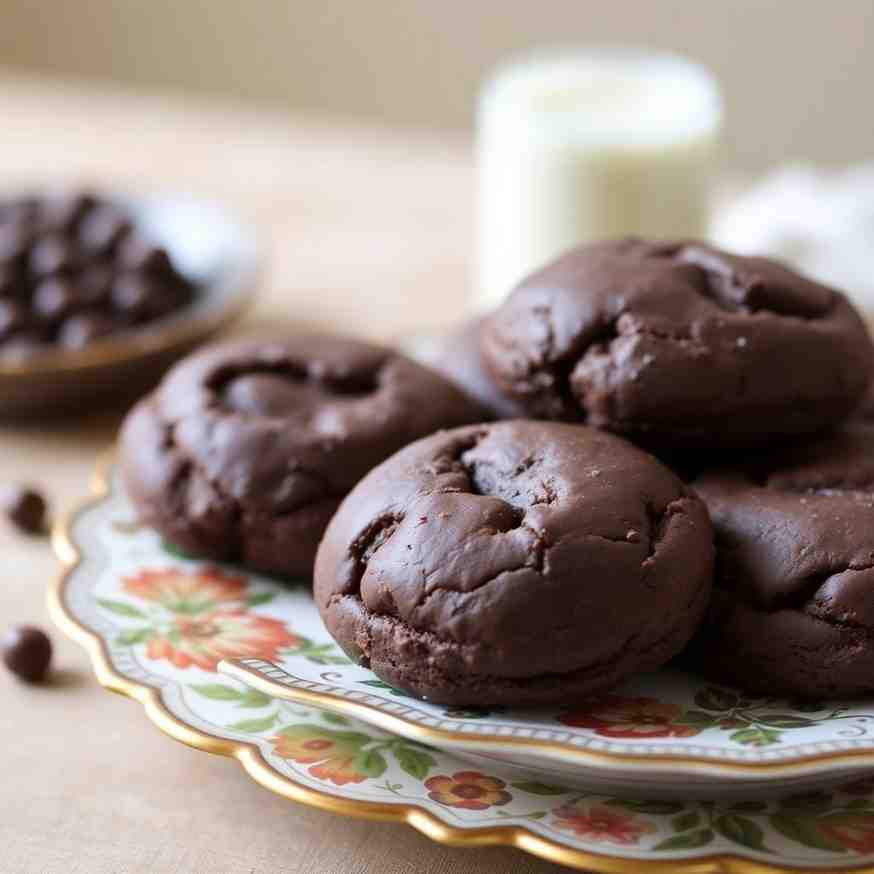
Get ready to dive into a truly special treat that’s making waves in the world of coconut milk baking recipes! We're talking about Cassava Pone, a beloved Caribbean classic that's as comforting as it is delicious. If you're searching for gluten-free baking recipes and dairy-free baking options, or simply crave baked sweets recipes that are bursting with flavor, you've hit the jackpot. This isn't just another dessert recipe using coconut; it's an experience! Imagine a dessert with a gloriously gooey, almost custard-like inside, perfectly complemented by golden, slightly caramelized edges. It’s a unique texture that sets it apart from other baked desserts using coconut milk. Plus, with our easy-to-follow instructions, you'll be enjoying this delightful dessert for one (or many!) in no time.
Ingredients
Directions
Cassava Pone Step-by-Step Instructions
Ready to create some magic? Follow these steps for the perfect Cassava Pone:- Get Your Oven Ready: Preheat your oven to a cozy 350°F (175°C). This ensures even baking from the start.
- Prep Your Cassava & Coconut: If using fresh cassava, peel it carefully, then chop it into manageable pieces before grating. Do the same for your fresh coconut, if you're using it. If you're using frozen grated cassava or coconut, make sure it’s fully thawed and drained of any excess liquid.
- Combine the Dry & Wet: In a really large mixing bowl, combine the grated cassava, brown sugar, grated coconut (if using), softened butter (or non-dairy alternative), cinnamon, nutmeg, mixed essence (or vanilla), almond extract, and that surprising touch of black pepper. Give it a good stir until everything is nicely mixed.
- Add the Coconut Milk: Pour in the 3 cups of coconut milk. Now, stir, stir, stir! You want to make sure all the ingredients are thoroughly combined into a smooth, thick batter. This is key for that signature gooey texture.
- Prepare Your Pan: Lightly grease a 9x12-inch baking pan. You can use a little butter or a non-stick cooking spray. Pour your delicious cassava mixture evenly into the prepared pan.
- Bake to Golden Perfection: Pop the pan into your preheated oven and bake for 60-75 minutes. Keep an eye on it! You're looking for a beautiful golden-brown and slightly dark brown top, and a set but still jiggly center. The longer bake time helps develop that caramelized crust.
- Cool Down: This is the hardest part – patience! Let your Cassava Pone cool completely in the pan before attempting to slice and serve. Trust us, it sets up beautifully as it cools, giving you that perfect gooey-yet-firm texture. Once cooled, slice into squares and enjoy your homemade easy dessert coconut milk delight!
Bake Easy Coconut Milk Cassava Pone Recipe
- Serves: 12 People
- Prepare Time: 30 minutes
- Cooking Time: 60-75 minut
- Calories: -
- Difficulty: Medium
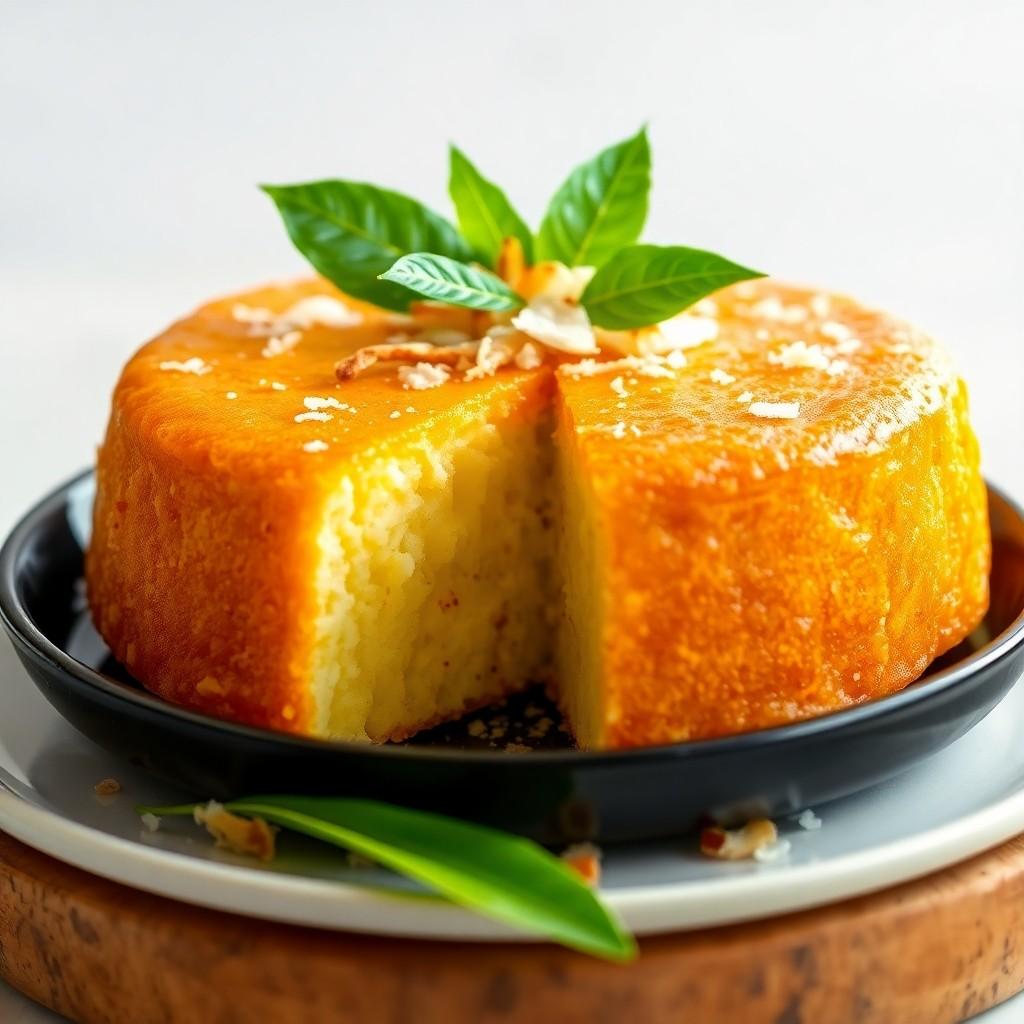
Get ready to dive into a truly special treat that’s making waves in the world of coconut milk baking recipes! We're talking about Cassava Pone, a beloved Caribbean classic that's as comforting as it is delicious. If you're searching for gluten-free baking recipes and dairy-free baking options, or simply crave baked sweets recipes that are bursting with flavor, you've hit the jackpot. This isn't just another dessert recipe using coconut; it's an experience! Imagine a dessert with a gloriously gooey, almost custard-like inside, perfectly complemented by golden, slightly caramelized edges. It’s a unique texture that sets it apart from other baked desserts using coconut milk. Plus, with our easy-to-follow instructions, you'll be enjoying this delightful dessert for one (or many!) in no time.
Ingredients
Directions
Cassava Pone Step-by-Step Instructions
Ready to create some magic? Follow these steps for the perfect Cassava Pone:- Get Your Oven Ready: Preheat your oven to a cozy 350°F (175°C). This ensures even baking from the start.
- Prep Your Cassava & Coconut: If using fresh cassava, peel it carefully, then chop it into manageable pieces before grating. Do the same for your fresh coconut, if you're using it. If you're using frozen grated cassava or coconut, make sure it’s fully thawed and drained of any excess liquid.
- Combine the Dry & Wet: In a really large mixing bowl, combine the grated cassava, brown sugar, grated coconut (if using), softened butter (or non-dairy alternative), cinnamon, nutmeg, mixed essence (or vanilla), almond extract, and that surprising touch of black pepper. Give it a good stir until everything is nicely mixed.
- Add the Coconut Milk: Pour in the 3 cups of coconut milk. Now, stir, stir, stir! You want to make sure all the ingredients are thoroughly combined into a smooth, thick batter. This is key for that signature gooey texture.
- Prepare Your Pan: Lightly grease a 9x12-inch baking pan. You can use a little butter or a non-stick cooking spray. Pour your delicious cassava mixture evenly into the prepared pan.
- Bake to Golden Perfection: Pop the pan into your preheated oven and bake for 60-75 minutes. Keep an eye on it! You're looking for a beautiful golden-brown and slightly dark brown top, and a set but still jiggly center. The longer bake time helps develop that caramelized crust.
- Cool Down: This is the hardest part – patience! Let your Cassava Pone cool completely in the pan before attempting to slice and serve. Trust us, it sets up beautifully as it cools, giving you that perfect gooey-yet-firm texture. Once cooled, slice into squares and enjoy your homemade easy dessert coconut milk delight!
The following nutritional values are per serving (one piece of cake) Calories 380-450 kcal Carbohydrates 65-75g Protein 3-5g Fat 12-18g Sometimes, you just want to get to the delicious part faster, right? While making cassava pone from scratch is super rewarding, these tools and ingredients can help you cut down on prep time without sacrificing flavor! Food Processor with Grating Attachment:Problem: Grating fresh cassava by hand can be a real arm workout, and it takes quite a while! Problem: Grating fresh cassava by hand can be a real arm workout, and it takes quite a while! Problem: Sourcing fresh cassava isn't always easy, and then there's the peeling and grating. Problem: Mixing all those ingredients by hand in a large bowl can be tiring, especially getting everything evenly combined. Problem: Measuring out multiple spices individually can be a bit tedious when you're in a rush. Click any ingredient for detailed nutritional information:Recipe Nutritional Values
Additional Information
Recipe Success Tips
Ingredient Substitutions & Variations
Cultural Variations
Make-Ahead & Storage Instructions
Frequently Asked Questions
Recommended Kitchen Tools
Pre-Grated Frozen Cassava:
Agitate: All that manual labor can make you think twice about tackling this recipe, especially on a busy day.
Solution: A food processor with a grating attachment makes quick work of peeling and grating your fresh cassava (and coconut, if you’re using it!). You’ll have perfectly grated ingredients in minutes, not half an hour. Pre-Grated Frozen Cassava:Electric Hand Mixer:
Agitate: If you can't find fresh cassava or don't have time for the prep, you might skip making this amazing dessert altogether.
Solution: Many ethnic grocery stores carry pre-grated frozen cassava. Just thaw it out, drain any excess liquid, and you're ready to mix! It saves a ton of time and effort. Electric Hand Mixer:Pre-Measured Spice Blends:
Agitate: Lumps or uneven distribution of spices can lead to inconsistent flavor and texture in your pone.
Solution: An electric hand mixer ensures all your ingredients – from the cassava and sugar to the spices and coconut milk – are thoroughly and effortlessly blended into a smooth, uniform batter. Pre-Measured Spice Blends:Kitchen Tool
Agitate: Fumbling with tiny spoons and multiple spice jars can add unnecessary minutes to your prep.
Solution: If you bake frequently, consider creating small jars of your favorite spice blends (like cinnamon, nutmeg, and black pepper) in the correct ratios. Then, just scoop and go!Calories per Ingredient
You may also like


Hey there! I’m just someone who seriously loves good food and believes that cooking doesn’t have to be complicated to be amazing. Whether it’s a quick weeknight dinner or a cozy weekend meal, I’m all about sharing easy, tasty recipes that actually work.


