
Crispy Crystal Coca Bread
Crispy Crystal Coca Bread
- Serves: 8 People
- Prepare Time: 30 minutes
- Cooking Time: 25 minutes
- Calories: -
- Difficulty: Medium
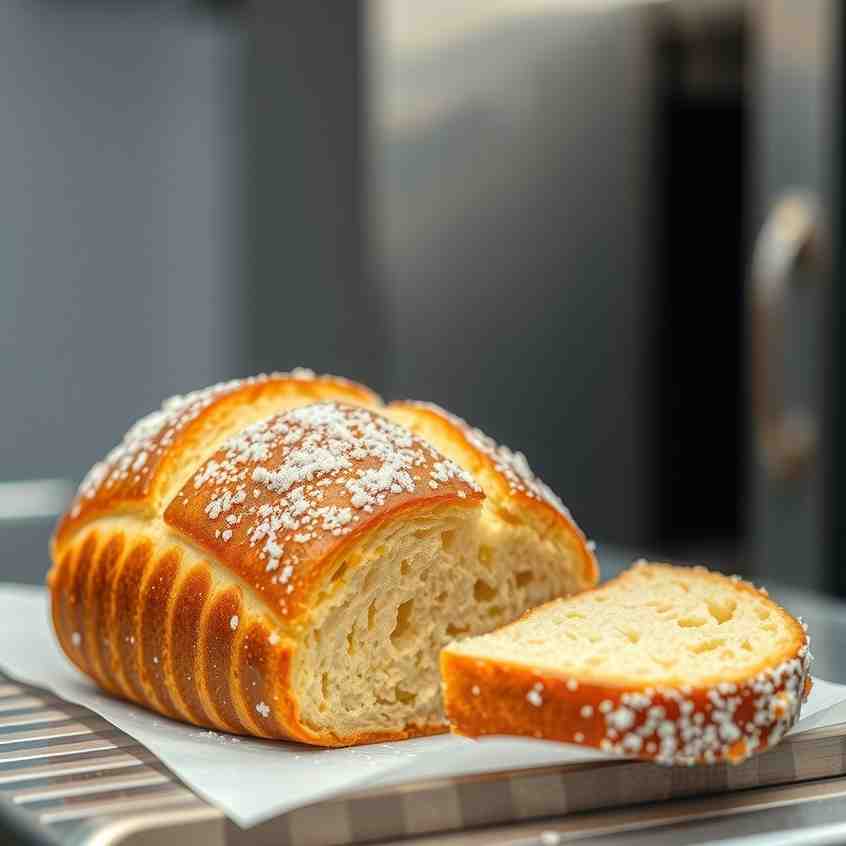
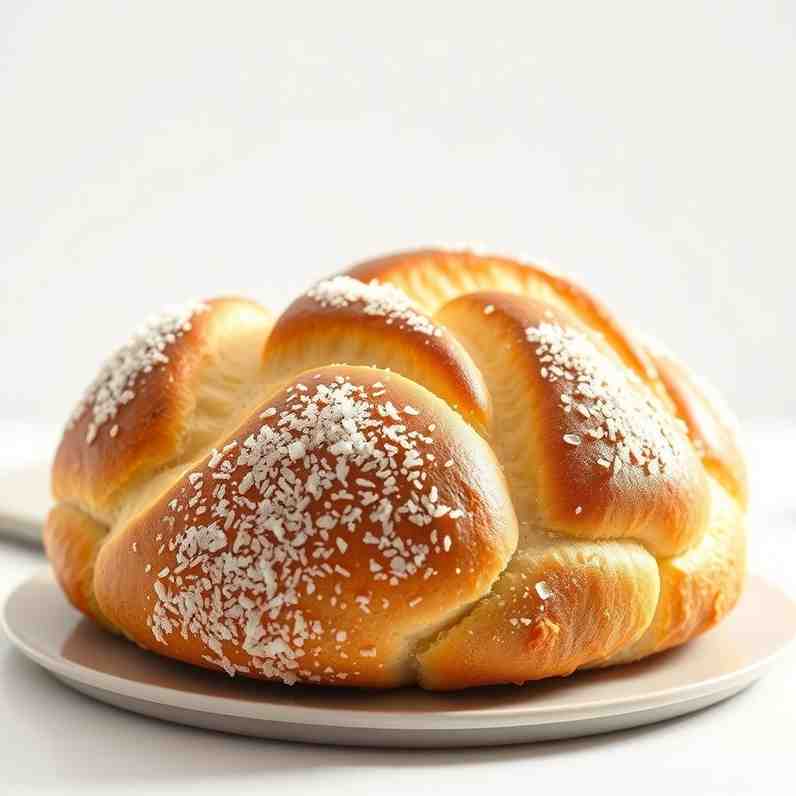
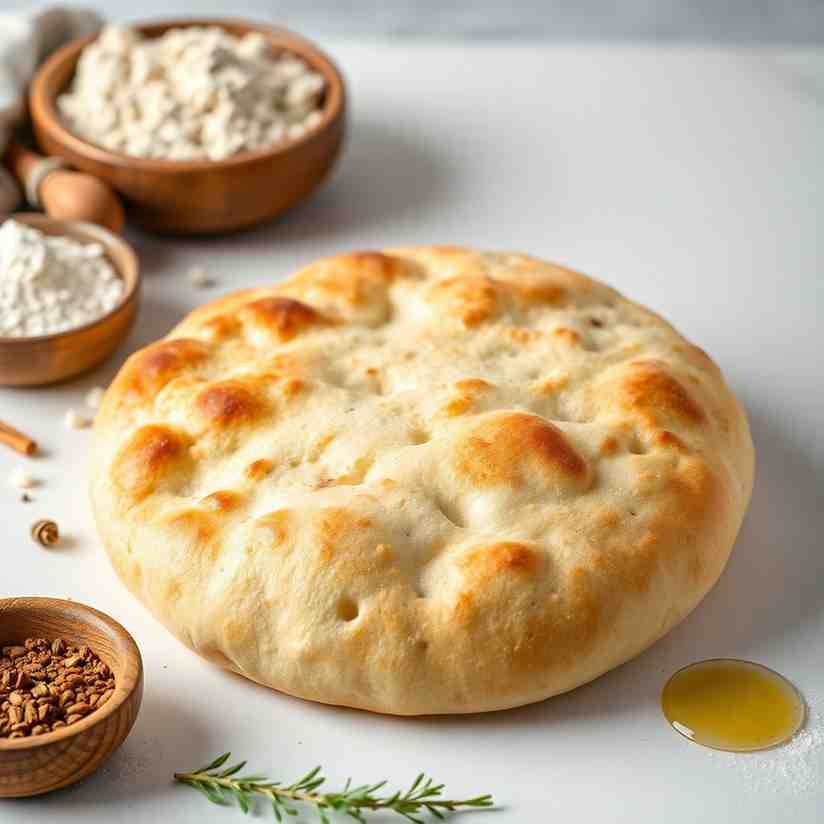
Imagine a bread loaf bread so light, so impossibly crispy, it practically shatters with every bite. That's the magic of Crispy Crystal Coca Bread, also known as Pan de Cristal. This isn't just any bread making project; it's a journey into the heart of Catalan baking, resulting in a wildly airy crumb that’s absolutely perfect for soaking up ripe tomato, rich olive oil, and a sprinkle of flaky salt. If you've enjoyed making bread from dough like ciabatta or focaccia, get ready for the next level of high-hydration bread dough mastery. We'll guide you through the bread fermentation process, transforming simple flour and bread ingredients into a truly spectacular, almost translucent bread loaf. Forget complicated sourdough recipe techniques for a moment – this natural bread marvel achieves incredible texture with yeast, making the bread in the making process an exciting adventure. Get ready to create a dough of bread that will amaze your taste buds with its unique bread flavor and incredible texture, proving that the best flour bread can be made right in your kitchen.
Ingredients
Directions
- Mix & Autolyse
- Combine Flour & Water: In a large mixing bowl, combine the strong bread flour with 450g (about 1¾ cups + 2 tablespoons) of the water. Stir with a sturdy spoon or your hands until no dry flour remains and you have a shaggy, thick batter-like dough. It will look rough, but that's okay!
- Autolyse: Cover the bowl with a damp towel or plastic wrap and let it rest at room temperature for 1 hour. This "autolyse" step allows the flour to fully hydrate and the gluten to start developing, which really helps with high-hydration doughs.
- Add Yeast & Salt, Build Strength
- Activate Yeast & Add Salt: After the autolyse, sprinkle the instant yeast over the remaining 25g (about 1½ tablespoons) of warm water in a small bowl and stir to dissolve. Pour this yeast mixture over the dough, then sprinkle the fine sea salt evenly over the dough.
- Mix & Fold in Oil: Gently mix the yeast, salt, and olive oil into the dough until fully incorporated. The dough will feel very loose and sticky.
- Strengthen with Coil Folds: Begin the process of building dough strength using "coil folds" or "stretch-and-folds." Lightly wet your hands. Grab the middle of the dough, lift it, and let the ends drape underneath themselves like a folded towel. Gently place it back down. Repeat this process around the bowl 3-4 times.
- Repeat Folds: Cover the bowl and let the dough rest for 20-30 minutes. Repeat the coil fold process every 20-30 minutes for a total of 4-5 rounds. As you continue, you'll notice the dough becoming smoother, more elastic, and starting to hold its shape a bit better.
- Bulk Fermentation
- First Rise (Bulk Fermentation): After the final series of folds, cover the bowl again and let the dough rest at a warm room temperature (ideally 72-75°F / 22-24°C) for 1-2 hours. The dough should become noticeably airy, jiggly, and domed, increasing in volume by about 50-75%.
- Overnight Option: If you're not ready to bake, you can cover the bowl tightly and refrigerate the dough overnight (up to 12-18 hours). If refrigerated, allow the dough to warm up at room temperature for 1-2 hours before proceeding to the next stage.
- Prepare for Shaping
- Preheat Oven & Prepare Surface: About 45 minutes before you plan to bake, place a baking stone or steel in your oven and a metal tray (for steam) on the bottom rack. Preheat your oven to 475°F (245°C).
- Flour Work Surface: Generously flour a clean work surface. This dough is very wet, so don't be shy with the flour!
- Turn Out Dough: Carefully invert the dough onto the floured surface, trying to preserve as many of the precious air bubbles as possible. The dough will be very soft and feel almost like a water balloon.
- Divide & Shape Crystal Coca Loaves
- Divide Dough: Using a bench scraper, gently cut the dough into 3-4 equal long rectangles.
- Shape Loaves: With floured hands and bench scraper, gently stretch each piece into a thin, flat slab. Aim for about ½–¾ inch thick and an elongated shape that will fit on your baking surface. Avoid aggressive handling that would deflate the bubbles.
- Transfer to Parchment: Carefully transfer each shaped loaf onto a piece of parchment paper. If you're using a baking peel, place the parchment with the dough directly onto the peel.
- Proof
- Final Proof: Let the shaped pieces rest uncovered at room temperature for 30-60 minutes. They should puff up slightly, and the surface might look a little drier and floured. They won't double in size like traditional bread, but they should feel light and airy.
- Bake for “Glass” Crust
- Add Steam: Once the loaves are ready, carefully pour about 1 cup of boiling water or a handful of ice cubes into the preheated metal tray on the bottom rack of your oven (be careful of the steam!).
- Bake: Gently slide the parchment-lined loaves onto the preheated baking stone or steel.
- Initial Bake: Bake for 10-15 minutes with the steam, until the crust begins to blister and turn lightly golden.
- Vent Steam & Crisp: Carefully remove the steam tray from the oven. Continue baking for another 10-15 minutes, or until the loaves are deeply golden brown, very crisp, and sound hollow when tapped on the bottom. The crust should start "crackling" as it cools.
- Cool: Transfer the baked loaves to a wire rack to cool completely. This is crucial for achieving that signature shatter-crisp crust.
Crispy Crystal Coca Bread
- Serves: 8 People
- Prepare Time: 30 minutes
- Cooking Time: 25 minutes
- Calories: -
- Difficulty: Medium
Imagine a bread loaf bread so light, so impossibly crispy, it practically shatters with every bite. That's the magic of Crispy Crystal Coca Bread, also known as Pan de Cristal. This isn't just any bread making project; it's a journey into the heart of Catalan baking, resulting in a wildly airy crumb that’s absolutely perfect for soaking up ripe tomato, rich olive oil, and a sprinkle of flaky salt. If you've enjoyed making bread from dough like ciabatta or focaccia, get ready for the next level of high-hydration bread dough mastery. We'll guide you through the bread fermentation process, transforming simple flour and bread ingredients into a truly spectacular, almost translucent bread loaf. Forget complicated sourdough recipe techniques for a moment – this natural bread marvel achieves incredible texture with yeast, making the bread in the making process an exciting adventure. Get ready to create a dough of bread that will amaze your taste buds with its unique bread flavor and incredible texture, proving that the best flour bread can be made right in your kitchen.
Ingredients
Directions
- Mix & Autolyse
- Combine Flour & Water: In a large mixing bowl, combine the strong bread flour with 450g (about 1¾ cups + 2 tablespoons) of the water. Stir with a sturdy spoon or your hands until no dry flour remains and you have a shaggy, thick batter-like dough. It will look rough, but that's okay!
- Autolyse: Cover the bowl with a damp towel or plastic wrap and let it rest at room temperature for 1 hour. This "autolyse" step allows the flour to fully hydrate and the gluten to start developing, which really helps with high-hydration doughs.
- Add Yeast & Salt, Build Strength
- Activate Yeast & Add Salt: After the autolyse, sprinkle the instant yeast over the remaining 25g (about 1½ tablespoons) of warm water in a small bowl and stir to dissolve. Pour this yeast mixture over the dough, then sprinkle the fine sea salt evenly over the dough.
- Mix & Fold in Oil: Gently mix the yeast, salt, and olive oil into the dough until fully incorporated. The dough will feel very loose and sticky.
- Strengthen with Coil Folds: Begin the process of building dough strength using "coil folds" or "stretch-and-folds." Lightly wet your hands. Grab the middle of the dough, lift it, and let the ends drape underneath themselves like a folded towel. Gently place it back down. Repeat this process around the bowl 3-4 times.
- Repeat Folds: Cover the bowl and let the dough rest for 20-30 minutes. Repeat the coil fold process every 20-30 minutes for a total of 4-5 rounds. As you continue, you'll notice the dough becoming smoother, more elastic, and starting to hold its shape a bit better.
- Bulk Fermentation
- First Rise (Bulk Fermentation): After the final series of folds, cover the bowl again and let the dough rest at a warm room temperature (ideally 72-75°F / 22-24°C) for 1-2 hours. The dough should become noticeably airy, jiggly, and domed, increasing in volume by about 50-75%.
- Overnight Option: If you're not ready to bake, you can cover the bowl tightly and refrigerate the dough overnight (up to 12-18 hours). If refrigerated, allow the dough to warm up at room temperature for 1-2 hours before proceeding to the next stage.
- Prepare for Shaping
- Preheat Oven & Prepare Surface: About 45 minutes before you plan to bake, place a baking stone or steel in your oven and a metal tray (for steam) on the bottom rack. Preheat your oven to 475°F (245°C).
- Flour Work Surface: Generously flour a clean work surface. This dough is very wet, so don't be shy with the flour!
- Turn Out Dough: Carefully invert the dough onto the floured surface, trying to preserve as many of the precious air bubbles as possible. The dough will be very soft and feel almost like a water balloon.
- Divide & Shape Crystal Coca Loaves
- Divide Dough: Using a bench scraper, gently cut the dough into 3-4 equal long rectangles.
- Shape Loaves: With floured hands and bench scraper, gently stretch each piece into a thin, flat slab. Aim for about ½–¾ inch thick and an elongated shape that will fit on your baking surface. Avoid aggressive handling that would deflate the bubbles.
- Transfer to Parchment: Carefully transfer each shaped loaf onto a piece of parchment paper. If you're using a baking peel, place the parchment with the dough directly onto the peel.
- Proof
- Final Proof: Let the shaped pieces rest uncovered at room temperature for 30-60 minutes. They should puff up slightly, and the surface might look a little drier and floured. They won't double in size like traditional bread, but they should feel light and airy.
- Bake for “Glass” Crust
- Add Steam: Once the loaves are ready, carefully pour about 1 cup of boiling water or a handful of ice cubes into the preheated metal tray on the bottom rack of your oven (be careful of the steam!).
- Bake: Gently slide the parchment-lined loaves onto the preheated baking stone or steel.
- Initial Bake: Bake for 10-15 minutes with the steam, until the crust begins to blister and turn lightly golden.
- Vent Steam & Crisp: Carefully remove the steam tray from the oven. Continue baking for another 10-15 minutes, or until the loaves are deeply golden brown, very crisp, and sound hollow when tapped on the bottom. The crust should start "crackling" as it cools.
- Cool: Transfer the baked loaves to a wire rack to cool completely. This is crucial for achieving that signature shatter-crisp crust.
You may also like


Hey there! I’m just someone who seriously loves good food and believes that cooking doesn’t have to be complicated to be amazing. Whether it’s a quick weeknight dinner or a cozy weekend meal, I’m all about sharing easy, tasty recipes that actually work.


