
Bake Delectable Gata Armenian Bread Recipe
Bake Delectable Gata Armenian Bread Recipe
- Serves: 10 People
- Prepare Time: 50 minutes
- Cooking Time: 45 minutes
- Calories: -
- Difficulty: Medium
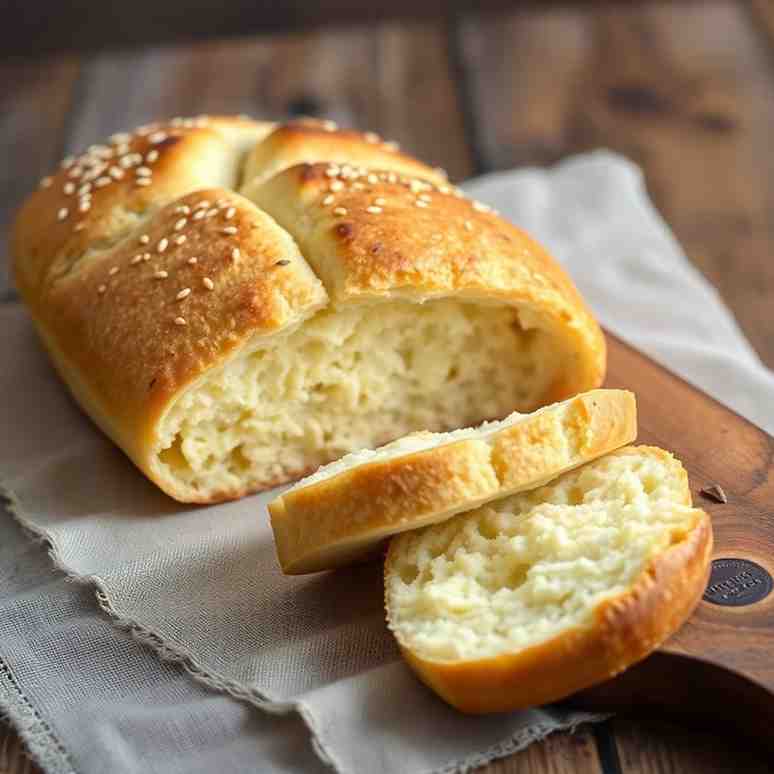
Hey there, baking enthusiasts! Get ready to dive into the heartwarming world of Armenian Gata, a truly delectable sweet bread that's more than just a dessert – it's a hug in food form. Imagine a rich, slightly sweet bread dough wrapped around a buttery, crumbly khoritz filling, often studded with walnuts. It’s like a coffee cake, a pastry, and a sweet bread dough all rolled into one irresistible treat. This traditional Armenian sweet bread is a staple at holidays, family gatherings, or simply enjoyed with a cup of coffee or tea.
You might have heard of nazook too, and wondered about the difference. Think of gata as the umbrella term for this type of Armenian pastry, while nazook often refers to a specific rolled or spiral style. This recipe, however, focuses on crafting a single, beautiful round gata Armenian bread – a true showstopper for your table. We’re going to walk you through making this classic version, ensuring your kitchen fills with the most amazing aromas and your taste buds sing with delight. This isn't just a recipe; it's your guide to making the dough and a piece of Armenian culinary heritage, made simple and accessible for everyone.
Ingredients
Directions
- Make the Enriched DoughIf using active dry yeast, start by blooming it: whisk the yeast into about 1/4 cup of warm milk (around 105-115°F or 40-46°C) with a pinch of sugar, then let it sit for 5-10 minutes until foamy. If using instant yeast, you can skip this step and add it directly with the dry ingredients.
In a large mixing bowl (or the bowl of a stand mixer), combine the flour, salt, and baking soda. Add the cold, cubed unsalted butter and cut it into the flour mixture using your fingertips or a pastry blender until it resembles coarse sand. Stir in the sugar.
Next, add the full-fat yogurt or sour cream, the egg, and your bloomed yeast mixture (or just the instant yeast if not blooming). Mix everything together on low speed with the dough hook (or with a sturdy wooden spoon) until a soft dough forms. Knead for about 5-7 minutes until the dough is smooth, soft, and slightly tacky but not sticky. If it feels too dry, add a tiny bit more milk, a teaspoon at a time. If it’s too sticky, add a teaspoon of flour. - First Rise & Chill for Easy Shaping Lightly grease a large bowl. Place your dough in the bowl, turning it once to coat, then cover it with plastic wrap or a clean kitchen towel. Let it rise in a warm, draft-free spot for about 1 to 1½ hours, or until it has roughly doubled in size. You'll know it's ready when it looks puffy and springs back slowly when gently poked.
Once risen, gently punch down the dough, then cover it again and transfer it to the refrigerator for 30-45 minutes. This brief chill makes the dough firmer and much easier to roll out without tearing, especially when you're ready to fill it. - Mix the Walnut Khoritz Filling While the dough is chilling, prepare your delicious khoritz filling. In a medium bowl, combine the chopped walnuts, flour, sugar, and a pinch of salt. Pour in the melted butter and vanilla extract. Mix everything thoroughly with a fork until the mixture is clumpy, resembling moist sand. When you squeeze a handful, it should hold together, indicating the perfect texture.
Shape the Gata as a Single Round Cake
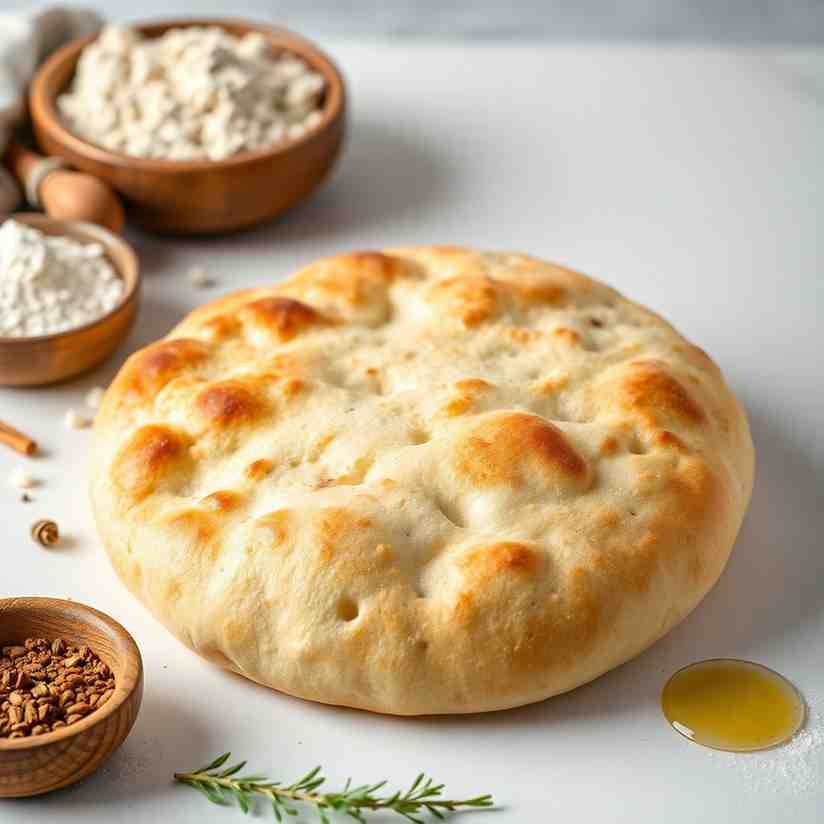
Lightly flour your work surface. Take the chilled dough and roll it out into a large circle, approximately 12 inches (30 cm) in diameter and about 1/4 inch thick.
Transfer the rolled dough to a piece of parchment paper. Spread the prepared walnut khoritz filling evenly over the center of the dough, leaving a generous 1½-inch border all around the edge.
Carefully bring the edges of the dough up and over the filling, pleating it as you go, to fully enclose the filling. Pinch the seam firmly shut to seal. Flip the dough over so the seam is now on the bottom.
Gently and evenly roll the dough again into a flat disc, about 9-10 inches (23-25 cm) in diameter, making sure the filling is spread out to the edges. If any small cracks appear, simply pinch them together with your fingers or dab with a tiny bit of egg wash to seal. - Final Proof and Bake Carefully transfer the shaped gata to your prepared 9-inch round pan (you can line it with parchment paper for easy removal). Cover the pan loosely with plastic wrap or a kitchen towel and let it proof in a warm spot for another 45-60 minutes, or until it looks puffy and slightly jiggly when gently moved.
Preheat your oven to 350°F (175°C).
In a small bowl, whisk together the egg and a splash of milk for the egg wash. Gently brush the top of the risen gata with the egg wash. If desired, you can use a knife to score a simple decorative pattern on top – just be careful not to cut too deep. Optionally, sprinkle a little extra sugar on top for a delightful crunch.
Bake for 40-50 minutes, or until the top is deeply golden brown and no pale spots remain, especially near the center. For advanced bakers, the internal temperature should read 195-200°F (90-93°C) when checked with an instant-read thermometer. If the top starts to brown too quickly, you can loosely tent it with foil. - Cool, Slice & Serve Once baked, remove the gata from the oven and let it cool in the pan for about 15-20 minutes before carefully transferring it to a wire rack to cool completely. Allowing it to cool fully (at least an hour) ensures the filling sets properly and the slices are clean.
Slice your gata into 8-10 wedges. It's truly delightful served warm or at room temperature alongside a cup of coffee, black tea, or traditional Armenian coffee. It makes a perfect breakfast treat, coffee break snack, or a unique dessert!
Bake Delectable Gata Armenian Bread Recipe
- Serves: 10 People
- Prepare Time: 50 minutes
- Cooking Time: 45 minutes
- Calories: -
- Difficulty: Medium
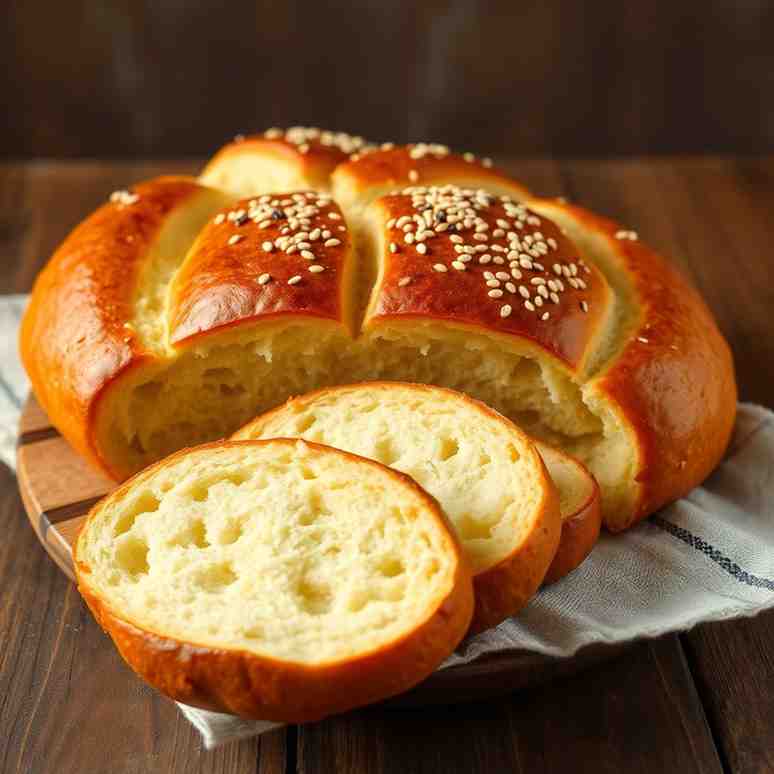
Hey there, baking enthusiasts! Get ready to dive into the heartwarming world of Armenian Gata, a truly delectable sweet bread that's more than just a dessert – it's a hug in food form. Imagine a rich, slightly sweet bread dough wrapped around a buttery, crumbly khoritz filling, often studded with walnuts. It’s like a coffee cake, a pastry, and a sweet bread dough all rolled into one irresistible treat. This traditional Armenian sweet bread is a staple at holidays, family gatherings, or simply enjoyed with a cup of coffee or tea.
You might have heard of nazook too, and wondered about the difference. Think of gata as the umbrella term for this type of Armenian pastry, while nazook often refers to a specific rolled or spiral style. This recipe, however, focuses on crafting a single, beautiful round gata Armenian bread – a true showstopper for your table. We’re going to walk you through making this classic version, ensuring your kitchen fills with the most amazing aromas and your taste buds sing with delight. This isn't just a recipe; it's your guide to making the dough and a piece of Armenian culinary heritage, made simple and accessible for everyone.
Ingredients
Directions
- Make the Enriched DoughIf using active dry yeast, start by blooming it: whisk the yeast into about 1/4 cup of warm milk (around 105-115°F or 40-46°C) with a pinch of sugar, then let it sit for 5-10 minutes until foamy. If using instant yeast, you can skip this step and add it directly with the dry ingredients.
In a large mixing bowl (or the bowl of a stand mixer), combine the flour, salt, and baking soda. Add the cold, cubed unsalted butter and cut it into the flour mixture using your fingertips or a pastry blender until it resembles coarse sand. Stir in the sugar.
Next, add the full-fat yogurt or sour cream, the egg, and your bloomed yeast mixture (or just the instant yeast if not blooming). Mix everything together on low speed with the dough hook (or with a sturdy wooden spoon) until a soft dough forms. Knead for about 5-7 minutes until the dough is smooth, soft, and slightly tacky but not sticky. If it feels too dry, add a tiny bit more milk, a teaspoon at a time. If it’s too sticky, add a teaspoon of flour. - First Rise & Chill for Easy Shaping Lightly grease a large bowl. Place your dough in the bowl, turning it once to coat, then cover it with plastic wrap or a clean kitchen towel. Let it rise in a warm, draft-free spot for about 1 to 1½ hours, or until it has roughly doubled in size. You'll know it's ready when it looks puffy and springs back slowly when gently poked.
Once risen, gently punch down the dough, then cover it again and transfer it to the refrigerator for 30-45 minutes. This brief chill makes the dough firmer and much easier to roll out without tearing, especially when you're ready to fill it. - Mix the Walnut Khoritz Filling While the dough is chilling, prepare your delicious khoritz filling. In a medium bowl, combine the chopped walnuts, flour, sugar, and a pinch of salt. Pour in the melted butter and vanilla extract. Mix everything thoroughly with a fork until the mixture is clumpy, resembling moist sand. When you squeeze a handful, it should hold together, indicating the perfect texture.
Shape the Gata as a Single Round Cake
Lightly flour your work surface. Take the chilled dough and roll it out into a large circle, approximately 12 inches (30 cm) in diameter and about 1/4 inch thick.
Transfer the rolled dough to a piece of parchment paper. Spread the prepared walnut khoritz filling evenly over the center of the dough, leaving a generous 1½-inch border all around the edge.
Carefully bring the edges of the dough up and over the filling, pleating it as you go, to fully enclose the filling. Pinch the seam firmly shut to seal. Flip the dough over so the seam is now on the bottom.
Gently and evenly roll the dough again into a flat disc, about 9-10 inches (23-25 cm) in diameter, making sure the filling is spread out to the edges. If any small cracks appear, simply pinch them together with your fingers or dab with a tiny bit of egg wash to seal. - Final Proof and Bake Carefully transfer the shaped gata to your prepared 9-inch round pan (you can line it with parchment paper for easy removal). Cover the pan loosely with plastic wrap or a kitchen towel and let it proof in a warm spot for another 45-60 minutes, or until it looks puffy and slightly jiggly when gently moved.
Preheat your oven to 350°F (175°C).
In a small bowl, whisk together the egg and a splash of milk for the egg wash. Gently brush the top of the risen gata with the egg wash. If desired, you can use a knife to score a simple decorative pattern on top – just be careful not to cut too deep. Optionally, sprinkle a little extra sugar on top for a delightful crunch.
Bake for 40-50 minutes, or until the top is deeply golden brown and no pale spots remain, especially near the center. For advanced bakers, the internal temperature should read 195-200°F (90-93°C) when checked with an instant-read thermometer. If the top starts to brown too quickly, you can loosely tent it with foil. - Cool, Slice & Serve Once baked, remove the gata from the oven and let it cool in the pan for about 15-20 minutes before carefully transferring it to a wire rack to cool completely. Allowing it to cool fully (at least an hour) ensures the filling sets properly and the slices are clean.
Slice your gata into 8-10 wedges. It's truly delightful served warm or at room temperature alongside a cup of coffee, black tea, or traditional Armenian coffee. It makes a perfect breakfast treat, coffee break snack, or a unique dessert!
The following nutritional values are per serving (one piece of cake) Calories ~380-420 kcal Carbohydrates ~45-55g Protein ~8-10g Total Fat ~20-25g Making Gata from scratch is a labor of love, but a few smart tools can make the process smoother and more enjoyable. These aren't essential, but they sure do help! Problem: Kneading dough by hand can be a real workout, taking significant time and arm strength to achieve the perfect consistency. Problem: Guessing the temperature of your warm milk for yeast activation, or wondering if your Gata is truly baked through, can lead to inconsistent results. Problem: An unevenly rolled dough can lead to varying thickness, making your Gata difficult to shape and resulting in an inconsistent bake. Problem: Applying an egg wash with your fingers or a paper towel can result in an uneven, patchy coating, affecting the Gata's golden-brown finish. Click any ingredient for detailed nutritional information:Recipe Nutritional Values
Additional Information
Recipe Success Tips
Pro Tips, Variations & Storage
Ingredient Substitutions & Variations
Key Baking Techniques & Troubleshooting
Make-Ahead & Storage Instructions
Frequently Asked Questions
Recommended Kitchen Tools
Time-Saving Tools & Ingredients
Agitate: If you're tired after a long day or simply don't have the stamina, the thought of hand-kneading might deter you from baking altogether, or leave your dough underdeveloped and your Gata less tender.
Solution: A stand mixer with a dough hook attachment takes all the hard work out of kneading. It efficiently develops the gluten, ensuring a perfectly smooth, elastic dough with minimal effort from you, freeing up your hands for other prep. ### H3: Instant-Read ThermometerTime-Saving Tools & Ingredients
Agitate: Too-hot milk can kill your yeast, preventing your dough from rising, while underbaked Gata can be doughy and disappointing. Over-baking, on the other hand, can dry out your precious pastry.
Solution: An instant-read thermometer provides precise temperature readings for your liquids and a quick check of the internal temperature of your Gata (aim for 195-200°F), guaranteeing optimal yeast activity and perfectly baked bread every time. ### H3: Quality Rolling PinTime-Saving Tools & Ingredients
Agitate: Struggling with a flimsy or sticky rolling pin can create tears in your delicate dough, making the shaping process frustrating and potentially leading to filling leaks.
Solution: A sturdy, well-balanced rolling pin (like a French-style tapered one or a classic straight pin) helps you achieve an even thickness with less effort, ensuring a smooth, beautiful Gata without unnecessary stress. ### H3: Pastry BrushTime-Saving Tools & Ingredients
Agitate: A poorly applied egg wash can leave your Gata with pale spots or an unappealing texture, detracting from its overall presentation.
Solution: A soft-bristled pastry brush allows for a thin, even application of egg wash, ensuring your Gata bakes up with that gorgeous, deep golden sheen and a professional-looking crust.Calories per Ingredient
You may also like

Hey there! I’m just someone who seriously loves good food and believes that cooking doesn’t have to be complicated to be amazing. Whether it’s a quick weeknight dinner or a cozy weekend meal, I’m all about sharing easy, tasty recipes that actually work.


