
Homemade Basturma - Cured Beef
Homemade Basturma - Cured Beef
- Serves: 20 People
- Prepare Time: 60 minutes
- Cooking Time: N/A (Curing
- Calories: -
- Difficulty: Easy
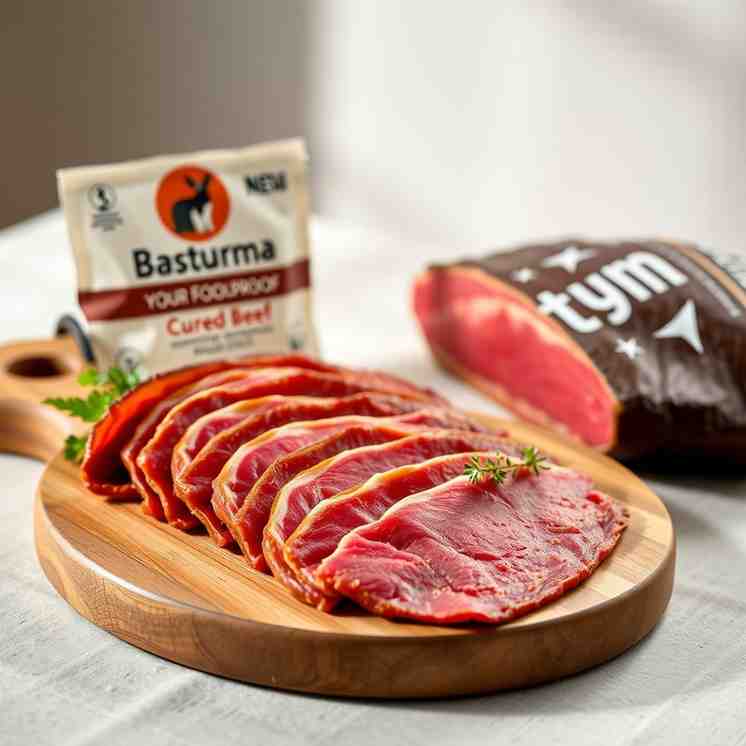
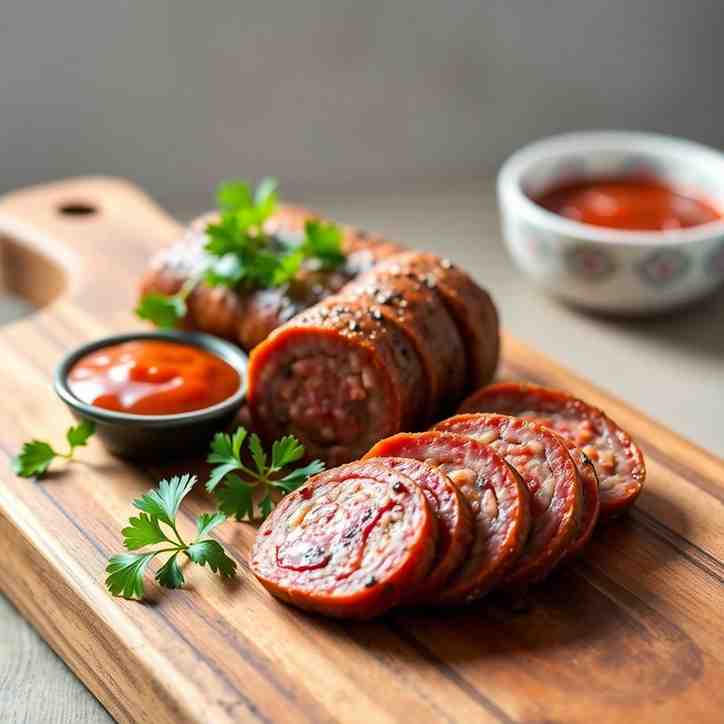
Ever dreamt of making your own basturma at home? This incredibly flavorful, dried beef delicacy, often called pastirma or basterma, is a culinary masterpiece enjoyed across Armenia, Turkey, the Levant, and Egypt. Imagine thinly sliced, spiced, and air-dried lean beef coated in a rich, aromatic fenugreek-garlic paste (chaman) – it's a symphony of flavors reminiscent of prosciutto but with its own unique, bold character.
While making cured beef at home might sound intimidating, this guide breaks down the process into easy, manageable steps, making it surprisingly achievable for the home cook. We'll walk you through transforming a simple cut of beef steak into a deeply savory, aromatic aged meat that's perfect for charcuterie boards, breakfast with eggs, or simply enjoyed on its own. Get ready to impress your friends and family with this traditional, mouthwatering treat!
Ingredients
Directions
- Trim & Prep the Beef (Day 1)Start by giving your beef roast a good trim. Remove any silverskin and excess external fat, aiming for a consistent, uniform shape. This helps the cure penetrate evenly and ensures a better drying process. Pat the meat thoroughly dry with paper towels. Weigh your meat precisely; this is crucial for calculating the salt percentage. If using a scale, measure out 3% of the meat's weight in Kosher salt. If not, use approximately 1.5 tablespoons of Kosher salt per pound of meat. Optionally, you can score the surface or poke small slits to aid in cure penetration.
- Salt Cure (Days 1–3)In a small bowl, combine the calculated Kosher salt with the optional sugar, black pepper, cumin, and coriander. Rub this cure mix generously all over the beef, making sure to get into any slits or crevices. Place the seasoned meat in a non-reactive dish (like glass or ceramic), cover it tightly, and refrigerate. To help flatten the meat and express moisture, place a weight on top (e.g., another dish with cans). Flip the meat daily to ensure even curing. Over these 2-3 days, you'll notice liquid pooling in the dish, the meat becoming firmer, and its color deepening. For slightly larger or smaller pieces, you might adjust the curing time by half a day.
- Rinse, Soak (If Needed) & Pre-Dry (Day 4)After the curing period, remove the meat from the fridge. Rinse off all the surface salt under cold running water. If you're concerned about it being too salty, you can briefly soak the meat in fresh cold water for 30 minutes to an hour, changing the water once. Pat the meat very dry with paper towels. Thread a sturdy piece of kitchen twine through one end of the meat (a meat hook works too). If you like, loosely wrap the meat in cheesecloth. Hang the meat in your fridge or a very cool, airy room for 2-3 days to pre-dry. The goal here is for the surface to feel firm but not yet rock-hard.
- Mix the Chaman Paste (While Meat Pre-Dries)While your beef is pre-drying, prepare the aromatic chaman paste. In a medium bowl, combine the fenugreek powder, paprika (sweet or smoked), minced garlic, black pepper, cumin, cayenne pepper, and salt. Gradually add cold water, stirring constantly, until you achieve a smooth paste with the consistency of thick pancake batter – it should cling to the meat without sliding off. For an optional taste test, fry a tiny dab of the chaman in a pan to check the seasoning and adjust if necessary.
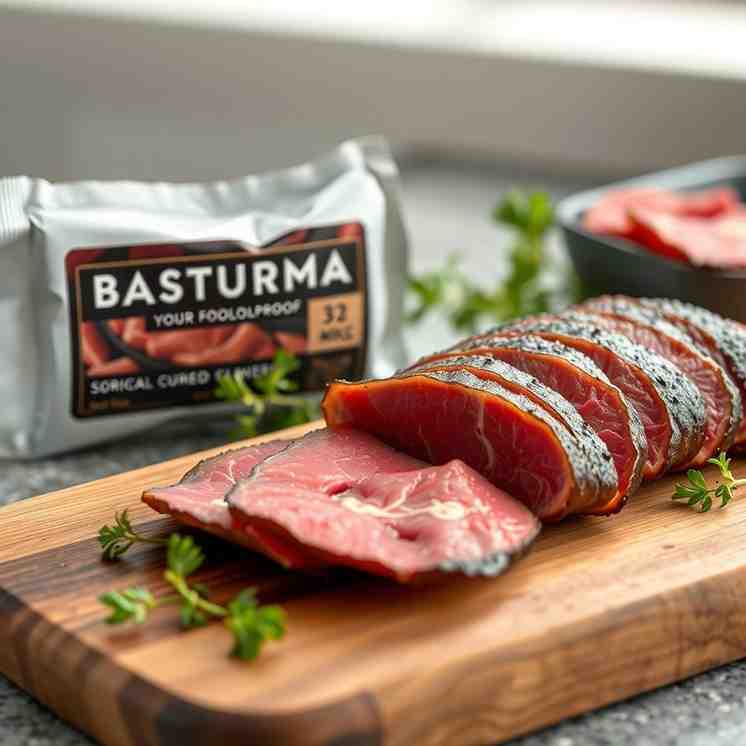
- Coat the Meat (Day 5 or 6)Once the meat has pre-dried and the chaman is ready, it's time for coating. Spread a thin, even layer of the chaman paste all around the beef, including around the twine where it hangs. Use wet fingers to smooth out the paste and prevent any cracks. Aim for a coating thickness of about ⅛ inch (3mm). Ensure the entire surface is covered to protect the meat during the final drying phase.
- Final Drying (Days 6–21+)Re-hang the coated meat in your fridge or a cool, airy place. Make sure no surfaces touch to allow for even air circulation. The final drying process typically takes 2-3 weeks, but this is highly dependent on your climate and fridge humidity. The most important indicators are:
- The chaman coating should feel completely dry and matte.
- The meat itself should feel firm to the touch.
- Crucially, the meat should have lost around 30-35% of its initial weight. This weight loss is a key safety indicator for properly cured and dried meat.
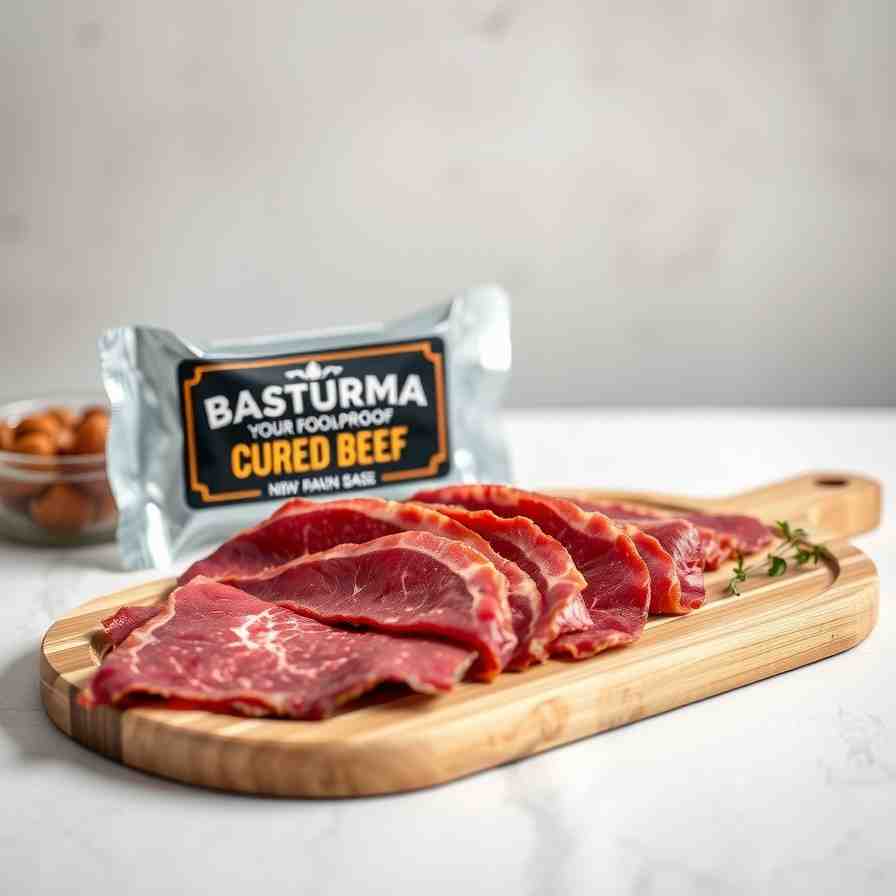
- Slice, Serve & StoreOnce fully dried, chill the basturma thoroughly in the fridge for at least a few hours; this makes slicing much easier. Using a very sharp knife or a meat slicer, slice the basturma paper-thin, cutting across the grain. Serve immediately as part of a classic Middle Eastern breakfast with eggs, on charcuterie boards with cheese and olives, or in sandwiches. Basturma is rich and salty, so a little goes a long way!For storage: wrap tightly in plastic wrap and keep in the fridge for up to 10-14 days. For longer storage, vacuum-seal or wrap extremely well and freeze for up to 3-4 months.
Homemade Basturma - Cured Beef
- Serves: 20 People
- Prepare Time: 60 minutes
- Cooking Time: N/A (Curing
- Calories: -
- Difficulty: Easy
Ever dreamt of making your own basturma at home? This incredibly flavorful, dried beef delicacy, often called pastirma or basterma, is a culinary masterpiece enjoyed across Armenia, Turkey, the Levant, and Egypt. Imagine thinly sliced, spiced, and air-dried lean beef coated in a rich, aromatic fenugreek-garlic paste (chaman) – it's a symphony of flavors reminiscent of prosciutto but with its own unique, bold character.
While making cured beef at home might sound intimidating, this guide breaks down the process into easy, manageable steps, making it surprisingly achievable for the home cook. We'll walk you through transforming a simple cut of beef steak into a deeply savory, aromatic aged meat that's perfect for charcuterie boards, breakfast with eggs, or simply enjoyed on its own. Get ready to impress your friends and family with this traditional, mouthwatering treat!
Ingredients
Directions
- Trim & Prep the Beef (Day 1)Start by giving your beef roast a good trim. Remove any silverskin and excess external fat, aiming for a consistent, uniform shape. This helps the cure penetrate evenly and ensures a better drying process. Pat the meat thoroughly dry with paper towels. Weigh your meat precisely; this is crucial for calculating the salt percentage. If using a scale, measure out 3% of the meat's weight in Kosher salt. If not, use approximately 1.5 tablespoons of Kosher salt per pound of meat. Optionally, you can score the surface or poke small slits to aid in cure penetration.
- Salt Cure (Days 1–3)In a small bowl, combine the calculated Kosher salt with the optional sugar, black pepper, cumin, and coriander. Rub this cure mix generously all over the beef, making sure to get into any slits or crevices. Place the seasoned meat in a non-reactive dish (like glass or ceramic), cover it tightly, and refrigerate. To help flatten the meat and express moisture, place a weight on top (e.g., another dish with cans). Flip the meat daily to ensure even curing. Over these 2-3 days, you'll notice liquid pooling in the dish, the meat becoming firmer, and its color deepening. For slightly larger or smaller pieces, you might adjust the curing time by half a day.
- Rinse, Soak (If Needed) & Pre-Dry (Day 4)After the curing period, remove the meat from the fridge. Rinse off all the surface salt under cold running water. If you're concerned about it being too salty, you can briefly soak the meat in fresh cold water for 30 minutes to an hour, changing the water once. Pat the meat very dry with paper towels. Thread a sturdy piece of kitchen twine through one end of the meat (a meat hook works too). If you like, loosely wrap the meat in cheesecloth. Hang the meat in your fridge or a very cool, airy room for 2-3 days to pre-dry. The goal here is for the surface to feel firm but not yet rock-hard.
- Mix the Chaman Paste (While Meat Pre-Dries)While your beef is pre-drying, prepare the aromatic chaman paste. In a medium bowl, combine the fenugreek powder, paprika (sweet or smoked), minced garlic, black pepper, cumin, cayenne pepper, and salt. Gradually add cold water, stirring constantly, until you achieve a smooth paste with the consistency of thick pancake batter – it should cling to the meat without sliding off. For an optional taste test, fry a tiny dab of the chaman in a pan to check the seasoning and adjust if necessary.
- Coat the Meat (Day 5 or 6)Once the meat has pre-dried and the chaman is ready, it's time for coating. Spread a thin, even layer of the chaman paste all around the beef, including around the twine where it hangs. Use wet fingers to smooth out the paste and prevent any cracks. Aim for a coating thickness of about ⅛ inch (3mm). Ensure the entire surface is covered to protect the meat during the final drying phase.
- Final Drying (Days 6–21+)Re-hang the coated meat in your fridge or a cool, airy place. Make sure no surfaces touch to allow for even air circulation. The final drying process typically takes 2-3 weeks, but this is highly dependent on your climate and fridge humidity. The most important indicators are:
- The chaman coating should feel completely dry and matte.
- The meat itself should feel firm to the touch.
- Crucially, the meat should have lost around 30-35% of its initial weight. This weight loss is a key safety indicator for properly cured and dried meat.
- Slice, Serve & StoreOnce fully dried, chill the basturma thoroughly in the fridge for at least a few hours; this makes slicing much easier. Using a very sharp knife or a meat slicer, slice the basturma paper-thin, cutting across the grain. Serve immediately as part of a classic Middle Eastern breakfast with eggs, on charcuterie boards with cheese and olives, or in sandwiches. Basturma is rich and salty, so a little goes a long way!For storage: wrap tightly in plastic wrap and keep in the fridge for up to 10-14 days. For longer storage, vacuum-seal or wrap extremely well and freeze for up to 3-4 months.
You may also like

Hey there! I’m just someone who seriously loves good food and believes that cooking doesn’t have to be complicated to be amazing. Whether it’s a quick weeknight dinner or a cozy weekend meal, I’m all about sharing easy, tasty recipes that actually work.


