 | Gusto Recipes CMS alt=")
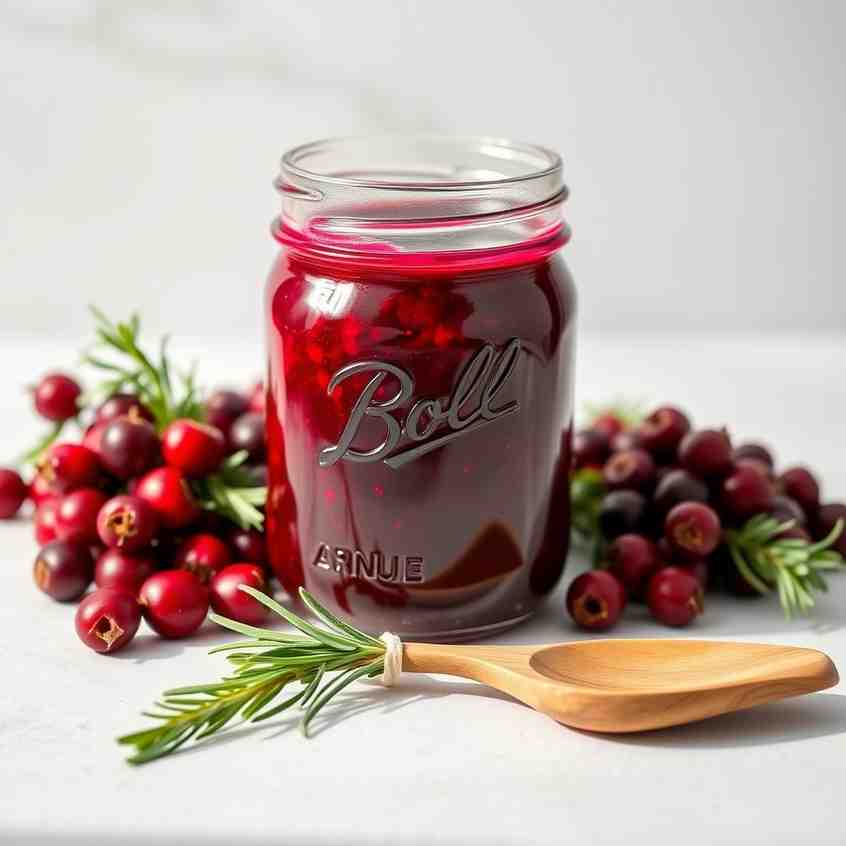
Easy Homemade Lingonberry Jam Recipe (No Pectin!)
Easy Homemade Lingonberry Jam Recipe (No Pectin!)
- Serves: 4 People
- Prepare Time: 15 minutes
- Cooking Time: 25 minutes
- Calories: -
- Difficulty: Easy
Welcome, fellow food lovers, to the wonderful world of homemade lingonberry jam! If you've ever savored the delightful tartness of lingonberries alongside Swedish meatballs or on a warm, fluffy pancake, you know just how special this vibrant preserve is. Making your own lingonberry jam recipe at home is not just rewarding; it’s incredibly simple, allowing you to control the sweetness and enjoy that fresh, bright flavor right from your kitchen. The best part? You don't need any special commercial pectin because lingonberries are naturally rich in it! Whether you're using fresh berries from a specialty store or a bag of frozen beauties from IKEA, you'll have a batch of this Scandinavian delight ready in about 30–40 minutes on the stove. Let's get cooking!
Ingredients
Directions
- Prep the BerriesIf using fresh lingonberries, give them a good rinse under cold water. Pick through them carefully to remove any tiny stems, leaves, or soft, shriveled berries. If using frozen berries, there’s no need to thaw them fully; you can measure them directly from the freezer. Just be aware that frozen berries will release more liquid as they cook.
- Start the CookIn a medium or large heavy-bottomed saucepan, combine the prepped lingonberries and the water (if using). If using frozen berries, you might want to start with less water or none at all, as they'll release plenty of their own liquid. Bring the mixture to a gentle boil over medium heat, stirring occasionally to prevent the berries from sticking to the bottom of the pot. Cook for about 5-8 minutes, or until the berries have softened and started to burst, releasing their juices.
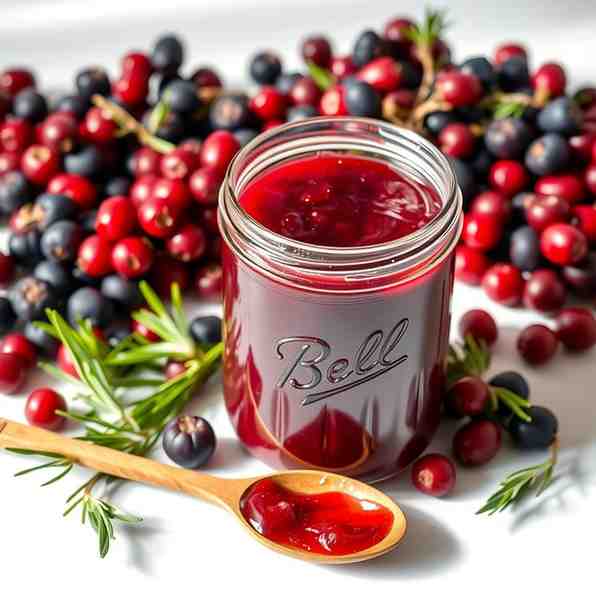
- Add Sugar and Cook to “Jam Stage”Once the berries have broken down, gradually stir in the granulated sugar. Continue stirring until the sugar is completely dissolved. Increase the heat slightly to bring the mixture to a steady, rolling boil. Keep the jam at this boil, stirring frequently, especially as it thickens, to prevent scorching. You'll notice the mixture thickening, foam forming on top, and the color deepening to a rich ruby red. This "jam stage" typically takes 10-20 minutes, depending on your stove and pot.
- Test for SetTo check if your jam is ready, perform the cold plate test:
- Place a small plate in your freezer before you start cooking.
- When you think the jam is ready, spoon a tiny amount onto the chilled plate.
- Return the plate to the freezer for 1-2 minutes.
- Remove the plate and gently push the edge of the jam with your finger. If it wrinkles and doesn’t flow back together, it's set! If it’s still too runny, continue cooking for a few more minutes and repeat the test.
- Optional: A candy thermometer can also be used; the jam is typically set when it reaches 220°F (104°C) at sea level.
- Skim, Flavor, and AdjustOnce your jam has reached its set point, remove it from the heat. Use a spoon to skim off any foam that has accumulated on the surface; this helps keep your jam clear and visually appealing. Now is the time to stir in any optional flavor boosters like lemon juice or zest, or a tiny pinch of salt. You can also quickly taste and adjust the sweetness if desired, adding a tiny bit more sugar if needed (but be mindful that this can affect the set slightly).
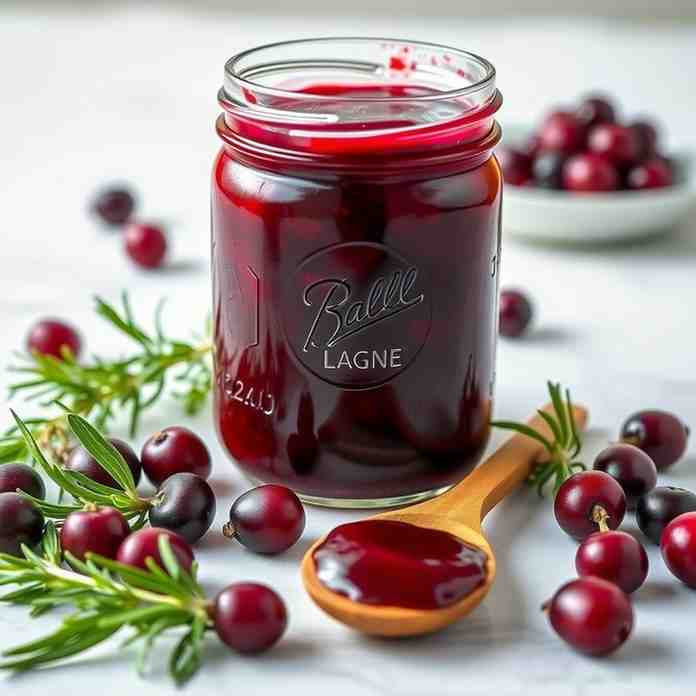
- Fill and Seal the JarsCarefully ladle the hot jam into clean, warm glass jars, leaving about 1/4 inch (0.5 cm) of headspace from the rim. Wipe the rims of the jars clean with a damp cloth to ensure a good seal. Place the lids on the jars and tighten the bands gently, just until fingertip-tight.
Easy Homemade Lingonberry Jam Recipe (No Pectin!)
- Serves: 4 People
- Prepare Time: 15 minutes
- Cooking Time: 25 minutes
- Calories: -
- Difficulty: Easy
Welcome, fellow food lovers, to the wonderful world of homemade lingonberry jam! If you've ever savored the delightful tartness of lingonberries alongside Swedish meatballs or on a warm, fluffy pancake, you know just how special this vibrant preserve is. Making your own lingonberry jam recipe at home is not just rewarding; it’s incredibly simple, allowing you to control the sweetness and enjoy that fresh, bright flavor right from your kitchen. The best part? You don't need any special commercial pectin because lingonberries are naturally rich in it! Whether you're using fresh berries from a specialty store or a bag of frozen beauties from IKEA, you'll have a batch of this Scandinavian delight ready in about 30–40 minutes on the stove. Let's get cooking!
Ingredients
Directions
- Prep the BerriesIf using fresh lingonberries, give them a good rinse under cold water. Pick through them carefully to remove any tiny stems, leaves, or soft, shriveled berries. If using frozen berries, there’s no need to thaw them fully; you can measure them directly from the freezer. Just be aware that frozen berries will release more liquid as they cook.
- Start the CookIn a medium or large heavy-bottomed saucepan, combine the prepped lingonberries and the water (if using). If using frozen berries, you might want to start with less water or none at all, as they'll release plenty of their own liquid. Bring the mixture to a gentle boil over medium heat, stirring occasionally to prevent the berries from sticking to the bottom of the pot. Cook for about 5-8 minutes, or until the berries have softened and started to burst, releasing their juices.
- Add Sugar and Cook to “Jam Stage”Once the berries have broken down, gradually stir in the granulated sugar. Continue stirring until the sugar is completely dissolved. Increase the heat slightly to bring the mixture to a steady, rolling boil. Keep the jam at this boil, stirring frequently, especially as it thickens, to prevent scorching. You'll notice the mixture thickening, foam forming on top, and the color deepening to a rich ruby red. This "jam stage" typically takes 10-20 minutes, depending on your stove and pot.
- Test for SetTo check if your jam is ready, perform the cold plate test:
- Place a small plate in your freezer before you start cooking.
- When you think the jam is ready, spoon a tiny amount onto the chilled plate.
- Return the plate to the freezer for 1-2 minutes.
- Remove the plate and gently push the edge of the jam with your finger. If it wrinkles and doesn’t flow back together, it's set! If it’s still too runny, continue cooking for a few more minutes and repeat the test.
- Optional: A candy thermometer can also be used; the jam is typically set when it reaches 220°F (104°C) at sea level.
- Skim, Flavor, and AdjustOnce your jam has reached its set point, remove it from the heat. Use a spoon to skim off any foam that has accumulated on the surface; this helps keep your jam clear and visually appealing. Now is the time to stir in any optional flavor boosters like lemon juice or zest, or a tiny pinch of salt. You can also quickly taste and adjust the sweetness if desired, adding a tiny bit more sugar if needed (but be mindful that this can affect the set slightly).
- Fill and Seal the JarsCarefully ladle the hot jam into clean, warm glass jars, leaving about 1/4 inch (0.5 cm) of headspace from the rim. Wipe the rims of the jars clean with a damp cloth to ensure a good seal. Place the lids on the jars and tighten the bands gently, just until fingertip-tight.
You may also like


Hey there! I’m just someone who seriously loves good food and believes that cooking doesn’t have to be complicated to be amazing. Whether it’s a quick weeknight dinner or a cozy weekend meal, I’m all about sharing easy, tasty recipes that actually work.


