
Make Cream Cheese - Bosnian Kajmak Recipe
Make Cream Cheese - Bosnian Kajmak Recipe


- Serves: 6 People
- Prepare Time: 15 minutes
- Cooking Time: 3-4 hours (
- Calories: -
- Difficulty: Medium
Ever wanted to make cream cheese that's truly special? Forget the store-bought tubs! We're talking about a rich, velvety, slightly tangy dairy delight that transcends your typical spread. Get ready to dive into the world of authentic Bosnian Kajmak – a culinary gem that's surprisingly achievable right in your own kitchen. This isn't just about learning to make your own food; it's about connecting with centuries of tradition and savoring pure, homemade food perfection.
Many think making cheese from milk at home is super complicated, requiring fancy equipment or even raw milk. But guess what? You can absolutely make cheese from milk that's both traditional and practical. Our recipe for Bosnian Kajmak lets you create a luscious, creamy cheese spread with just a few simple ingredients for cheese. Whether you're a seasoned home cook or just starting your journey into making cheese recipes from scratch, this guide will walk you through every step to create a truly unforgettable dairy experience. Prepare to impress yourself and everyone lucky enough to taste your incredible, homemade food masterpiece!
Ingredients
Directions
- Prep Your Pot: Choose a wide, heavy-bottomed pot or Dutch oven. The wider the surface area, the better the cream skin will form. Pour in the heavy cream. If using salt, stir it in now.
- Gentle Heat Initiation: Place the pot over very low heat. The goal here isn't to boil the cream quickly, but to bring it up to a gentle simmer very slowly. This slow heating encourages the milk solids and fats to separate and rise to the surface, forming that crucial kajmak skin.
- The Slow Simmer: Once the cream starts to show tiny bubbles around the edges and a thin skin begins to form on top, reduce the heat to the absolute lowest setting. You want the cream to barely simmer, almost imperceptibly, for about 3-4 hours. Do NOT stir the cream during this time. The goal is to allow multiple layers of skin to form. If your stove runs too hot even on its lowest setting, you can use a heat diffuser.
- Cool Down Period: After 3-4 hours, turn off the heat. Carefully remove the pot from the burner and let it cool completely at room temperature for another 2-3 hours, or until it's just slightly warm to the touch. This slow cooling helps solidify the formed kajmak layers.
- Skimming the Goodness: Once cooled, you'll see a thick, wrinkled, yellowish-white layer (or multiple layers) on top of the cream. This is your kajmak! Gently use a slotted spoon or a thin spatula to carefully lift and skim off these layers. As you skim, you might notice layers underneath – collect them all.
- Layering & Salting (Optional): Transfer the skimmed kajmak layers into a clean, shallow glass container or jar. If you prefer a slightly salty flavor, you can sprinkle a tiny pinch of salt between the layers as you stack them.
- Chill to Perfection: Cover the container tightly and refrigerate for at least 8-12 hours, but ideally 24 hours. This chilling period allows the kajmak to firm up, meld its flavors, and develop its characteristic texture.
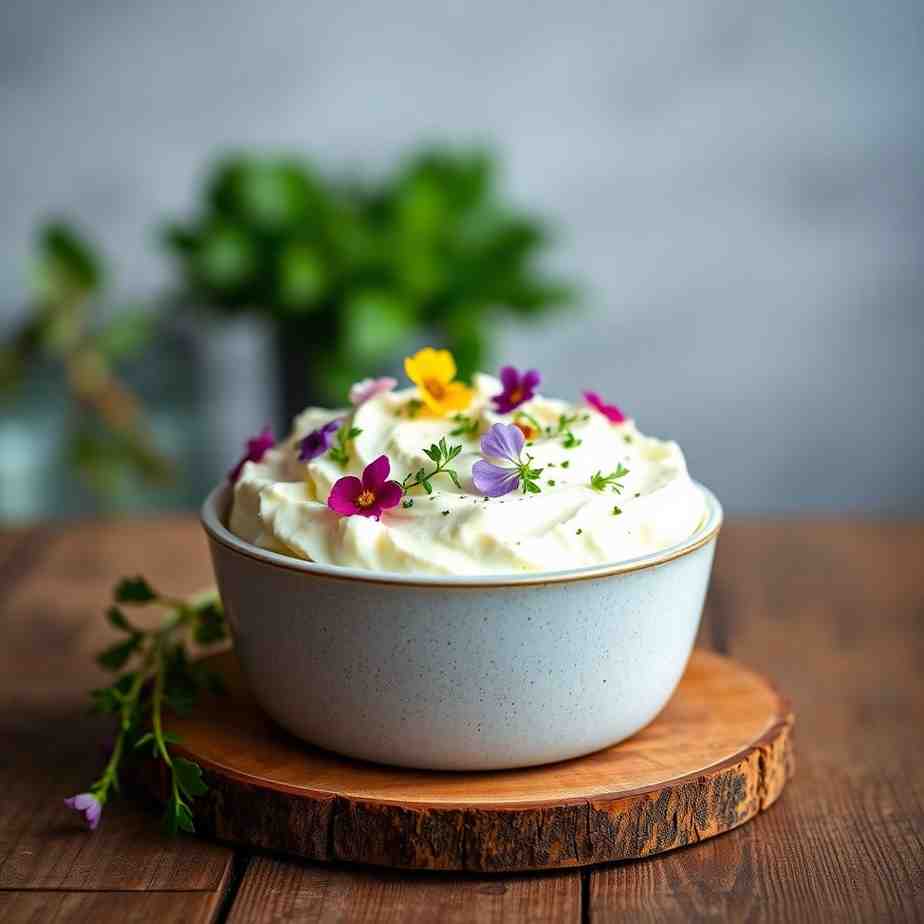
- Serve & Savor: Once chilled, your authentic Bosnian Kajmak is ready! It should be spreadable, rich, and utterly delicious.
Make Cream Cheese - Bosnian Kajmak Recipe

- Serves: 6 People
- Prepare Time: 15 minutes
- Cooking Time: 3-4 hours (
- Calories: -
- Difficulty: Medium
Ever wanted to make cream cheese that's truly special? Forget the store-bought tubs! We're talking about a rich, velvety, slightly tangy dairy delight that transcends your typical spread. Get ready to dive into the world of authentic Bosnian Kajmak – a culinary gem that's surprisingly achievable right in your own kitchen. This isn't just about learning to make your own food; it's about connecting with centuries of tradition and savoring pure, homemade food perfection.
Many think making cheese from milk at home is super complicated, requiring fancy equipment or even raw milk. But guess what? You can absolutely make cheese from milk that's both traditional and practical. Our recipe for Bosnian Kajmak lets you create a luscious, creamy cheese spread with just a few simple ingredients for cheese. Whether you're a seasoned home cook or just starting your journey into making cheese recipes from scratch, this guide will walk you through every step to create a truly unforgettable dairy experience. Prepare to impress yourself and everyone lucky enough to taste your incredible, homemade food masterpiece!
Ingredients
Directions
- Prep Your Pot: Choose a wide, heavy-bottomed pot or Dutch oven. The wider the surface area, the better the cream skin will form. Pour in the heavy cream. If using salt, stir it in now.
- Gentle Heat Initiation: Place the pot over very low heat. The goal here isn't to boil the cream quickly, but to bring it up to a gentle simmer very slowly. This slow heating encourages the milk solids and fats to separate and rise to the surface, forming that crucial kajmak skin.
- The Slow Simmer: Once the cream starts to show tiny bubbles around the edges and a thin skin begins to form on top, reduce the heat to the absolute lowest setting. You want the cream to barely simmer, almost imperceptibly, for about 3-4 hours. Do NOT stir the cream during this time. The goal is to allow multiple layers of skin to form. If your stove runs too hot even on its lowest setting, you can use a heat diffuser.
- Cool Down Period: After 3-4 hours, turn off the heat. Carefully remove the pot from the burner and let it cool completely at room temperature for another 2-3 hours, or until it's just slightly warm to the touch. This slow cooling helps solidify the formed kajmak layers.
- Skimming the Goodness: Once cooled, you'll see a thick, wrinkled, yellowish-white layer (or multiple layers) on top of the cream. This is your kajmak! Gently use a slotted spoon or a thin spatula to carefully lift and skim off these layers. As you skim, you might notice layers underneath – collect them all.
- Layering & Salting (Optional): Transfer the skimmed kajmak layers into a clean, shallow glass container or jar. If you prefer a slightly salty flavor, you can sprinkle a tiny pinch of salt between the layers as you stack them.
- Chill to Perfection: Cover the container tightly and refrigerate for at least 8-12 hours, but ideally 24 hours. This chilling period allows the kajmak to firm up, meld its flavors, and develop its characteristic texture.
- Serve & Savor: Once chilled, your authentic Bosnian Kajmak is ready! It should be spreadable, rich, and utterly delicious.
You may also like


Hey there! I’m just someone who seriously loves good food and believes that cooking doesn’t have to be complicated to be amazing. Whether it’s a quick weeknight dinner or a cozy weekend meal, I’m all about sharing easy, tasty recipes that actually work.


