
Tantawawa Bolivian Bread Babies | Easy Wheat Flour Recipes
Tantawawa Bolivian Bread Babies | Easy Wheat Flour Recipes
- Serves: 12 People
- Prepare Time: 45 minutes
- Cooking Time: 25 minutes
- Calories: -
- Difficulty: Medium
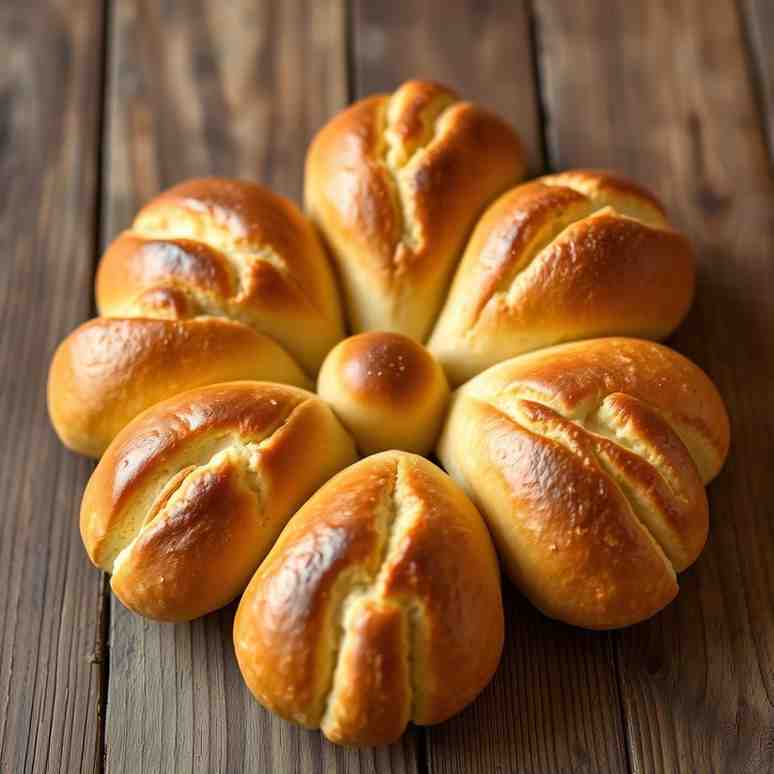
Welcome to a truly special culinary journey! Today, we're diving deep into the heart of Bolivian tradition to uncover the magic behind Tantawawas. These aren't just any wheat flour recipes; they're "bread babies," deeply rooted in the vibrant culture of Bolivia, especially during the Day of the Dead (Día de Muertos) celebrations. Imagine warm, slightly sweet bread, beautifully shaped and decorated, representing the souls of ancestors returning to visit their families. This isn't just about baking; it's about honoring heritage, connecting with the past, and sharing love through food. If you're looking for authentic recipes using egg yolk that tell a story, you've found your next baking adventure. Get ready to create something truly meaningful and delicious!
Ingredients
Directions
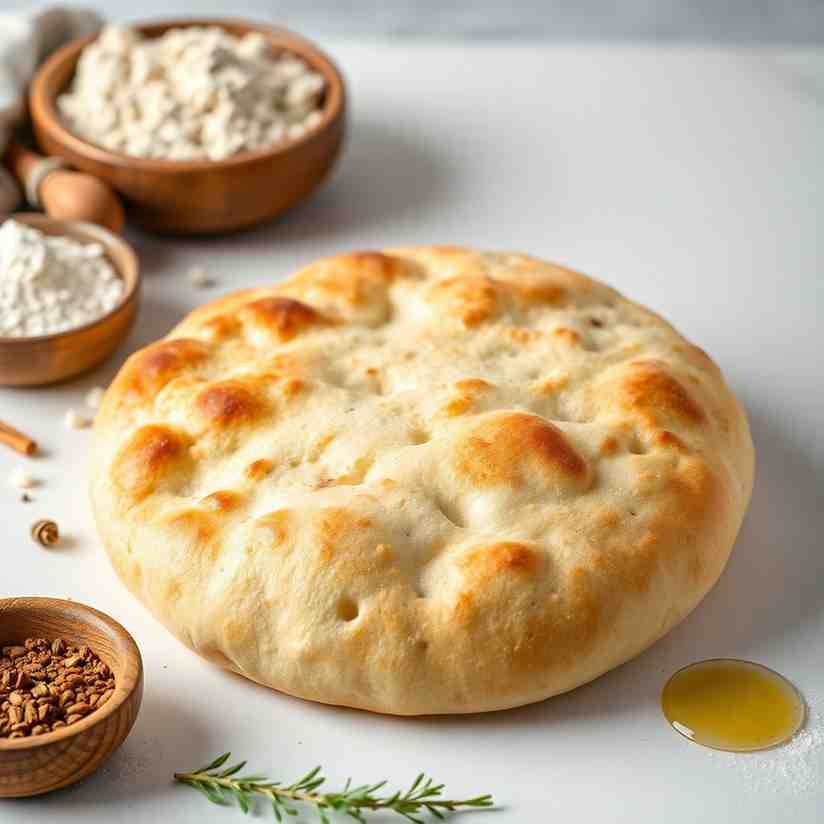
- Prepare the Dough: In a large mixing bowl, whisk together the wheat flour, sugar, yeast, salt, and optional cinnamon and cloves. In a separate bowl, combine the warm milk, melted butter, egg yolks, and optional vanilla extract. Gradually pour the wet ingredients into the dry ingredients, mixing with a wooden spoon or a stand mixer with a dough hook until a shaggy dough forms.
- Kneading the Dough: Turn the dough out onto a lightly floured surface. Knead for 10-15 minutes until the dough is smooth, elastic, and no longer sticky. If using a stand mixer, knead on medium speed for 8-10 minutes. The dough should spring back when gently poked. Place the kneaded dough in a lightly oiled bowl, turning once to coat. Cover with plastic wrap or a clean kitchen towel and let it rise in a warm place for 1-1.5 hours, or until doubled in size.
- Shaping the Bread: Once the dough has doubled, gently punch it down to release the air. Divide the dough into 12-16 equal pieces. Roll each piece into an oval shape, then gently pinch and shape one end to create a "head" and the other end for the "body" of your bread baby. You can get creative here! Arrange the shaped "babies" on baking sheets lined with parchment paper, leaving some space between them.
- Proofing: Cover the shaped Tantawawas loosely with plastic wrap or a clean towel and let them proof again in a warm spot for another 30-45 minutes, or until visibly puffy and almost doubled in size. This second rise is crucial for a light and airy texture. While they're proofing, preheat your oven to 375°F (190°C).
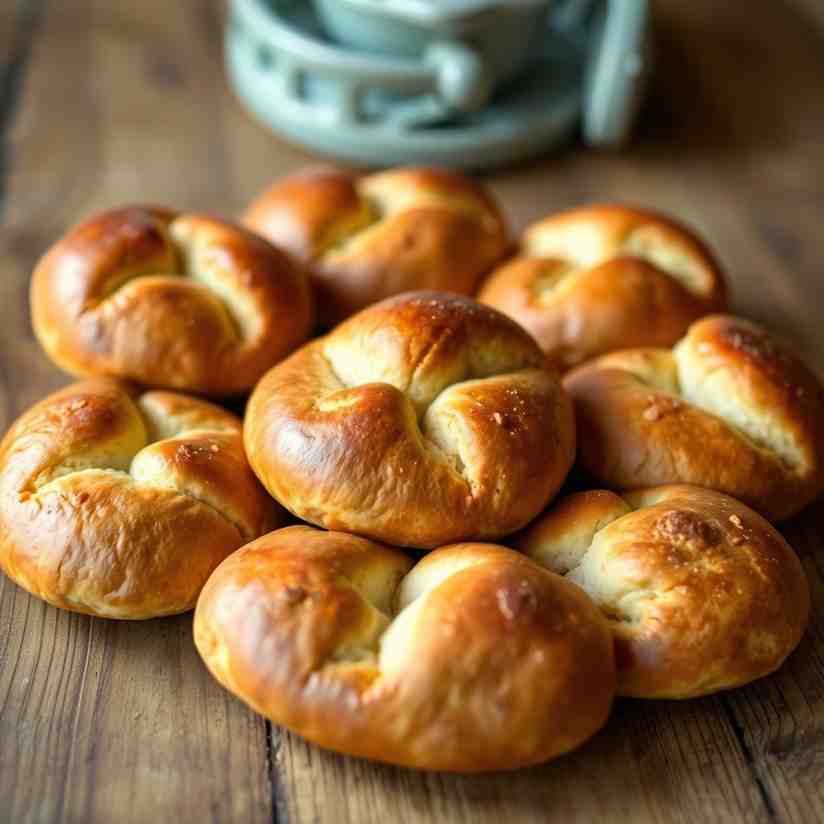
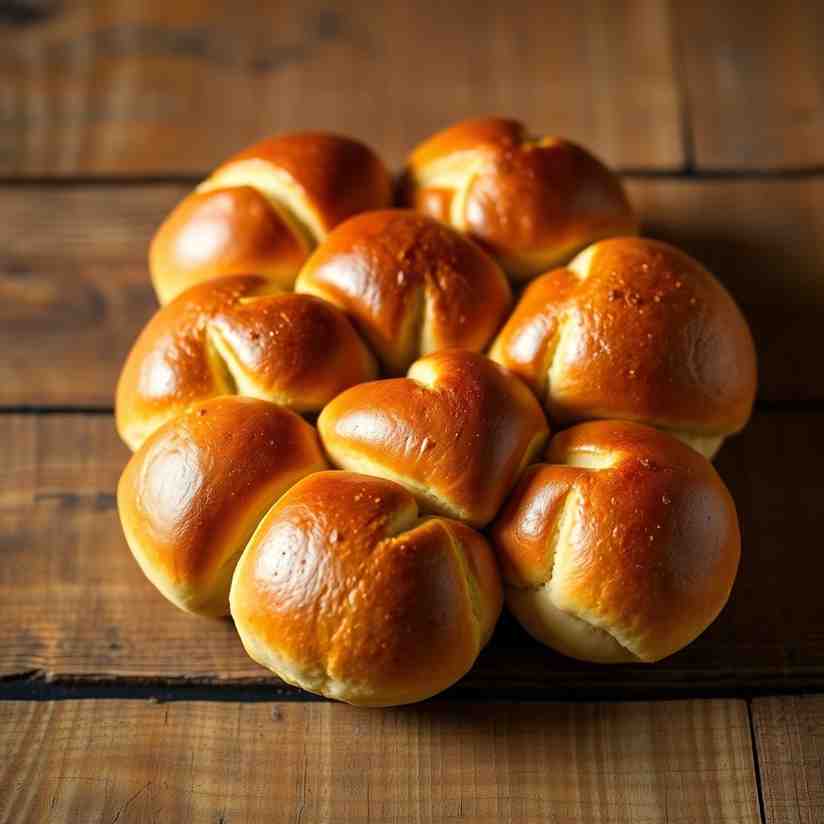
- Baking: Just before baking, gently brush the tops of the Tantawawas with the beaten egg white (if using) for a golden sheen. Bake for 20-25 minutes, or until they are golden brown on top and sound hollow when tapped on the bottom. If they're browning too quickly, you can loosely tent them with foil. Once baked, transfer them to a wire rack to cool completely. Once cool, unleash your creativity with colorful sprinkles or icing for decoration!
Tantawawa Bolivian Bread Babies | Easy Wheat Flour Recipes
- Serves: 12 People
- Prepare Time: 45 minutes
- Cooking Time: 25 minutes
- Calories: -
- Difficulty: Medium
Welcome to a truly special culinary journey! Today, we're diving deep into the heart of Bolivian tradition to uncover the magic behind Tantawawas. These aren't just any wheat flour recipes; they're "bread babies," deeply rooted in the vibrant culture of Bolivia, especially during the Day of the Dead (Día de Muertos) celebrations. Imagine warm, slightly sweet bread, beautifully shaped and decorated, representing the souls of ancestors returning to visit their families. This isn't just about baking; it's about honoring heritage, connecting with the past, and sharing love through food. If you're looking for authentic recipes using egg yolk that tell a story, you've found your next baking adventure. Get ready to create something truly meaningful and delicious!
Ingredients
Directions
- Prepare the Dough: In a large mixing bowl, whisk together the wheat flour, sugar, yeast, salt, and optional cinnamon and cloves. In a separate bowl, combine the warm milk, melted butter, egg yolks, and optional vanilla extract. Gradually pour the wet ingredients into the dry ingredients, mixing with a wooden spoon or a stand mixer with a dough hook until a shaggy dough forms.
- Kneading the Dough: Turn the dough out onto a lightly floured surface. Knead for 10-15 minutes until the dough is smooth, elastic, and no longer sticky. If using a stand mixer, knead on medium speed for 8-10 minutes. The dough should spring back when gently poked. Place the kneaded dough in a lightly oiled bowl, turning once to coat. Cover with plastic wrap or a clean kitchen towel and let it rise in a warm place for 1-1.5 hours, or until doubled in size.
- Shaping the Bread: Once the dough has doubled, gently punch it down to release the air. Divide the dough into 12-16 equal pieces. Roll each piece into an oval shape, then gently pinch and shape one end to create a "head" and the other end for the "body" of your bread baby. You can get creative here! Arrange the shaped "babies" on baking sheets lined with parchment paper, leaving some space between them.
- Proofing: Cover the shaped Tantawawas loosely with plastic wrap or a clean towel and let them proof again in a warm spot for another 30-45 minutes, or until visibly puffy and almost doubled in size. This second rise is crucial for a light and airy texture. While they're proofing, preheat your oven to 375°F (190°C).
- Baking: Just before baking, gently brush the tops of the Tantawawas with the beaten egg white (if using) for a golden sheen. Bake for 20-25 minutes, or until they are golden brown on top and sound hollow when tapped on the bottom. If they're browning too quickly, you can loosely tent them with foil. Once baked, transfer them to a wire rack to cool completely. Once cool, unleash your creativity with colorful sprinkles or icing for decoration!
The following nutritional values are per serving (one piece of cake) Calories ~280-320 kcal Carbohydrates ~45-55g Protein ~6-8g Fat ~8-12g Tools and ingredients that can help you cook more easily and consistently. Sometimes, a little help in the kitchen can go a long way, especially when you're exploring new `wheat flour recipes`! Here are a few tools and ingredients that can make your Tantawawa baking experience smoother and quicker. Problem: Kneading dough by hand can be a real workout, leaving your arms tired and your hands messy, especially when aiming for that perfect elasticity. Problem: Measuring `wheat flour` by volume (cups) can be notoriously inaccurate due to varying compaction, leading to inconsistent dough hydration. Problem: Parchment paper can curl, tear, and often needs to be cut to size, creating extra fuss when preparing your baking sheets for the oven. Problem: Traditional active dry yeast often requires proofing in warm water before adding to other ingredients, adding an extra step and waiting time to your baking process. Click any ingredient for detailed nutritional information:Recipe Nutritional Values
Additional Information
Recipe Success Tips
Ingredient Substitutions & Variations
Cultural Variations
Make-Ahead & Storage Instructions
Frequently Asked Questions
Recommended Kitchen Tools
Time-Saving Tools & Ingredients
Stand Mixer with Dough Hook
Agitate: All that elbow grease takes precious time and effort, and if the dough isn't kneaded properly, your bread might not achieve that ideal, airy texture and rise.
Solution: A stand mixer fitted with a dough hook attachment effortlessly handles the intensive kneading process, developing the gluten perfectly and saving you significant time and physical strain.Digital Kitchen Scale
Agitate: Too much or too little flour can throw off your entire recipe, resulting in a dense, dry, or overly sticky dough that's difficult to work with and shape into those cute Tantawawa babies.
Solution: A digital kitchen scale provides precise measurements for all your ingredients, especially flour, ensuring consistent results every time and eliminating guesswork for a perfectly balanced dough.Silicone Baking Mats
Agitate: Dealing with sticky dough on unlined pans or flimsy paper can lead to frustrating moments, uneven baking, and a tricky transfer, plus extra cleanup.
Solution: Reusable silicone baking mats provide a non-stick surface, preventing your Tantawawas from sticking and ensuring even baking, all while making cleanup a breeze and being environmentally friendly.Instant Yeast
Agitate: Forgetting to proof your yeast, or using water that's too hot or cold, can lead to inactive yeast and a dough that simply won't rise, wasting your efforts and ingredients.
Solution: Instant yeast can be mixed directly with your dry ingredients, saving you the pre-proofing step and accelerating the initial dough preparation, getting you to the baking stage faster. ---Calories per Ingredient
You may also like

Hey there! I’m just someone who seriously loves good food and believes that cooking doesn’t have to be complicated to be amazing. Whether it’s a quick weeknight dinner or a cozy weekend meal, I’m all about sharing easy, tasty recipes that actually work.


