
Gelatin Free Marshmallow - Zefir Easy Recipe & Tips
Gelatin Free Marshmallow - Zefir Easy Recipe & Tips

- Serves: 20 People
- Prepare Time: 45 minutes
- Cooking Time: 20 minutes
- Calories: -
- Difficulty: Easy
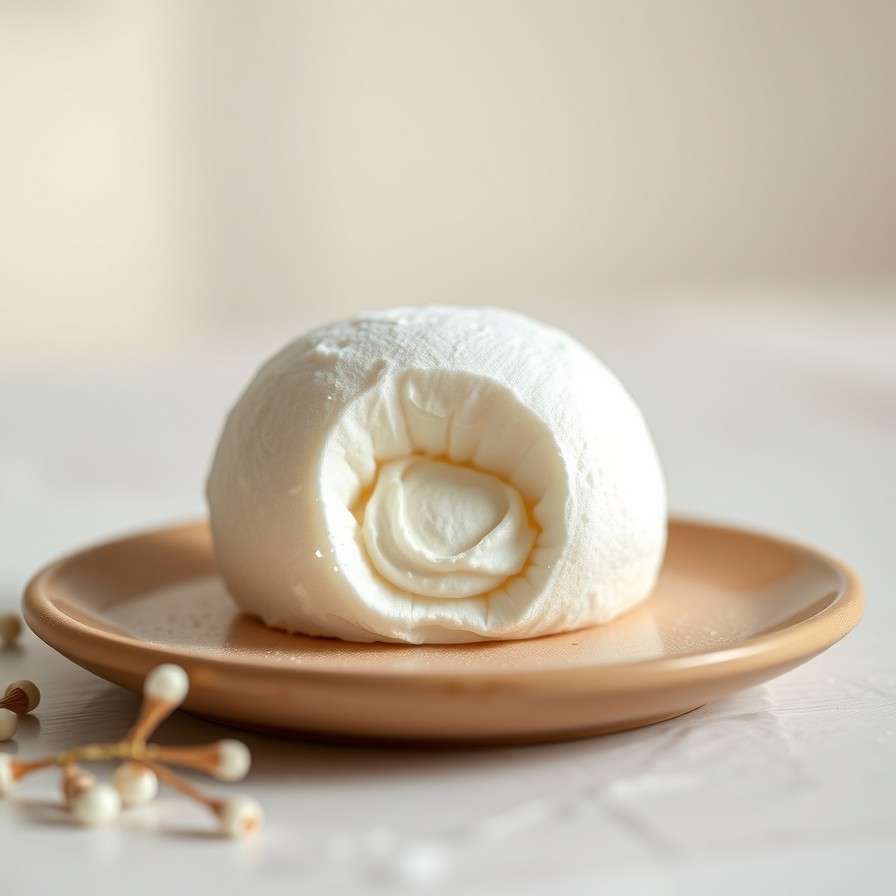
Ever wished you could whip up a batch of fluffy, melt-in-your-mouth marshmallows without the fuss of gelatin? Well, get ready to meet your new favorite sweet treat: Belarusian Zefir! This isn't just any marshmallow; it's a light, apple-based confection that Belarusians absolutely adore, especially with a strong cup of coffee.
This traditional Belarusian Zefir recipe is a game-changer. It’s naturally gelatin free marshmallow, relying on fruit puree and agar-agar for that delightful airy texture, rather than the usual gelatin or corn syrup. You'll be crafting beautiful, fluffy rosettes that pipe easily and dry overnight into a delicate, tender bite. We’re talking about a sweet treat that’s less bouncy than American marshmallows, with a unique, slightly juicier texture that truly stands out.
Don't let the "intermediate" difficulty scare you off! While it involves a few precise steps like cooking a syrup to temperature, we've broken it down with clear instructions and helpful tips. You'll use everyday kitchen tools like a stand mixer, a saucepan, and a piping bag to create these gorgeous confections. This recipe is all about embracing the authentic Belarusian approach, focusing on apple-forward flavor and the magic of agar. Plus, we'll dive into troubleshooting, fruit puree guidance, and even quick notes on making chocolate covered marshmallows and exploring vegan sweet treat options (though this specific recipe isn't vegan due to egg whites). Get ready to impress your friends and family with this unique and incredibly delicious dessert!
Ingredients
Directions
- Stage 1 – Cook and Reduce the Apple Puree
- Prepare Apples: Peel, core, and chop your tart apples into roughly equal-sized pieces.
- Cook Apples: Place the chopped apples in a microwave-safe bowl with a splash of water, or in a baking dish. Cook them in the microwave or bake in the oven until they are completely soft and easily mashed.
- Blend Puree: Transfer the cooked apples to a blender or food processor and blend until you have a super smooth puree.
- Reduce Puree: Pour the apple puree into a saucepan. Cook it gently over medium-low heat, stirring frequently, until it thickens significantly. You're aiming for a consistency where if you run a spoon through it, the line holds for a few seconds before the puree flows back together. This reduction is crucial for controlling moisture.
- Cool Completely: Remove the thickened puree from the heat and let it cool completely to room temperature. This might take a while, so plan ahead!
- Stage 2 – Set up the Agar Syrup (but don’t cook it yet)
- Hydrate Agar: In a small saucepan, combine the agar-agar powder with the measured water. Stir well and let it sit for about 10-15 minutes to hydrate. This step helps ensure the agar dissolves smoothly later.
- Measure Sugar: Measure out your granulated sugar, dividing it into the portions specified for the meringue and the agar syrup. Having everything pre-measured and ready (mise-en-place) is super important because once the whipping starts, things move quickly!
- Stage 3 – Whip the Apple Meringue
- Beat Apple Puree: In the bowl of your stand mixer (fitted with the whisk attachment), combine the cooled apple puree with the first portion of granulated sugar. Beat on medium speed until the mixture lightens slightly in color and texture.
- Add Egg Whites & Whip: Add the room-temperature egg whites to the apple puree mixture. Begin beating on low speed, gradually increasing to medium-high. Continue whipping until the mixture forms medium-stiff peaks. The peaks should hold their shape but still have a slight curl at the tip. Make sure your bowl is super clean and free of any grease or yolk contamination, as this can prevent the egg whites from whipping properly.
- Stage 4 – Cook the Agar Syrup
- Heat Syrup: Place the saucepan with the hydrated agar and water over medium-high heat. Add the remaining granulated sugar. Stir constantly until the sugar dissolves.
- Boil & Activate: Bring the syrup to a full, rolling boil. Continue boiling for about 1 minute, ensuring the temperature reaches the upper range for agar activation (around 220-225°F or 104-107°C). The syrup should become slightly thicker and form a thin stream when poured from a spoon, with no visible agar granules. Be very careful as the syrup will be extremely hot.
- Stage 5 – Combine Syrup with Meringue
- Slowly Pour Syrup: With your mixer running on medium speed, carefully and slowly pour the hot agar syrup in a thin, steady stream down the side of the mixing bowl, avoiding the whisk itself. This prevents the syrup from splashing and cooking the egg whites too quickly.
- Whip to Perfection: Once all the syrup is added, increase the mixer speed to high. Whip the mixture for several minutes (typically 5-10 minutes) until it becomes incredibly glossy, voluminous, and significantly thicker. It should leave distinct, stiff trails from the whisk and hold its shape perfectly. If it starts to become too stiff in the bowl before you can pipe, you might have over-whipped or waited too long – agar sets quickly!
- Stage 6 – Pipe the Zefir Rosettes
- Prepare Piping Bag: Quickly transfer the zefir mixture into a piping bag fitted with a star tip. Work fast, as the agar will continue to set as it cools.
- Pipe Rosettes: Pipe even rosettes onto baking trays lined with parchment paper, leaving a little space between each for air circulation. The mixture should hold its shape immediately without spreading.
- Stage 7 – Drying & Sandwiching
- Dry Zefir: Let the piped zefir rosettes dry at room temperature for 8 to 24 hours. The exact time will depend on the humidity in your environment. They are ready when they have a matte finish and a delicate, non-sticky "skin" on the outside, while still being soft inside.
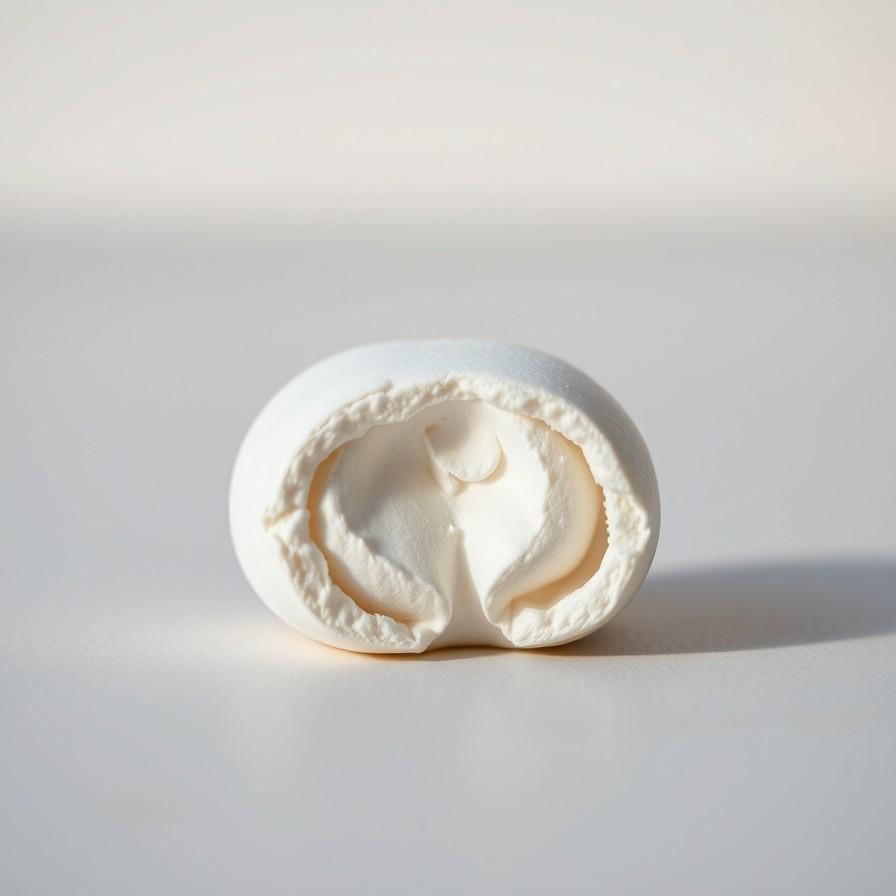
- Dust & Sandwich: Once fully dried, lightly dust the bottom of one zefir and the top of another with powdered sugar. Gently sandwich two halves together to form the traditional zefir shape.
Gelatin Free Marshmallow - Zefir Easy Recipe & Tips
- Serves: 20 People
- Prepare Time: 45 minutes
- Cooking Time: 20 minutes
- Calories: -
- Difficulty: Easy
Ever wished you could whip up a batch of fluffy, melt-in-your-mouth marshmallows without the fuss of gelatin? Well, get ready to meet your new favorite sweet treat: Belarusian Zefir! This isn't just any marshmallow; it's a light, apple-based confection that Belarusians absolutely adore, especially with a strong cup of coffee.
This traditional Belarusian Zefir recipe is a game-changer. It’s naturally gelatin free marshmallow, relying on fruit puree and agar-agar for that delightful airy texture, rather than the usual gelatin or corn syrup. You'll be crafting beautiful, fluffy rosettes that pipe easily and dry overnight into a delicate, tender bite. We’re talking about a sweet treat that’s less bouncy than American marshmallows, with a unique, slightly juicier texture that truly stands out.
Don't let the "intermediate" difficulty scare you off! While it involves a few precise steps like cooking a syrup to temperature, we've broken it down with clear instructions and helpful tips. You'll use everyday kitchen tools like a stand mixer, a saucepan, and a piping bag to create these gorgeous confections. This recipe is all about embracing the authentic Belarusian approach, focusing on apple-forward flavor and the magic of agar. Plus, we'll dive into troubleshooting, fruit puree guidance, and even quick notes on making chocolate covered marshmallows and exploring vegan sweet treat options (though this specific recipe isn't vegan due to egg whites). Get ready to impress your friends and family with this unique and incredibly delicious dessert!
Ingredients
Directions
- Stage 1 – Cook and Reduce the Apple Puree
- Prepare Apples: Peel, core, and chop your tart apples into roughly equal-sized pieces.
- Cook Apples: Place the chopped apples in a microwave-safe bowl with a splash of water, or in a baking dish. Cook them in the microwave or bake in the oven until they are completely soft and easily mashed.
- Blend Puree: Transfer the cooked apples to a blender or food processor and blend until you have a super smooth puree.
- Reduce Puree: Pour the apple puree into a saucepan. Cook it gently over medium-low heat, stirring frequently, until it thickens significantly. You're aiming for a consistency where if you run a spoon through it, the line holds for a few seconds before the puree flows back together. This reduction is crucial for controlling moisture.
- Cool Completely: Remove the thickened puree from the heat and let it cool completely to room temperature. This might take a while, so plan ahead!
- Stage 2 – Set up the Agar Syrup (but don’t cook it yet)
- Hydrate Agar: In a small saucepan, combine the agar-agar powder with the measured water. Stir well and let it sit for about 10-15 minutes to hydrate. This step helps ensure the agar dissolves smoothly later.
- Measure Sugar: Measure out your granulated sugar, dividing it into the portions specified for the meringue and the agar syrup. Having everything pre-measured and ready (mise-en-place) is super important because once the whipping starts, things move quickly!
- Stage 3 – Whip the Apple Meringue
- Beat Apple Puree: In the bowl of your stand mixer (fitted with the whisk attachment), combine the cooled apple puree with the first portion of granulated sugar. Beat on medium speed until the mixture lightens slightly in color and texture.
- Add Egg Whites & Whip: Add the room-temperature egg whites to the apple puree mixture. Begin beating on low speed, gradually increasing to medium-high. Continue whipping until the mixture forms medium-stiff peaks. The peaks should hold their shape but still have a slight curl at the tip. Make sure your bowl is super clean and free of any grease or yolk contamination, as this can prevent the egg whites from whipping properly.
- Stage 4 – Cook the Agar Syrup
- Heat Syrup: Place the saucepan with the hydrated agar and water over medium-high heat. Add the remaining granulated sugar. Stir constantly until the sugar dissolves.
- Boil & Activate: Bring the syrup to a full, rolling boil. Continue boiling for about 1 minute, ensuring the temperature reaches the upper range for agar activation (around 220-225°F or 104-107°C). The syrup should become slightly thicker and form a thin stream when poured from a spoon, with no visible agar granules. Be very careful as the syrup will be extremely hot.
- Stage 5 – Combine Syrup with Meringue
- Slowly Pour Syrup: With your mixer running on medium speed, carefully and slowly pour the hot agar syrup in a thin, steady stream down the side of the mixing bowl, avoiding the whisk itself. This prevents the syrup from splashing and cooking the egg whites too quickly.
- Whip to Perfection: Once all the syrup is added, increase the mixer speed to high. Whip the mixture for several minutes (typically 5-10 minutes) until it becomes incredibly glossy, voluminous, and significantly thicker. It should leave distinct, stiff trails from the whisk and hold its shape perfectly. If it starts to become too stiff in the bowl before you can pipe, you might have over-whipped or waited too long – agar sets quickly!
- Stage 6 – Pipe the Zefir Rosettes
- Prepare Piping Bag: Quickly transfer the zefir mixture into a piping bag fitted with a star tip. Work fast, as the agar will continue to set as it cools.
- Pipe Rosettes: Pipe even rosettes onto baking trays lined with parchment paper, leaving a little space between each for air circulation. The mixture should hold its shape immediately without spreading.
- Stage 7 – Drying & Sandwiching
- Dry Zefir: Let the piped zefir rosettes dry at room temperature for 8 to 24 hours. The exact time will depend on the humidity in your environment. They are ready when they have a matte finish and a delicate, non-sticky "skin" on the outside, while still being soft inside.
- Dust & Sandwich: Once fully dried, lightly dust the bottom of one zefir and the top of another with powdered sugar. Gently sandwich two halves together to form the traditional zefir shape.
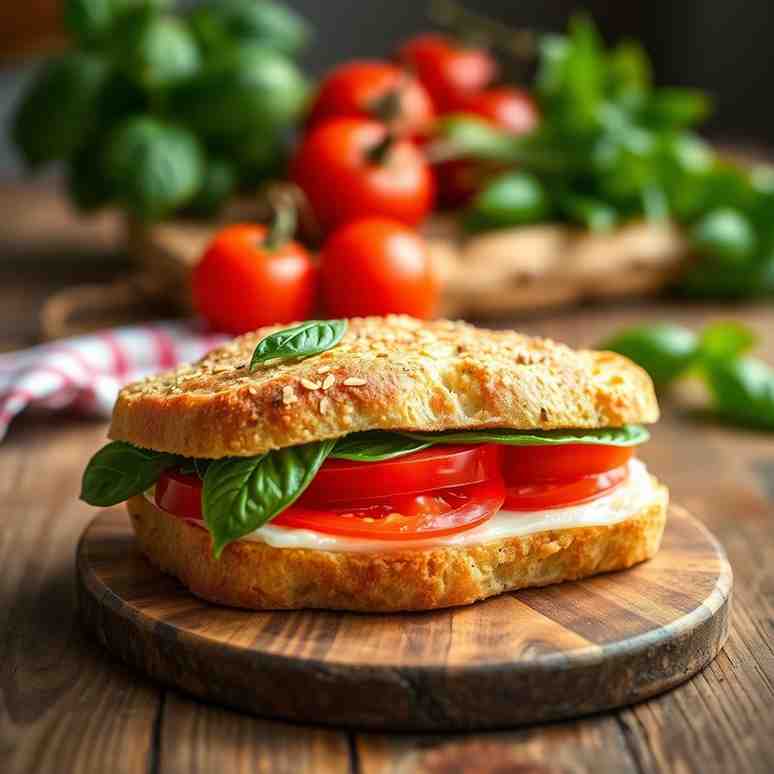
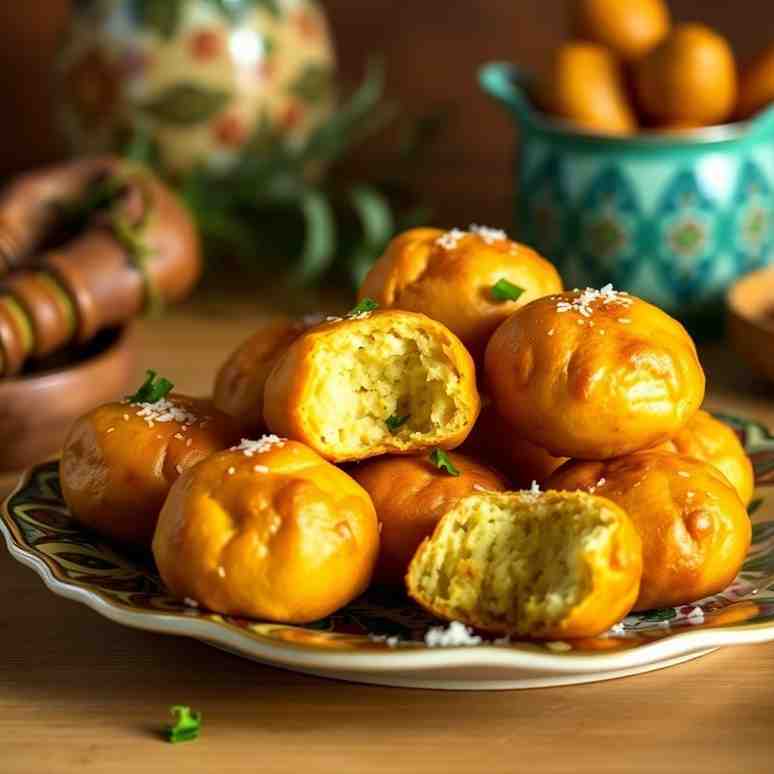
You may also like


Hey there! I’m just someone who seriously loves good food and believes that cooking doesn’t have to be complicated to be amazing. Whether it’s a quick weeknight dinner or a cozy weekend meal, I’m all about sharing easy, tasty recipes that actually work.


