
Bermuda Banana Chutney A Zesty Cider Vinegar Recipe
Bermuda Banana Chutney A Zesty Cider Vinegar Recipe

- Serves: 4 People
- Prepare Time: 20 minutes
- Cooking Time: 45-55 minut
- Calories: -
- Difficulty: Medium
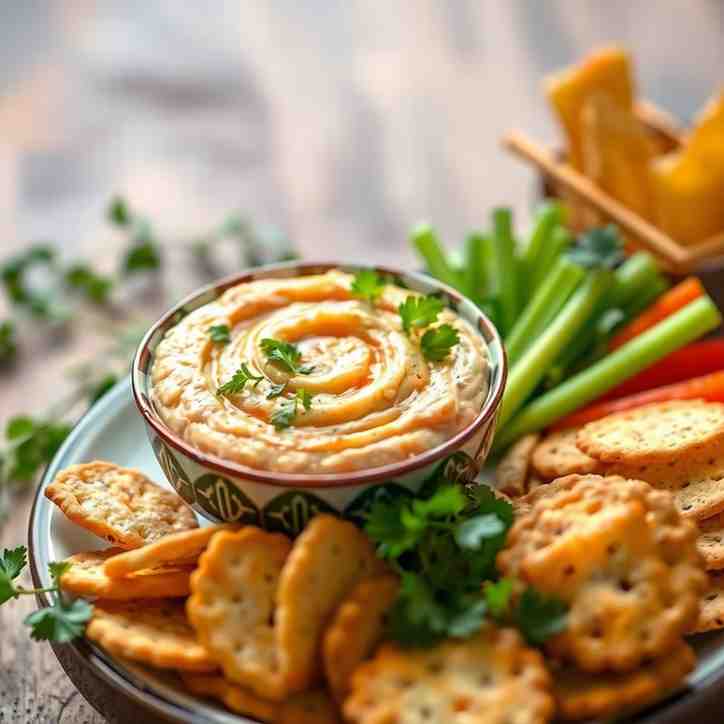
Welcome to a taste of the tropics right in your kitchen! If you've been searching for a truly special `cider vinegar recipe` that’s vibrant, versatile, and packed with flavor, you've hit the jackpot. Our Bermuda Banana Chutney is a glorious blend of sweet, tangy, and subtly spiced notes, a true tropical banana recipe that stands head and shoulders above the rest.
Unlike other recipes that leave you guessing, this guide is your definitive source for making a phenomenal banana chutney – whether you’re looking for recipes to can and preserve that sunshine flavor, or simply need a delicious way to use up a 2 banana recipe or even a 3 banana recipes' worth of ripe fruit. We’ll show you exactly how to transform humble bananas and rich recipes using raisins (or dates!) into a gourmet condiment. This isn't just a recipe; it's a journey to Bermuda, promising an authentic taste with clear, safe instructions for home-preservers and curious cooks alike. Get ready to elevate your cheese boards, sandwiches, and BBQs with this irresistible condiment!
Ingredients
Directions
- Prep Your Ingredients: Thoroughly wash and prepare all your fruits and vegetables as directed. Have all your measured ingredients ready to go – this makes the cooking process smooth!
- Combine & Simmer: In a large, heavy-bottomed pot or Dutch oven, combine the sliced bananas, chopped onion, raisins (or dates), diced bell pepper, grated ginger, and minced garlic.
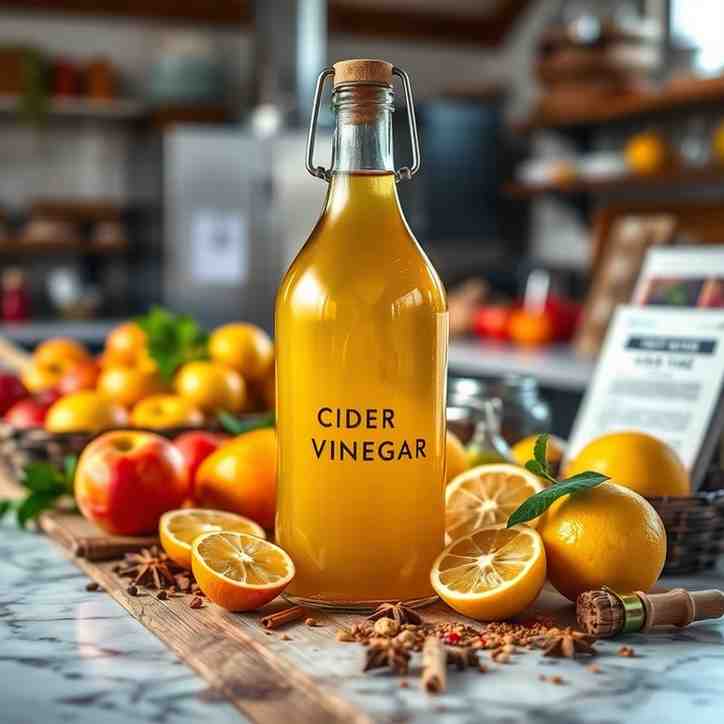
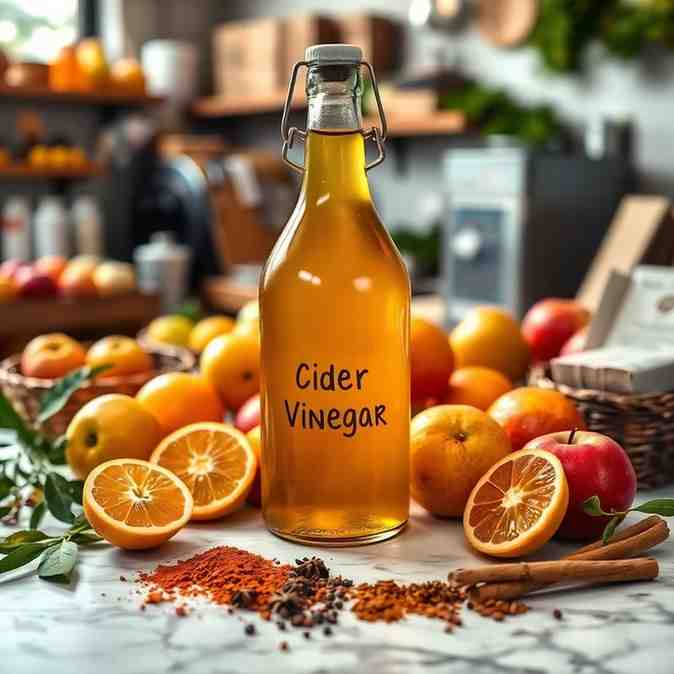
- Add Liquids & Spices: Pour in the apple `cider vinegar`, brown sugar, granulated sugar, mustard seeds, allspice, cayenne pepper (if using), and salt. Stir everything together until well combined.
- Bring to a Boil: Place the pot over medium-high heat and bring the mixture to a rolling boil, stirring frequently to dissolve the sugars and prevent sticking.
- Reduce & Thicken: Once boiling, reduce the heat to low and let the chutney simmer gently. Continue to stir occasionally to prevent sticking and ensure even cooking. Cook for 45-55 minutes, or until the chutney has thickened to your desired consistency. It should be jam-like, with the fruit soft but still holding some shape, and the liquid reduced significantly.
- Prepare for Canning (Optional but Recommended): While the chutney simmers, prepare your canning jars. Wash jars and lids in hot soapy water. Sterilize jars by submerging them in boiling water for 10 minutes. Keep jars hot until ready to fill.
- Fill Jars: Carefully ladle the hot chutney into the sterilized, hot jars, leaving ¼-inch headspace. Remove any air bubbles with a non-metallic spatula. Wipe jar rims clean with a damp cloth. Center lids on jars and screw bands on until fingertip-tight.
- Water Bath Process (for Shelf-Stable Chutney): Place filled jars into a boiling water canner, ensuring they are covered by at least 1 inch of water. Bring water to a rolling boil and process for 10 minutes (adjust for altitude if necessary).
- Cool & Store: Turn off heat, remove canner lid, and let jars sit in the hot water for 5 minutes. Carefully remove jars and place them on a towel-lined counter to cool completely for 12-24 hours. Check seals; lids should be concave and not flex when pressed. Any unsealed jars should be refrigerated and consumed within 3 weeks.
Bermuda Banana Chutney A Zesty Cider Vinegar Recipe
- Serves: 4 People
- Prepare Time: 20 minutes
- Cooking Time: 45-55 minut
- Calories: -
- Difficulty: Medium
Welcome to a taste of the tropics right in your kitchen! If you've been searching for a truly special `cider vinegar recipe` that’s vibrant, versatile, and packed with flavor, you've hit the jackpot. Our Bermuda Banana Chutney is a glorious blend of sweet, tangy, and subtly spiced notes, a true tropical banana recipe that stands head and shoulders above the rest.
Unlike other recipes that leave you guessing, this guide is your definitive source for making a phenomenal banana chutney – whether you’re looking for recipes to can and preserve that sunshine flavor, or simply need a delicious way to use up a 2 banana recipe or even a 3 banana recipes' worth of ripe fruit. We’ll show you exactly how to transform humble bananas and rich recipes using raisins (or dates!) into a gourmet condiment. This isn't just a recipe; it's a journey to Bermuda, promising an authentic taste with clear, safe instructions for home-preservers and curious cooks alike. Get ready to elevate your cheese boards, sandwiches, and BBQs with this irresistible condiment!
Ingredients
Directions
- Prep Your Ingredients: Thoroughly wash and prepare all your fruits and vegetables as directed. Have all your measured ingredients ready to go – this makes the cooking process smooth!
- Combine & Simmer: In a large, heavy-bottomed pot or Dutch oven, combine the sliced bananas, chopped onion, raisins (or dates), diced bell pepper, grated ginger, and minced garlic.
- Add Liquids & Spices: Pour in the apple `cider vinegar`, brown sugar, granulated sugar, mustard seeds, allspice, cayenne pepper (if using), and salt. Stir everything together until well combined.
- Bring to a Boil: Place the pot over medium-high heat and bring the mixture to a rolling boil, stirring frequently to dissolve the sugars and prevent sticking.
- Reduce & Thicken: Once boiling, reduce the heat to low and let the chutney simmer gently. Continue to stir occasionally to prevent sticking and ensure even cooking. Cook for 45-55 minutes, or until the chutney has thickened to your desired consistency. It should be jam-like, with the fruit soft but still holding some shape, and the liquid reduced significantly.
- Prepare for Canning (Optional but Recommended): While the chutney simmers, prepare your canning jars. Wash jars and lids in hot soapy water. Sterilize jars by submerging them in boiling water for 10 minutes. Keep jars hot until ready to fill.
- Fill Jars: Carefully ladle the hot chutney into the sterilized, hot jars, leaving ¼-inch headspace. Remove any air bubbles with a non-metallic spatula. Wipe jar rims clean with a damp cloth. Center lids on jars and screw bands on until fingertip-tight.
- Water Bath Process (for Shelf-Stable Chutney): Place filled jars into a boiling water canner, ensuring they are covered by at least 1 inch of water. Bring water to a rolling boil and process for 10 minutes (adjust for altitude if necessary).
- Cool & Store: Turn off heat, remove canner lid, and let jars sit in the hot water for 5 minutes. Carefully remove jars and place them on a towel-lined counter to cool completely for 12-24 hours. Check seals; lids should be concave and not flex when pressed. Any unsealed jars should be refrigerated and consumed within 3 weeks.
The following nutritional values are per serving (one piece of cake) Calories 75-90 kcal Carbs 20-25g Protein 0.5g Fat 0g Making delicious chutney doesn't have to be a marathon! Here are a few clever tools and ingredient choices that can shave precious minutes off your prep and cook time, letting you enjoy your Tropical Bliss sooner. Problem: Chopping all those onions, garlic, and ginger can be a real tear-jerker and time-consumer, especially when you need a fine, even mince. Problem: Chutneys, with their high sugar content, are notorious for sticking to the bottom of pots, leading to scorching and frustrating cleanup. Problem: Even with a food processor, peeling and roughly chopping ingredients like ginger and garlic still takes time. Click any ingredient for detailed nutritional information:Recipe Nutritional Values
Additional Information
Recipe Success Tips
Ingredient Substitutions & Variations
Cultural Variations
Make-Ahead & Storage Instructions
Frequently Asked Questions
Recommended Kitchen Tools
Food Processor for Quick Chopping
Agitate: Unevenly chopped ingredients can cook at different rates, leading to some pieces being too crunchy and others overcooked, affecting the chutney's texture. Plus, who wants to spend an hour just chopping?
Solution: A good quality food processor is your best friend here. It can finely mince your aromatics in seconds, ensuring consistency and saving your eyes from onion fumes. Just be careful not to over-process into a paste!Quality Non-Stick or Enamel Pot
Agitate: A burnt bottom means a ruined batch and hours spent scrubbing, not to mention the wasted ingredients and effort. It can also cause uneven heat distribution, prolonging cooking time.
Solution: Invest in a heavy-bottomed, non-stick, or enamel-coated pot. These distribute heat evenly and prevent sticking, allowing you to stir less frequently and focus on the delicious aroma filling your kitchen. Cleanup becomes a breeze!Pre-Peeled & Chopped Aromatics (Optional)
Agitate: In a busy kitchen, every minute counts. Sometimes, the sheer effort of starting from scratch can deter you from making a homemade treat.
Solution: For those really tight on time, consider using pre-peeled garlic cloves or pre-chopped ginger (available in the produce or frozen section of many supermarkets). While fresh is always best, these can be a lifesaver when you're in a pinch, allowing you to get to the cooking stage faster.Calories per Ingredient
You may also like

Hey there! I’m just someone who seriously loves good food and believes that cooking doesn’t have to be complicated to be amazing. Whether it’s a quick weeknight dinner or a cozy weekend meal, I’m all about sharing easy, tasty recipes that actually work.


