
DIY Succulent Soil Mix - Easy Recipe for Happy Plants
DIY Succulent Soil Mix - Easy Recipe for Happy Plants
- Serves: 1 People
- Prepare Time: 10 minutes
- Cooking Time: 0 minutes
- Calories: -
- Difficulty: Easy
Ever wonder why your beautiful succulents sometimes turn mushy, despite your best efforts? You might blame your "black thumb," but the real culprit is often the soil. Most store-bought succulents come in heavy, moisture-retaining soil that's a death trap for these desert beauties. I learned this the hard way, losing several beloved plants before realizing the true issue wasn't my watering habits, but the suffocating dirt they were sitting in.
Good news! You don't need to be a gardening expert to fix this. This article promises one simple, fast-draining soil recipe you can whip up in about 10 minutes using materials easily found at any big-box store. We'll cover everything you need to know about making your own DIY succulent soil mix: the essential ingredients, the perfect ratio, step-by-step mixing instructions, how to test your new mix for optimal drainage, potting tips, storage advice, and even troubleshooting common soil-related issues. Get ready to give your succulents the happy, healthy home they deserve!
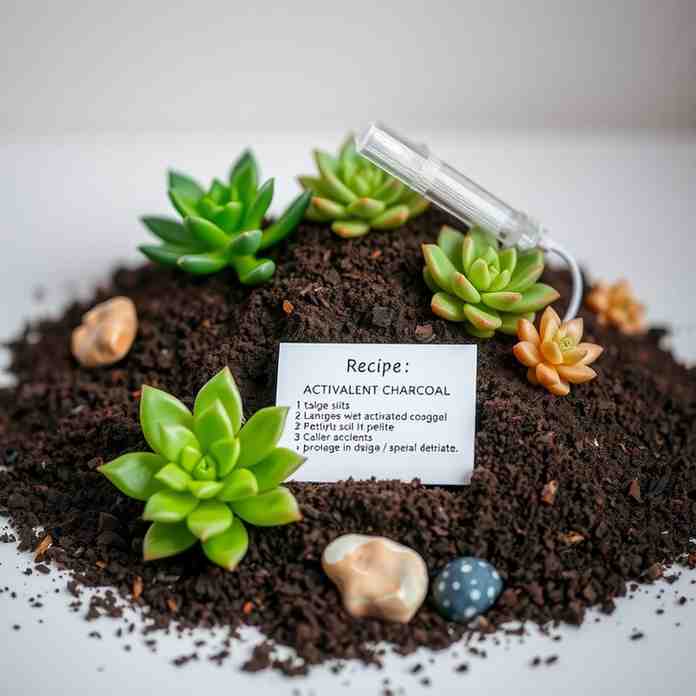
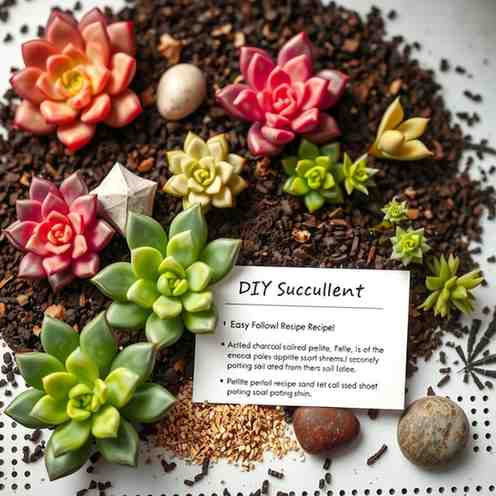
Ingredients
Directions
- Measure and Add IngredientsGrab your measuring container (a cup, scoop, or small bucket works perfectly for "parts"). Add the potting mix, coarse sand, and perlite into your mixing tub, bucket, or old storage bin according to the 3-2-1 ratio. If your potting mix is very dusty, lightly pre-moisten it to reduce airborne dust.
- Mix ThoroughlyNow for the fun part! Use your gloved hands, a trowel, or a big spoon to fold and stir all the ingredients together. Keep mixing until everything is evenly blended – you don't want any pure sand layers or big air pockets. The goal is a consistent, homogenous mix.
- The Hand-Squeeze Texture TestThis is a quick way to check your mix's consistency. Grab a handful of the mixed soil, squeeze it firmly, then open your hand. It should hold its shape for a second or two, then
- crumble apart easily with a gentle tap.
- If it stays in a sticky, dense clump: Your mix is too heavy. Add another scoop of perlite or sand and re-mix.
- If it falls apart instantly and feels like pure gravel: It might be too fast-draining. Add a scoop of potting mix and re-mix.
- Quick Drainage TestTo ensure your succulent soil mix truly drains fast, do a quick test. Fill a small pot (with a drainage hole!) using your new mix. Tap the pot gently to settle the soil, but don't pack it down. Pour in about ½ cup of water and time how long it takes for the water to drain out and for the surface to just look damp.
- 30–90 seconds: This is ideal for most indoor succulents. Perfect!
- More than 3 minutes: Your mix is too heavy. Add more perlite/sand, re-mix, and retest.
- Less than 15 seconds: It might be too fast-draining, especially for larger plants. Add a bit more potting mix, re-mix, and retest.
- Storing Leftover MixOnce you're happy with your mix, let any excess dry out completely. Then, store it in a
- labeled, lidded bin or a heavy-duty, sealed bag. Keep it off the floor and out of direct sunlight to prevent pests and maintain freshness. Your mix can stay "fresh" for up to a season or even a year if kept dry and pest-free.
DIY Succulent Soil Mix - Easy Recipe for Happy Plants

- Serves: 1 People
- Prepare Time: 10 minutes
- Cooking Time: 0 minutes
- Calories: -
- Difficulty: Easy
Ever wonder why your beautiful succulents sometimes turn mushy, despite your best efforts? You might blame your "black thumb," but the real culprit is often the soil. Most store-bought succulents come in heavy, moisture-retaining soil that's a death trap for these desert beauties. I learned this the hard way, losing several beloved plants before realizing the true issue wasn't my watering habits, but the suffocating dirt they were sitting in.
Good news! You don't need to be a gardening expert to fix this. This article promises one simple, fast-draining soil recipe you can whip up in about 10 minutes using materials easily found at any big-box store. We'll cover everything you need to know about making your own DIY succulent soil mix: the essential ingredients, the perfect ratio, step-by-step mixing instructions, how to test your new mix for optimal drainage, potting tips, storage advice, and even troubleshooting common soil-related issues. Get ready to give your succulents the happy, healthy home they deserve!
Ingredients
Directions
- Measure and Add IngredientsGrab your measuring container (a cup, scoop, or small bucket works perfectly for "parts"). Add the potting mix, coarse sand, and perlite into your mixing tub, bucket, or old storage bin according to the 3-2-1 ratio. If your potting mix is very dusty, lightly pre-moisten it to reduce airborne dust.
- Mix ThoroughlyNow for the fun part! Use your gloved hands, a trowel, or a big spoon to fold and stir all the ingredients together. Keep mixing until everything is evenly blended – you don't want any pure sand layers or big air pockets. The goal is a consistent, homogenous mix.
- The Hand-Squeeze Texture TestThis is a quick way to check your mix's consistency. Grab a handful of the mixed soil, squeeze it firmly, then open your hand. It should hold its shape for a second or two, then
- crumble apart easily with a gentle tap.
- If it stays in a sticky, dense clump: Your mix is too heavy. Add another scoop of perlite or sand and re-mix.
- If it falls apart instantly and feels like pure gravel: It might be too fast-draining. Add a scoop of potting mix and re-mix.
- Quick Drainage TestTo ensure your succulent soil mix truly drains fast, do a quick test. Fill a small pot (with a drainage hole!) using your new mix. Tap the pot gently to settle the soil, but don't pack it down. Pour in about ½ cup of water and time how long it takes for the water to drain out and for the surface to just look damp.
- 30–90 seconds: This is ideal for most indoor succulents. Perfect!
- More than 3 minutes: Your mix is too heavy. Add more perlite/sand, re-mix, and retest.
- Less than 15 seconds: It might be too fast-draining, especially for larger plants. Add a bit more potting mix, re-mix, and retest.
- Storing Leftover MixOnce you're happy with your mix, let any excess dry out completely. Then, store it in a
- labeled, lidded bin or a heavy-duty, sealed bag. Keep it off the floor and out of direct sunlight to prevent pests and maintain freshness. Your mix can stay "fresh" for up to a season or even a year if kept dry and pest-free.
You may also like


Hey there! I’m just someone who seriously loves good food and believes that cooking doesn’t have to be complicated to be amazing. Whether it’s a quick weeknight dinner or a cozy weekend meal, I’m all about sharing easy, tasty recipes that actually work.


