
Easy No-Bake Coconut Chocolate Clusters
Easy No-Bake Coconut Chocolate Clusters
- Serves: 18 People
- Prepare Time: 15 minutes
- Cooking Time: 0 minutes
- Calories: -
- Difficulty: Easy
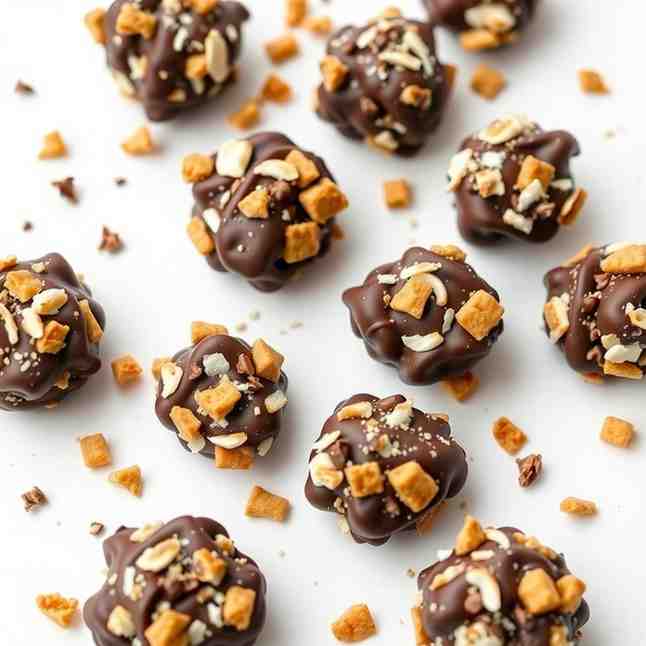
Ever crave a delicious, satisfying sweet treat that doesn't require turning on your oven? You're in luck! These No-Bake Dark Chocolate Coconut Candy Clusters are about to become your new favorite dessert. Imagine biting into a rich, dark chocolate shell filled with tender, sweet coconut – all without any baking. They're incredibly fast to make, needing just 15 minutes of hands-on time, and honestly, they taste way better than anything you'd grab from the candy aisle.
These little clusters are a dream come true for busy folks or anyone who loves a good homemade treat. They're naturally gluten-free, made with simple pantry ingredients, and so easy to whip up. Plus, they make fantastic edible gifts! This article focuses on one simple base recipe for these amazing coconut chocolate clusters, along with plenty of quick flavor twists to keep things exciting. Get ready to dive into the world of effortless, irresistible chocolatey goodness!
Ingredients
Directions
- Prep the Pan & Coconut Line a baking sheet with parchment paper. This makes cleanup a breeze and ensures your clusters don't stick. If you want to add an extra layer of flavor, spread about ¼ cup of your shredded coconut on a separate small baking sheet and toast it lightly in a preheated oven at 300°F (150°C) for 5-7 minutes, or until it's just golden at the edges and smells fragrant, not dark brown. Let it cool completely before mixing.
- Melt the Chocolate Place your dark chocolate (chips or chopped bar) and coconut oil into a microwave-safe bowl. Heat in the microwave in 30-second bursts, stirring well after each burst, until the chocolate is smooth and glossy. Be careful not to overheat it! Alternatively, you can use a double boiler setup on the stovetop, gently melting the chocolate over simmering water. Stop as soon as it's fully melted and smooth. If your chocolate seems to thicken too much, stir in an extra tiny bit of coconut oil (¼-½ teaspoon) to loosen it up.
- Stir in Coconut & Salt Add the unsweetened shredded coconut (and any cooled toasted coconut, if using) and the pinch of fine sea salt to the melted chocolate. Fold everything together with a spatula until every piece of coconut is thoroughly coated in the rich chocolate. The mixture should be thick enough to scoop but not so stiff that it's crumbly, nor so runny that it pools.
- Scoop & Shape Using a small cookie scoop (about 1 tablespoon in size) or two spoons, drop mounds of the chocolate-coconut mixture onto your prepared parchment-lined baking sheet. Space them about an inch apart. If you like, sprinkle a tiny bit of extra shredded coconut or a few flakes of flaky sea salt on top of each cluster before they set for an extra visual appeal and flavor boost.
- Chill Until Set Pop the baking sheet into the refrigerator for about 20-30 minutes, or into the freezer for 10-15 minutes. The clusters are ready when their surface looks matte and they feel firm when gently pressed. Once set, transfer them to an airtight container.
- For exact measurements and a quick reference, a printable recipe card is available further down in this article!
Easy No-Bake Coconut Chocolate Clusters

- Serves: 18 People
- Prepare Time: 15 minutes
- Cooking Time: 0 minutes
- Calories: -
- Difficulty: Easy
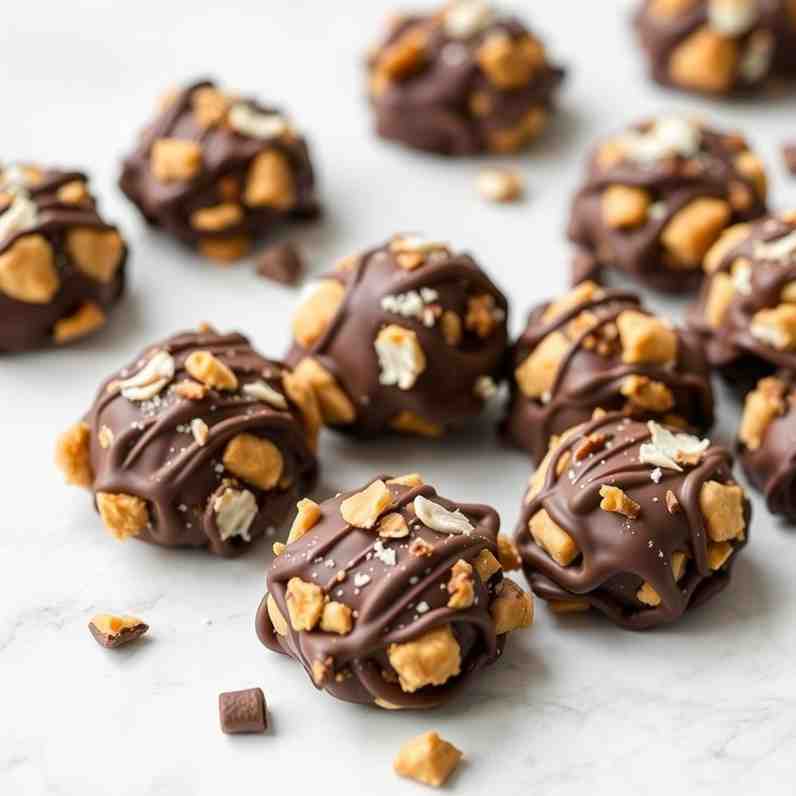
Ever crave a delicious, satisfying sweet treat that doesn't require turning on your oven? You're in luck! These No-Bake Dark Chocolate Coconut Candy Clusters are about to become your new favorite dessert. Imagine biting into a rich, dark chocolate shell filled with tender, sweet coconut – all without any baking. They're incredibly fast to make, needing just 15 minutes of hands-on time, and honestly, they taste way better than anything you'd grab from the candy aisle.
These little clusters are a dream come true for busy folks or anyone who loves a good homemade treat. They're naturally gluten-free, made with simple pantry ingredients, and so easy to whip up. Plus, they make fantastic edible gifts! This article focuses on one simple base recipe for these amazing coconut chocolate clusters, along with plenty of quick flavor twists to keep things exciting. Get ready to dive into the world of effortless, irresistible chocolatey goodness!
Ingredients
Directions
- Prep the Pan & Coconut Line a baking sheet with parchment paper. This makes cleanup a breeze and ensures your clusters don't stick. If you want to add an extra layer of flavor, spread about ¼ cup of your shredded coconut on a separate small baking sheet and toast it lightly in a preheated oven at 300°F (150°C) for 5-7 minutes, or until it's just golden at the edges and smells fragrant, not dark brown. Let it cool completely before mixing.
- Melt the Chocolate Place your dark chocolate (chips or chopped bar) and coconut oil into a microwave-safe bowl. Heat in the microwave in 30-second bursts, stirring well after each burst, until the chocolate is smooth and glossy. Be careful not to overheat it! Alternatively, you can use a double boiler setup on the stovetop, gently melting the chocolate over simmering water. Stop as soon as it's fully melted and smooth. If your chocolate seems to thicken too much, stir in an extra tiny bit of coconut oil (¼-½ teaspoon) to loosen it up.
- Stir in Coconut & Salt Add the unsweetened shredded coconut (and any cooled toasted coconut, if using) and the pinch of fine sea salt to the melted chocolate. Fold everything together with a spatula until every piece of coconut is thoroughly coated in the rich chocolate. The mixture should be thick enough to scoop but not so stiff that it's crumbly, nor so runny that it pools.
- Scoop & Shape Using a small cookie scoop (about 1 tablespoon in size) or two spoons, drop mounds of the chocolate-coconut mixture onto your prepared parchment-lined baking sheet. Space them about an inch apart. If you like, sprinkle a tiny bit of extra shredded coconut or a few flakes of flaky sea salt on top of each cluster before they set for an extra visual appeal and flavor boost.
- Chill Until Set Pop the baking sheet into the refrigerator for about 20-30 minutes, or into the freezer for 10-15 minutes. The clusters are ready when their surface looks matte and they feel firm when gently pressed. Once set, transfer them to an airtight container.
- For exact measurements and a quick reference, a printable recipe card is available further down in this article!
You may also like


Hey there! I’m just someone who seriously loves good food and believes that cooking doesn’t have to be complicated to be amazing. Whether it’s a quick weeknight dinner or a cozy weekend meal, I’m all about sharing easy, tasty recipes that actually work.


