
Easy Paçoca - Delicious Peanut Butter Treats You Can Make
Easy Paçoca - Delicious Peanut Butter Treats You Can Make


- Serves: 16 People
- Prepare Time: 20 minutes
- Cooking Time: 15 minutes
- Calories: -
- Difficulty: Easy
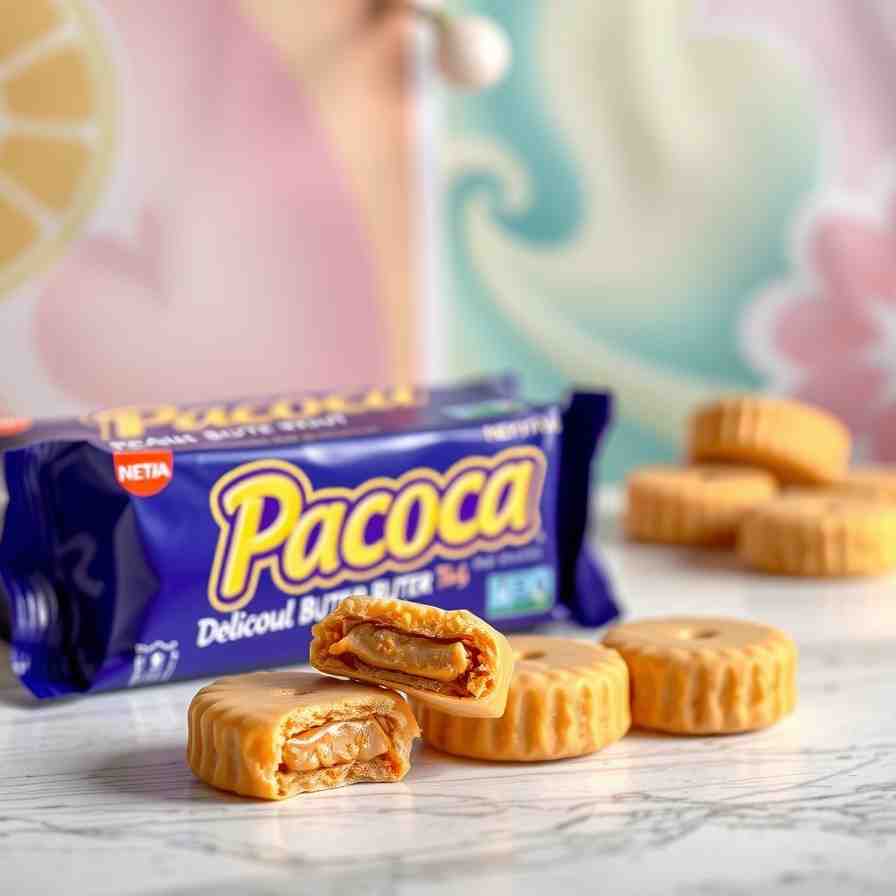
Craving a sweet, nutty snack that’s incredibly simple to whip up? Look no further than Paçoca! This traditional Brazilian peanut butter treat is a beloved classic, especially during festive times like Easter and Festa Junina. Imagine a melt-in-your-mouth, crumbly candy bursting with rich peanut flavor – that’s Paçoca! While many snacks you can make at home can be complicated, this recipe is designed to be one of the easy to make sweet treats you'll come back to again and again.
What makes our recipe special, you ask? We’re taking a beloved classic and making it even more accessible and delicious by incorporating Maria cookies for an extra layer of texture and sweetness, ensuring a perfect consistency every time. Forget those bland, dry versions; our step-by-step guide will help you create homemade Paçoca that’s superior to anything you’ll find in stores, making it one of the best easy candies to make at home. Whether you're a seasoned baker or just looking for easy recipes for sweet treats, get ready to dive into the delightful world of Brazilian Paçoca!
Ingredients
Directions
- Prepare the Peanuts: If using raw peanuts, spread them in a single layer on a baking sheet. Roast in a preheated oven at 350°F (175°C) for 10-15 minutes, or until lightly golden and fragrant. Stir halfway through. Let them cool completely, then remove the skins by rubbing them between your hands (this step is optional but improves texture). If using roasted peanuts, skip the roasting step but ensure they are unsalted.
- Combine Ingredients (Initial Blend): In a food processor, combine the prepared peanuts and the crushed Maria cookies. Pulse until the mixture forms a fine, crumbly texture, resembling coarse sand. Be careful not to over-process, or you'll end up with peanut butter!
- Add Sweeteners & Blend to Form Dough: Add the granulated sugar and a pinch of salt (if using unsalted peanuts) to the food processor. Pulse again to combine. Then, gradually add the sweetened condensed milk, a tablespoon at a time, pulsing after each addition. Continue until the mixture comes together and forms a moist "dough" that holds its shape when pressed, but is still crumbly. It should be firm enough to press, but not sticky.
- Form the Paçoca: Line an 8x8 inch (20x20 cm) baking dish or a small loaf pan with parchment paper, leaving an overhang on the sides for easy removal. Transfer the peanut mixture into the prepared dish. Using the back of a spoon or your hands, firmly press the mixture down into an even, compact layer. The key is to press very firmly to ensure the Paçoca holds together well when cut.
- Rest and Cut: Place the dish in the refrigerator for at least 30 minutes to allow the Paçoca to set and firm up. Once chilled, use the parchment paper overhangs to lift the entire block of Paçoca out of the pan. Place it on a cutting board and cut it into small squares or rectangles using a sharp knife. Serve immediately or store for later!
Easy Paçoca - Delicious Peanut Butter Treats You Can Make
- Serves: 16 People
- Prepare Time: 20 minutes
- Cooking Time: 15 minutes
- Calories: -
- Difficulty: Easy
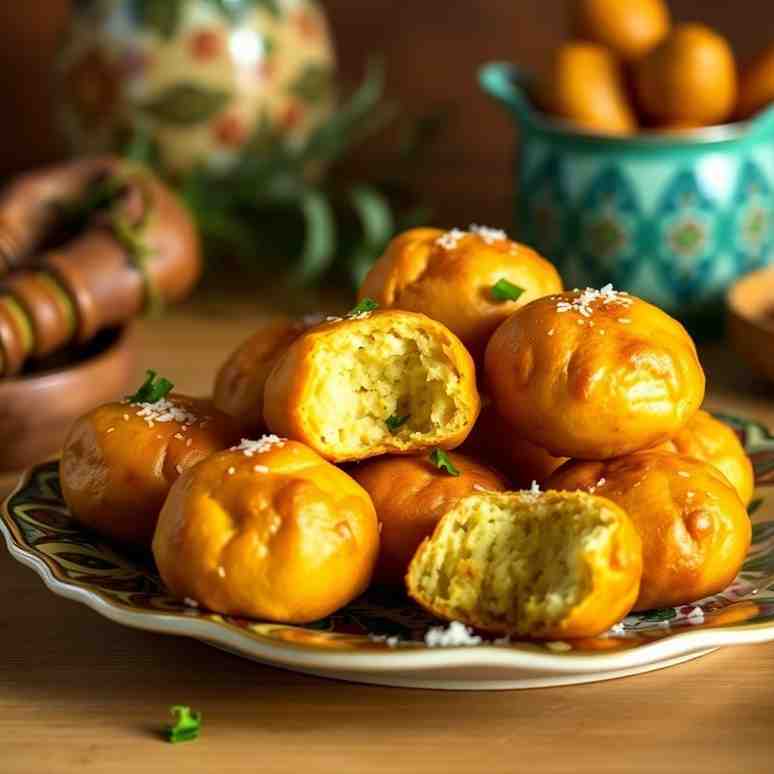
Craving a sweet, nutty snack that’s incredibly simple to whip up? Look no further than Paçoca! This traditional Brazilian peanut butter treat is a beloved classic, especially during festive times like Easter and Festa Junina. Imagine a melt-in-your-mouth, crumbly candy bursting with rich peanut flavor – that’s Paçoca! While many snacks you can make at home can be complicated, this recipe is designed to be one of the easy to make sweet treats you'll come back to again and again.
What makes our recipe special, you ask? We’re taking a beloved classic and making it even more accessible and delicious by incorporating Maria cookies for an extra layer of texture and sweetness, ensuring a perfect consistency every time. Forget those bland, dry versions; our step-by-step guide will help you create homemade Paçoca that’s superior to anything you’ll find in stores, making it one of the best easy candies to make at home. Whether you're a seasoned baker or just looking for easy recipes for sweet treats, get ready to dive into the delightful world of Brazilian Paçoca!
Ingredients
Directions
- Prepare the Peanuts: If using raw peanuts, spread them in a single layer on a baking sheet. Roast in a preheated oven at 350°F (175°C) for 10-15 minutes, or until lightly golden and fragrant. Stir halfway through. Let them cool completely, then remove the skins by rubbing them between your hands (this step is optional but improves texture). If using roasted peanuts, skip the roasting step but ensure they are unsalted.
- Combine Ingredients (Initial Blend): In a food processor, combine the prepared peanuts and the crushed Maria cookies. Pulse until the mixture forms a fine, crumbly texture, resembling coarse sand. Be careful not to over-process, or you'll end up with peanut butter!
- Add Sweeteners & Blend to Form Dough: Add the granulated sugar and a pinch of salt (if using unsalted peanuts) to the food processor. Pulse again to combine. Then, gradually add the sweetened condensed milk, a tablespoon at a time, pulsing after each addition. Continue until the mixture comes together and forms a moist "dough" that holds its shape when pressed, but is still crumbly. It should be firm enough to press, but not sticky.
- Form the Paçoca: Line an 8x8 inch (20x20 cm) baking dish or a small loaf pan with parchment paper, leaving an overhang on the sides for easy removal. Transfer the peanut mixture into the prepared dish. Using the back of a spoon or your hands, firmly press the mixture down into an even, compact layer. The key is to press very firmly to ensure the Paçoca holds together well when cut.
- Rest and Cut: Place the dish in the refrigerator for at least 30 minutes to allow the Paçoca to set and firm up. Once chilled, use the parchment paper overhangs to lift the entire block of Paçoca out of the pan. Place it on a cutting board and cut it into small squares or rectangles using a sharp knife. Serve immediately or store for later!
You may also like


Hey there! I’m just someone who seriously loves good food and believes that cooking doesn’t have to be complicated to be amazing. Whether it’s a quick weeknight dinner or a cozy weekend meal, I’m all about sharing easy, tasty recipes that actually work.


