 Recipe | Gusto Recipes CMS alt=")
Homemade Salty Licorice (Salmiakki-Style) Recipe
Homemade Salty Licorice (Salmiakki-Style) Recipe
- Serves: 32 People
- Prepare Time: 20 minutes
- Cooking Time: 25 minutes
- Calories: -
- Difficulty: Medium
Ever wondered how to make that intensely salty licorice that Nordic countries adore? Forget the bland, caramel-anise imitations! This isn't just another sweet treat; we're diving deep into the bold, bittersweet, and unmistakably salty from ammonium chloride world of real Salmiakki-style candy. Whether you're a seasoned licorice lover or new to this unique candy, our definitive recipe will guide you through crafting authentic homemade salty licorice right in your own kitchen. We’re using food-grade ammonium chloride—the same salty mineral behind classic Nordic salmiakki—for that unmistakable flavor, ensuring you get the genuine experience without any workarounds. Get ready to impress your taste buds with a truly special Nordic sweet and salty candy that stands out from the crowd!
Ingredients
Directions
- Prep the Pan: Line your 8-inch square pan with parchment paper, allowing an overhang on two sides to create a "sling." Lightly grease the parchment paper with a neutral oil or cooking spray.
- Hydrate Gelatin & Prepare Starch: In a small bowl, sprinkle the gelatin powder over ¼ cup of cool water and let it bloom for 5-10 minutes until softened. In another small bowl, whisk the cornstarch with ¼ cup of water until completely smooth to create a slurry; set aside.
- Cook the Syrup: In your heavy-bottomed saucepan, combine the granulated sugar, glucose syrup, ½ cup water, and molasses. Stir gently over medium heat until the sugar dissolves. Insert your candy thermometer. Bring the mixture to a boil and cook, without stirring, until it reaches the soft-ball stage (approximately 240°F / 116°C). You can also perform a thread test: a small amount dropped into cold water should form a soft, pliable ball.
- Flavor & Salt: Immediately remove the saucepan from the heat. Carefully whisk in the licorice root extract/paste, the precisely weighed food-grade ammonium chloride (salmiak), and the optional activated carbon. Stir vigorously until all ingredients are thoroughly combined and the mixture is homogenous. Adding the salmiak off heat helps ensure it dissolves evenly and prevents potential crystallization or changes in its chemical structure at very high temperatures, ensuring consistent flavor and texture.
- Set the Chew: Return the saucepan to low heat. Give your cornstarch slurry a quick re-whisk, then gradually whisk it into the hot licorice mixture. Continue stirring gently for 1-2 minutes until the mixture thickens slightly and loses its raw starch taste. Remove from heat and let it cool slightly for a minute or two. Then, whisk in the bloomed gelatin until it is completely melted and smooth.
- Pan & Cure: Pour the licorice mixture into your prepared 8-inch square pan. Use an oiled offset spatula or the back of a spoon to level the surface evenly. Let the candy cool completely at room temperature, then cover it loosely with plastic wrap and allow it to set overnight (at least 8-12 hours). This overnight set is crucial for developing the proper chewy pastille texture.
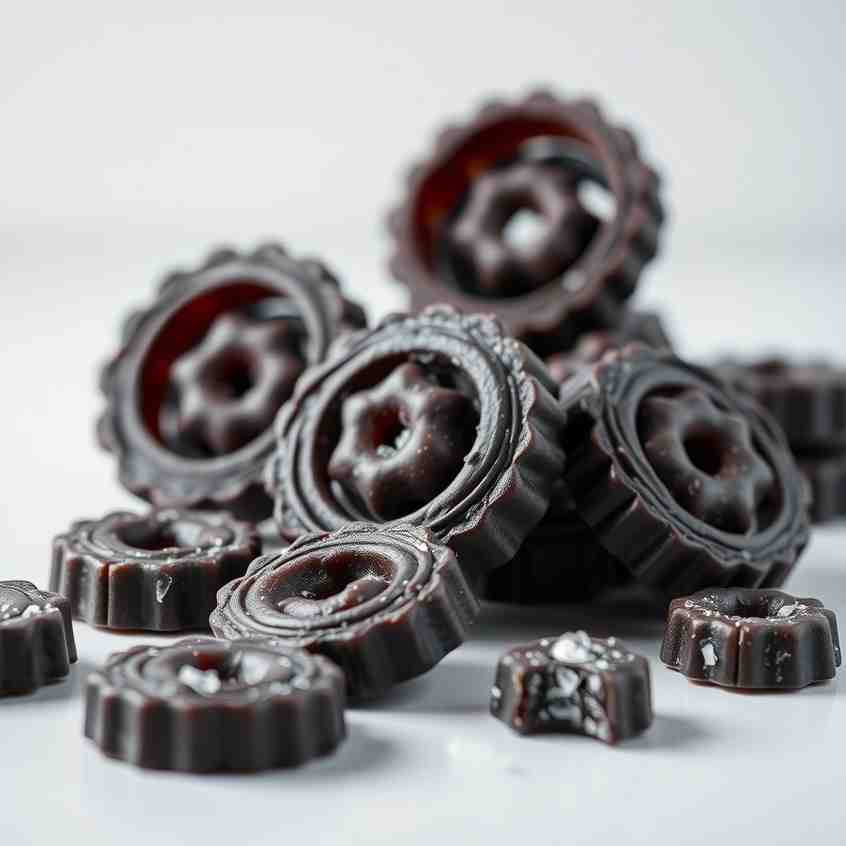
- Cut & Finish: Once fully set, lift the candy out of the pan using the parchment sling. Lightly dust your work surface and an oiled knife or pizza cutter with cornstarch to prevent sticking. Cut the large slab into desired shapes—lozenges, squares, or diamonds work well. For a traditional "snap" or less sticky surface, you can optionally place the cut candies on a wire rack and dry them in a very low-temperature oven (around 150°F / 65°C) with the door ajar, or using a dehydrator, for 30-60 minutes, or until the surface is dry to the touch.
- Store: Dust off any excess cornstarch. Store your homemade salty licorice in an airtight container in a cool, dry place. Avoid humidity and direct heat.
- Visual Cues at Each Stage
- Syrup Thickness: Before adding flavor, the syrup should be clear and begin to thicken slightly as it approaches the soft-ball stage, forming a "thread" when dripped from a spoon.
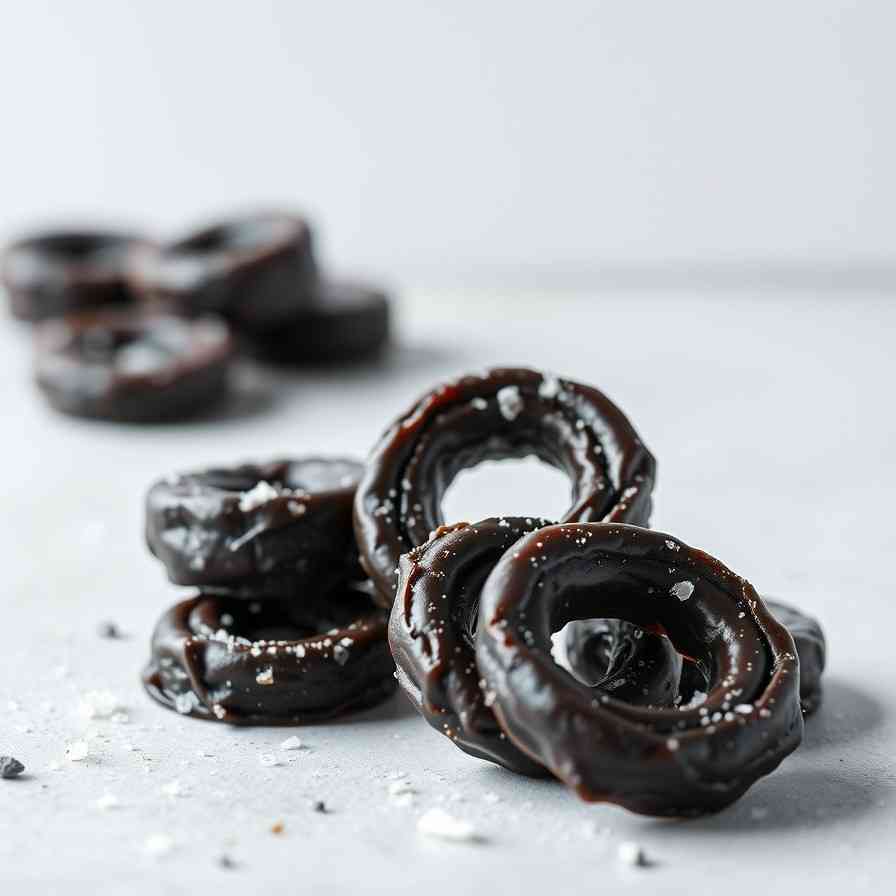
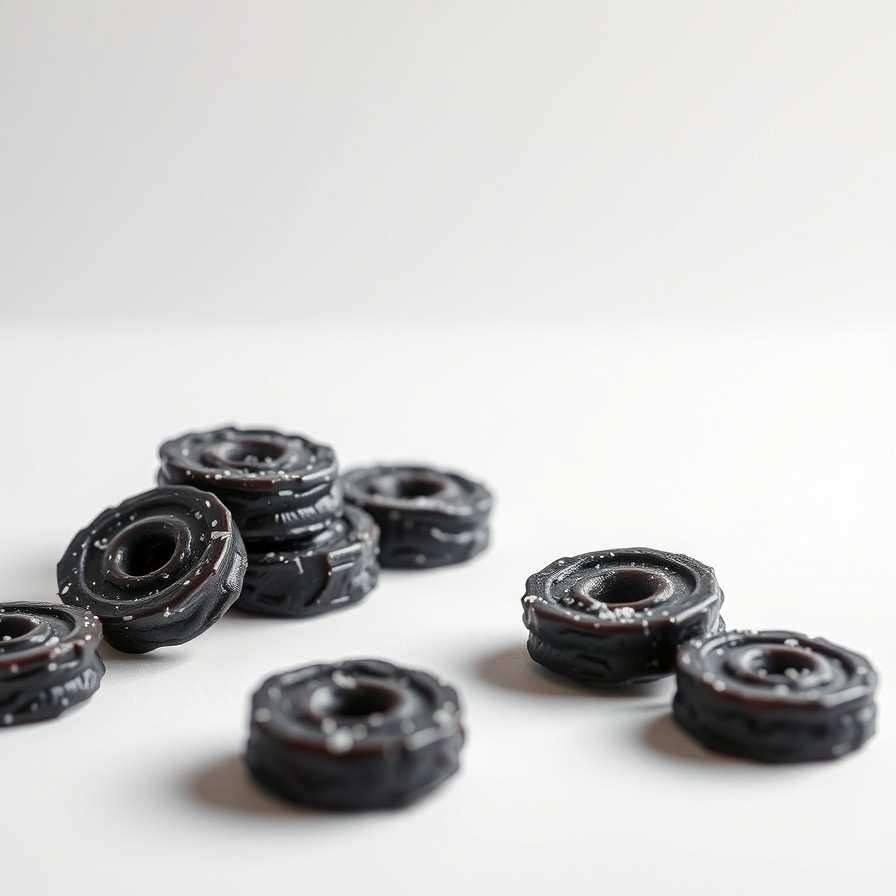
- Color Benchmarks: The molasses will give it a deep brown-black color; activated carbon will deepen it to an intense black.
- Clean Break (when cutting): After setting overnight, the candy should be firm enough to cut cleanly without excessive sticking or stretching.
- Correct Chew (after 24 hours): The finished candy should have a distinct, firm yet pliable chew, similar to a classic pastille, not brittle or overly soft.
Homemade Salty Licorice (Salmiakki-Style) Recipe
- Serves: 32 People
- Prepare Time: 20 minutes
- Cooking Time: 25 minutes
- Calories: -
- Difficulty: Medium
Ever wondered how to make that intensely salty licorice that Nordic countries adore? Forget the bland, caramel-anise imitations! This isn't just another sweet treat; we're diving deep into the bold, bittersweet, and unmistakably salty from ammonium chloride world of real Salmiakki-style candy. Whether you're a seasoned licorice lover or new to this unique candy, our definitive recipe will guide you through crafting authentic homemade salty licorice right in your own kitchen. We’re using food-grade ammonium chloride—the same salty mineral behind classic Nordic salmiakki—for that unmistakable flavor, ensuring you get the genuine experience without any workarounds. Get ready to impress your taste buds with a truly special Nordic sweet and salty candy that stands out from the crowd!
Ingredients
Directions
- Prep the Pan: Line your 8-inch square pan with parchment paper, allowing an overhang on two sides to create a "sling." Lightly grease the parchment paper with a neutral oil or cooking spray.
- Hydrate Gelatin & Prepare Starch: In a small bowl, sprinkle the gelatin powder over ¼ cup of cool water and let it bloom for 5-10 minutes until softened. In another small bowl, whisk the cornstarch with ¼ cup of water until completely smooth to create a slurry; set aside.
- Cook the Syrup: In your heavy-bottomed saucepan, combine the granulated sugar, glucose syrup, ½ cup water, and molasses. Stir gently over medium heat until the sugar dissolves. Insert your candy thermometer. Bring the mixture to a boil and cook, without stirring, until it reaches the soft-ball stage (approximately 240°F / 116°C). You can also perform a thread test: a small amount dropped into cold water should form a soft, pliable ball.
- Flavor & Salt: Immediately remove the saucepan from the heat. Carefully whisk in the licorice root extract/paste, the precisely weighed food-grade ammonium chloride (salmiak), and the optional activated carbon. Stir vigorously until all ingredients are thoroughly combined and the mixture is homogenous. Adding the salmiak off heat helps ensure it dissolves evenly and prevents potential crystallization or changes in its chemical structure at very high temperatures, ensuring consistent flavor and texture.
- Set the Chew: Return the saucepan to low heat. Give your cornstarch slurry a quick re-whisk, then gradually whisk it into the hot licorice mixture. Continue stirring gently for 1-2 minutes until the mixture thickens slightly and loses its raw starch taste. Remove from heat and let it cool slightly for a minute or two. Then, whisk in the bloomed gelatin until it is completely melted and smooth.
- Pan & Cure: Pour the licorice mixture into your prepared 8-inch square pan. Use an oiled offset spatula or the back of a spoon to level the surface evenly. Let the candy cool completely at room temperature, then cover it loosely with plastic wrap and allow it to set overnight (at least 8-12 hours). This overnight set is crucial for developing the proper chewy pastille texture.
- Cut & Finish: Once fully set, lift the candy out of the pan using the parchment sling. Lightly dust your work surface and an oiled knife or pizza cutter with cornstarch to prevent sticking. Cut the large slab into desired shapes—lozenges, squares, or diamonds work well. For a traditional "snap" or less sticky surface, you can optionally place the cut candies on a wire rack and dry them in a very low-temperature oven (around 150°F / 65°C) with the door ajar, or using a dehydrator, for 30-60 minutes, or until the surface is dry to the touch.
- Store: Dust off any excess cornstarch. Store your homemade salty licorice in an airtight container in a cool, dry place. Avoid humidity and direct heat.
- Visual Cues at Each Stage
- Syrup Thickness: Before adding flavor, the syrup should be clear and begin to thicken slightly as it approaches the soft-ball stage, forming a "thread" when dripped from a spoon.
- Color Benchmarks: The molasses will give it a deep brown-black color; activated carbon will deepen it to an intense black.
- Clean Break (when cutting): After setting overnight, the candy should be firm enough to cut cleanly without excessive sticking or stretching.
- Correct Chew (after 24 hours): The finished candy should have a distinct, firm yet pliable chew, similar to a classic pastille, not brittle or overly soft.
You may also like


Hey there! I’m just someone who seriously loves good food and believes that cooking doesn’t have to be complicated to be amazing. Whether it’s a quick weeknight dinner or a cozy weekend meal, I’m all about sharing easy, tasty recipes that actually work.


